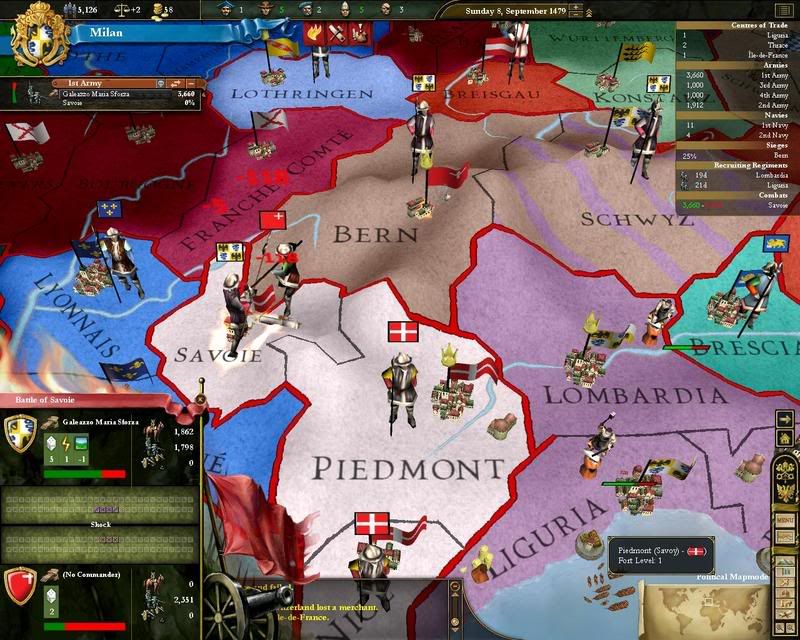
In August, as I was waiting for the Swiss to surrender Bern, I found that I had to go to the rescue of Savoy, whose capital was under siege by the Swiss. The walls of Savoie had just been breached, so I figured I could leave the siege alone long enough to go rescue my favorite ally from the depredations of the Swiss!
Finally, by mid-October, the battle to lift the siege of Savoie comes to a close with 400 Milanese soldiers dead, and nearly 1500 Swiss. Unfortunately, Sforza’s army will have to rest for a while to restore the bloodied troops’ morale.
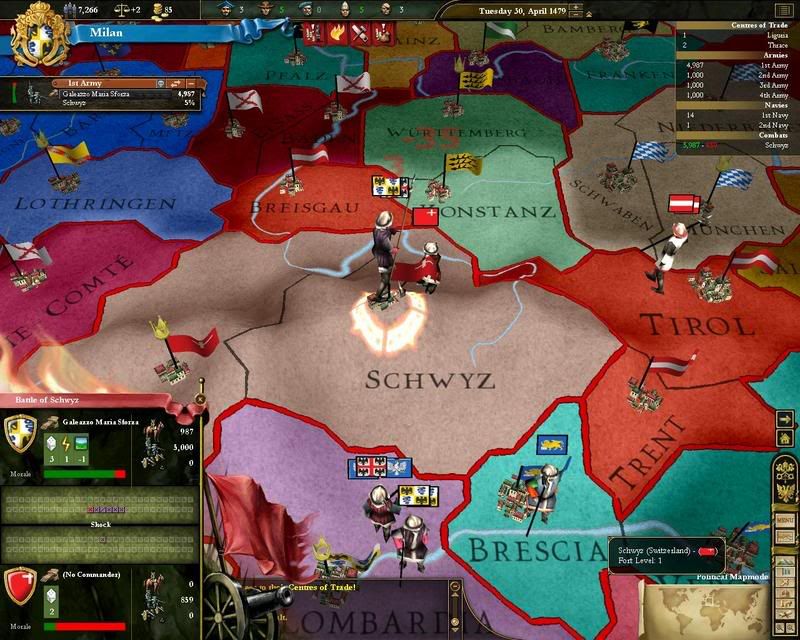
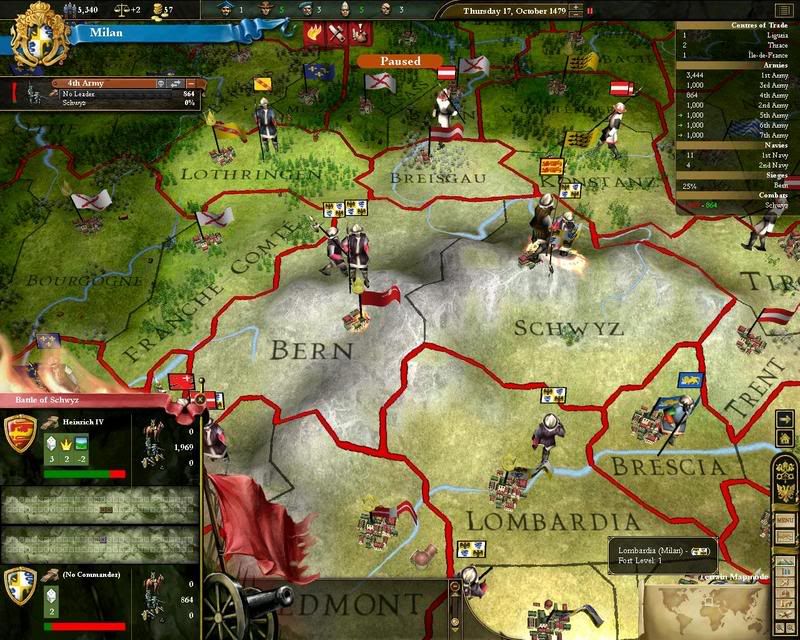
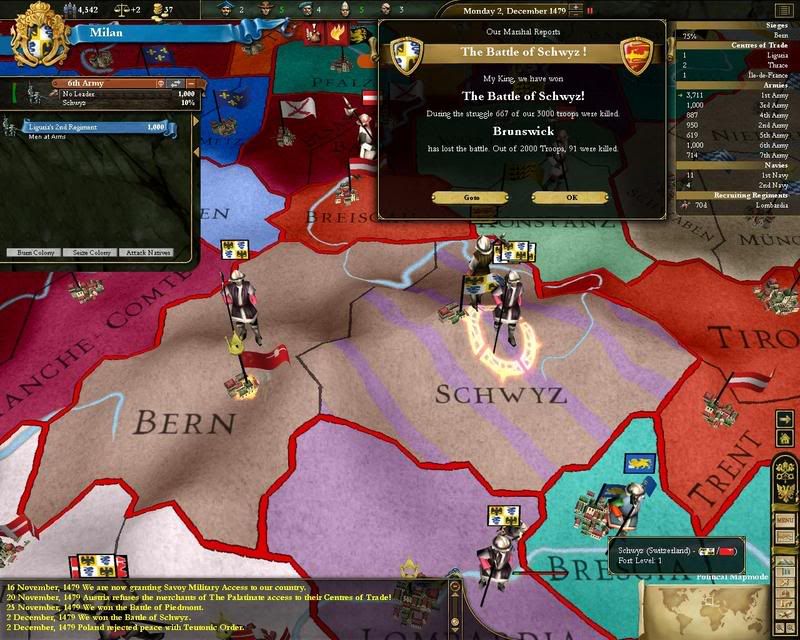
This is unfortunate, because about this same time, two regiments of Brunswickian troops attacked our holding force in Schwyz. I immediately send some newly built regiments, and half of my siege force from Bern, to assist, but they won’t make it in time to prevent my one regiment from retreating.
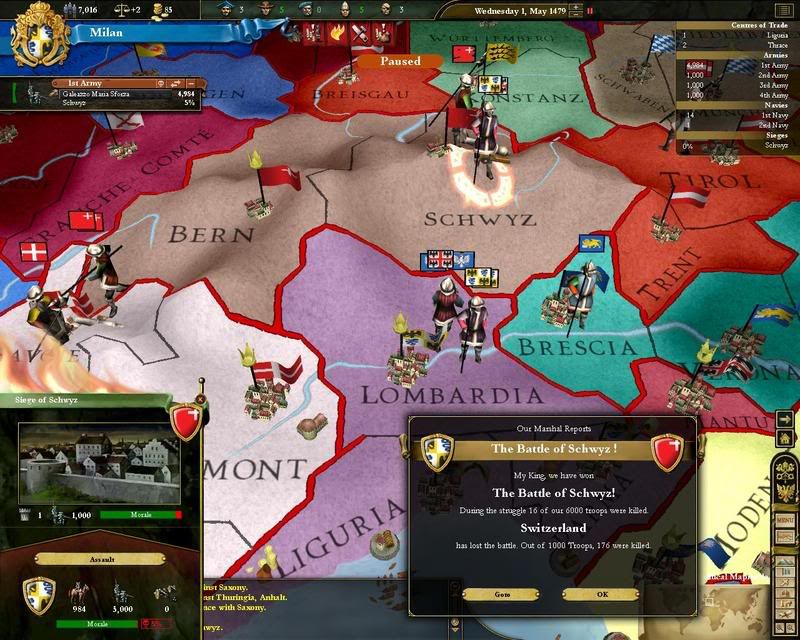
I finally managed to break the siege, and send the Brunswickians packing, even though they certainly had the better of us, casualty-wise.
Meanwhile, King Sforza was able to beat the Swiss away from the Savoian capital at Piedmont.
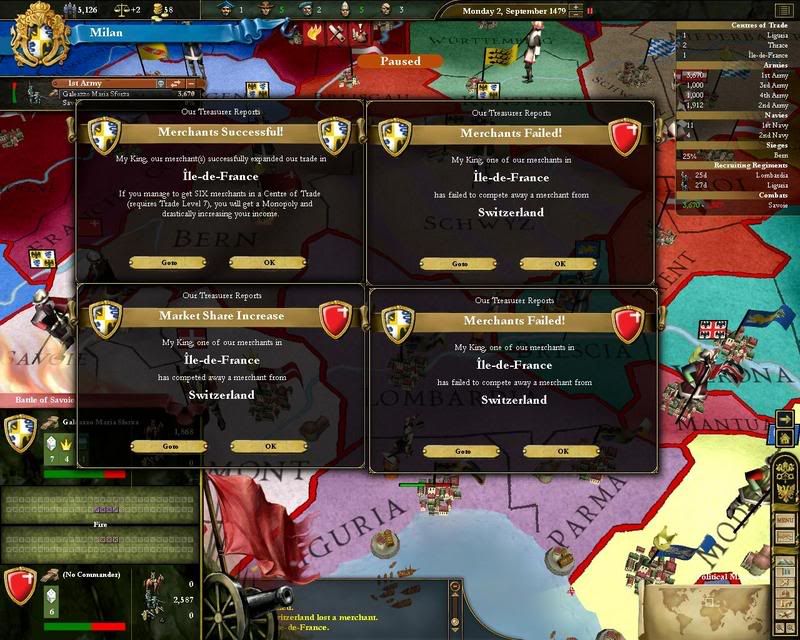
Briefly, let me describe some trading issues. Having had trouble getting merchants to stick in other CoTs, I picked one that was nearing 200 in trade volume, but wasn’t quite there yet – Il de France. Strangely, this became a 2nd front in the war against Switzerland, as we ran into a bevy of Swiss traders! We were unable to make tremendous progress against them, but at least were able to compete one out and replace him with one of our own.
Please note that if I’d only done a 2-play, the likely results with the kind of luck I had in this merchant venture would have resulted in no gain for me, regardless of the compete’s success. For a 2-play to succeed, both merchants would have to be successful. On the other hand, with 4 merchants involved, with 2 successful and 2 failed, I still got 1 merchant to stick with my 4-play.