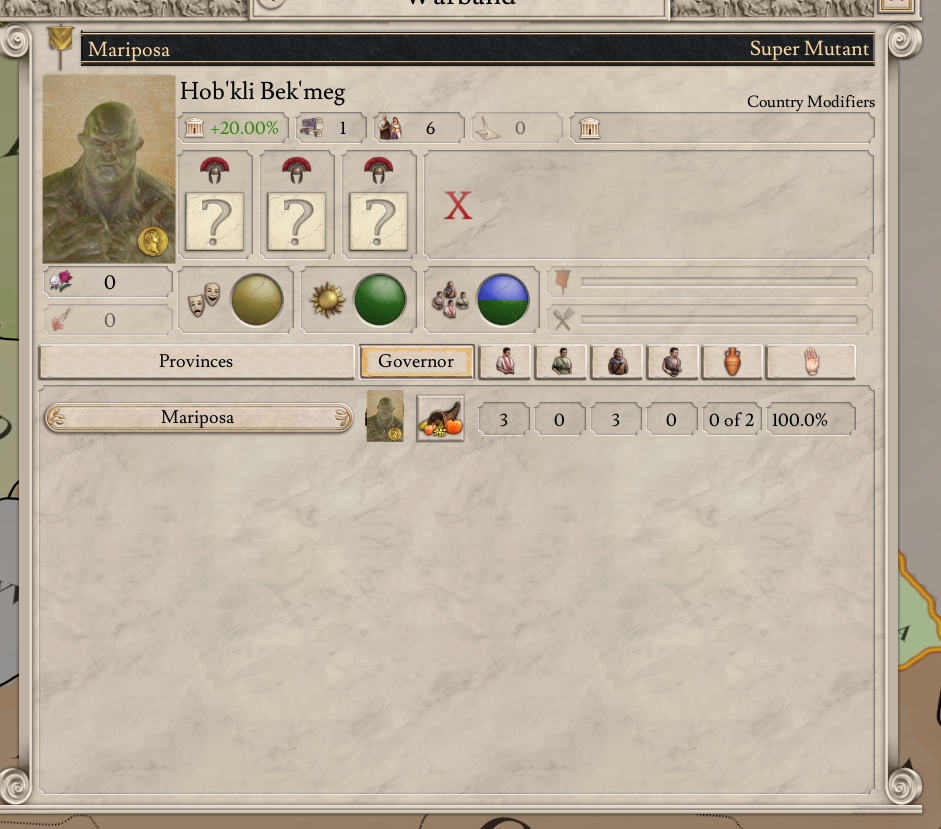
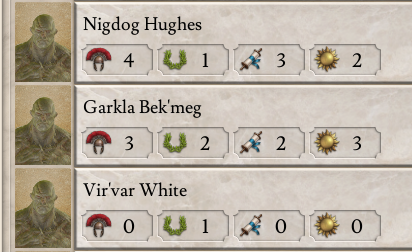
I managed to implement a 2D portrait in a satisfactory way with scripted GUI. Since such portraits are important for overhaul modders, I thought I made a little guide for others to use.
First, start by copying /gui/shared/portraits.gui into your mod. This controls the portraits at each of their resolution levels. Here we will be adding the portraits and the conditionals that ensure they only display for the right characters.
There are 8 portrait templates in portraits.gui that you will need to add to:
- portrait_32
- portrait_40
- portrait_50
- portrait_60
- portrait_80
- portrait_100
- portrait_150
- portrait_200
In each of them you'll need to add a new icon element for each portrait you want to use. In this example, I will be added a super mutant portrait that overlays the actual portrait when the character's culture is Super Mutant.
This is the icon element code I added to each of the templates in portraits.gui:
Make sure this code is placed above the other elements in the portrait template, otherwise you'll be covering the imprisonment indicator and other things.
The important attributes are:
- scale, you need to change this to match the value used by the imprisonment element in each of the templates.
- datacontext, this is what links the element to the scripted GUI entry and limits its visibility. In the example above you'd change is_super_mutant to the name of your entry.
- visible, this ties the is_shown scope in your scripted GUI entry to the visibility of the element.
- texture, this points to the 2D portrait you want to show.
Note you'll likely need to edit the province_view.gui to change how the portrait is displayed there, since it leaves the bounds of the window, so the 2D portrait won't look inherit the transparency the 3D portrait uses to achieve that look.
You'll then need to add a scripted GUI entry in /common/scripted_gui/. You'll need to make a scripted_gui folder, the base game does not have one if you are confused by its absence. Each a new file in this folder and within it add the following:
This is where the chosen culture (or any other trigger) can be added to determine the visibility of the element.
As for the portrait itself, it should be 346 pixels tall and 244 pixels wide.
Nation view:

Character view

First, start by copying /gui/shared/portraits.gui into your mod. This controls the portraits at each of their resolution levels. Here we will be adding the portraits and the conditionals that ensure they only display for the right characters.
There are 8 portrait templates in portraits.gui that you will need to add to:
- portrait_32
- portrait_40
- portrait_50
- portrait_60
- portrait_80
- portrait_100
- portrait_150
- portrait_200
In each of them you'll need to add a new icon element for each portrait you want to use. In this example, I will be added a super mutant portrait that overlays the actual portrait when the character's culture is Super Mutant.
This is the icon element code I added to each of the templates in portraits.gui:
Code:
icon = {
       name = "super_mutant"
       position = { 0 0 }
       parentanchor = center
       size = { 244 344 }
       scale = 0.15
       alwaystransparent = yes
       datacontext = "[GetScriptedGui('is_super_mutant')]"
       visible = "[ScriptedGui.IsShown( GuiScope.SetRoot( Character.MakeScope ).End )]"
       texture = "gfx/portraits/portrait_super_mutant.dds"
   }
Make sure this code is placed above the other elements in the portrait template, otherwise you'll be covering the imprisonment indicator and other things.
The important attributes are:
- scale, you need to change this to match the value used by the imprisonment element in each of the templates.
- datacontext, this is what links the element to the scripted GUI entry and limits its visibility. In the example above you'd change is_super_mutant to the name of your entry.
- visible, this ties the is_shown scope in your scripted GUI entry to the visibility of the element.
- texture, this points to the 2D portrait you want to show.
Note you'll likely need to edit the province_view.gui to change how the portrait is displayed there, since it leaves the bounds of the window, so the 2D portrait won't look inherit the transparency the 3D portrait uses to achieve that look.
You'll then need to add a scripted GUI entry in /common/scripted_gui/. You'll need to make a scripted_gui folder, the base game does not have one if you are confused by its absence. Each a new file in this folder and within it add the following:
Code:
is_super_mutant = {
    scope = character

    saved_scopes = {

    }
    is_shown = {
        has_culture = super_mutant
    }
}
This is where the chosen culture (or any other trigger) can be added to determine the visibility of the element.
As for the portrait itself, it should be 346 pixels tall and 244 pixels wide.
Nation view:

Character view

Last edited:


