
Paris ne vaut pas une messe! - A Huguenot IN AAR
- Thread starter Milites
- Start date

-
We have updated our Community Code of Conduct. Please read through the new rules for the forum that are an integral part of Paradox Interactive’s User Agreement.
You are using an out of date browser. It may not display this or other websites correctly.
You should upgrade or use an alternative browser.
You should upgrade or use an alternative browser.
Absolutely. ")
I feel rather inspired to start an AAR myself, but I don't know whether to do EU3 or HoI2.o
Regardless, this is truly excellent Milites - thank you very much!
I feel rather inspired to start an AAR myself, but I don't know whether to do EU3 or HoI2.
o Regardless, this is truly excellent Milites - thank you very much!
Wow.
First of all, thank you very much CatKnight for this great honour and morale boost!
You have made a terrible day a bit brighter
@ mandead: I think they got lost somewhere around Castillon And by all means if you're planning on doing an AAR go ahead! I'll be sure to follow!
@ Enewald: As soon as I hit the appropriate land tech level I'll build a giant border fence to keep them out :rofl:
@ Grubnessul: I got a Casus Belli on Lorraine. Lorraine is allied to Savoy and.... Spain. I say it's time to blitz through Catalonia and sack Madrid Gaullish style! Who's with me?
@ Delex: Kinda like a real Panzerkardinal?
@ Rastar: Thank you!
First of all, thank you very much CatKnight for this great honour and morale boost!
You have made a terrible day a bit brighter
@ mandead: I think they got lost somewhere around Castillon
And by all means if you're planning on doing an AAR go ahead! I'll be sure to follow!@ Enewald: As soon as I hit the appropriate land tech level I'll build a giant border fence to keep them out :rofl:
@ Grubnessul: I got a Casus Belli on Lorraine. Lorraine is allied to Savoy and.... Spain. I say it's time to blitz through Catalonia and sack Madrid Gaullish style! Who's with me?
@ Delex: Kinda like a real Panzerkardinal?
@ Rastar: Thank you!
Yp. He looks like a guy from the game armies of exigo (Probably doesn't tell you much). He also leads the human armies to glory (Till he doesn't get mad and corrupted lol).
Congrats on the awards, Milites. You just beat me, and you deserve it. I wish I could get on the forums more often, because an AAR of this caliber would probably keep me here longer. Keep up the outstanding work.
I'm game!Milites said:@ Grubnessul: I got a Casus Belli on Lorraine. Lorraine is allied to Savoy and.... Spain. I say it's time to blitz through Catalonia and sack Madrid Gaullish style! Who's with me?
Intermission – Recreating a 16th Century Battle
Battles in EU III are actually some wonder of a paradox[1]. On one hand you’ll be almost unable to expand your empire against rival nations without a decent military, but on the other the player will only be able to command very basic military units when compated to games such as Hearts of Iron or even Victoria. One thing that you certainly do not have; is unlimited control of each individual unit in each regiment you recruit. Now that we're at it, one regiment in EU III represents a thousand infantry/cavalry/artillery, which doesn’t leave much to the imagination.
Long story short, I'd like to introduce you to a bit of gaming intertextuality.
Medieval II Total War is a mediocre game in all other aspects than its eye candy and battle simulation, luckily this makes it perfect for a demonstration and visualisation such as this.
But now you’re probably wondering: Medieval Total War? I thought this should suppose to take place during the 16-hundreds? It sure is.. I’m using a modification called For King Or Country! That completely converts the game to the time of the English Civil Wars. Fittingly, this scenario takes place during James I struggle with the parliamentarian and Scottish rebels in the Lowlands.
After the battle outside Edinburgh, where James crushed the army of Parliament that had pursued him north from the field of Oxford (see chapter XV), a small force of Parliament and Scottish troopers try to escape south, but are intercepted by a Royalist army.
So without any further ado: Enjoy!
NB: This was not an actual battle from the EU game, but rather a way for me to show how a battle would be fought in the 16th century through the use of pictures instead of words. Don’t worry, the current style of paintings as illustrations will be kept for the duration of the AAR.
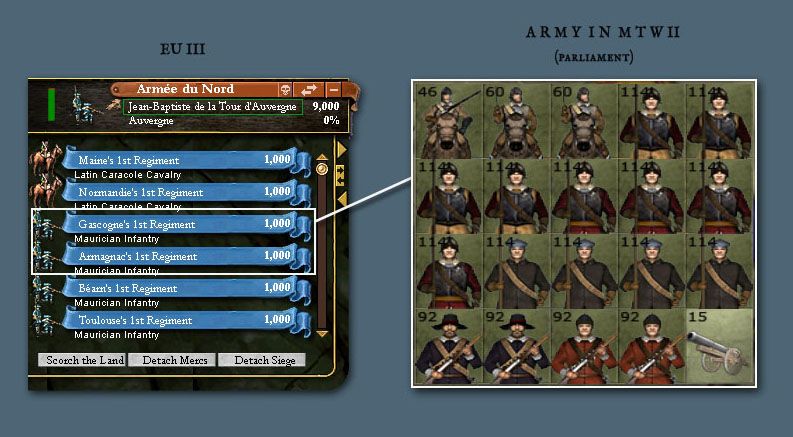
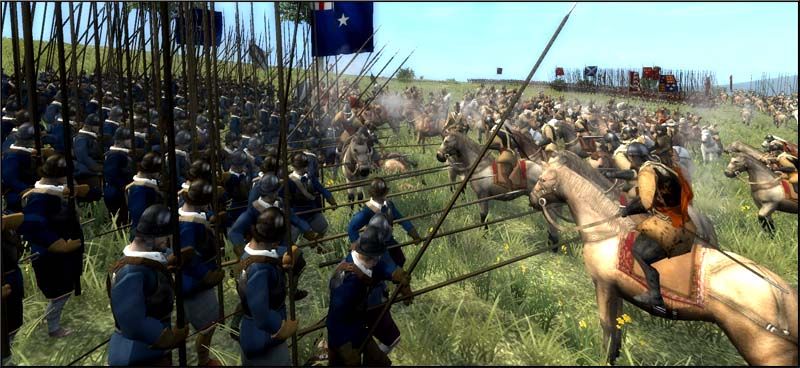
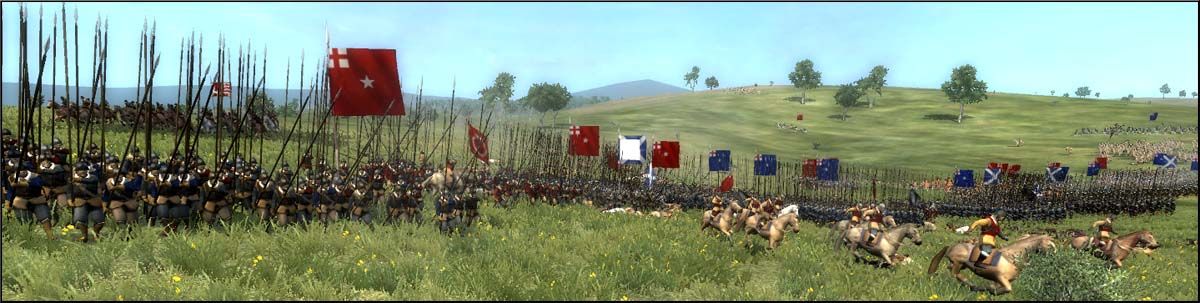
Here you can see the composition of the rebel army. These units would together make up around 1900 men, pretty close to the total of two regiments in EUIII. 12 units of pikemen create the core of the army while four units of musketeers provide ballistic cover for the infantry alongside two cannons. The rebel general is escorted by two units of “Ironsides”. The Royalist army is of similar composition, however here the general commands two units of life guards instead of the roundhead crack troops.
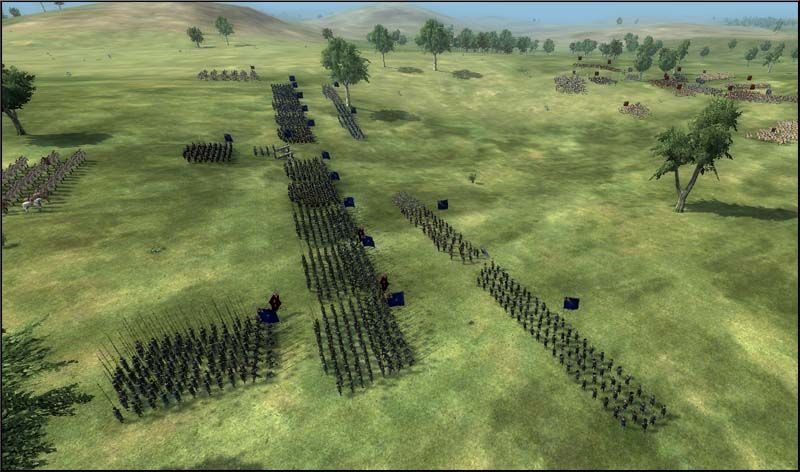
Royalist initial deployment. The pikes form the first line with the cannons in the middle while the muskets and the cavalry are deployed on the flanks. Now multiply this column by 16 and you’ll have the size of Henri’s Royal Army that smashed the Italians and Habsburgs.
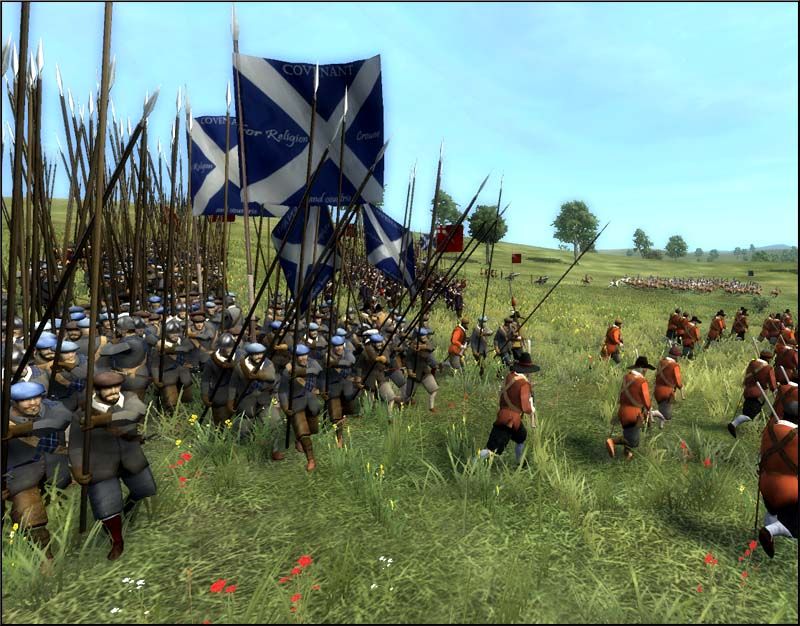
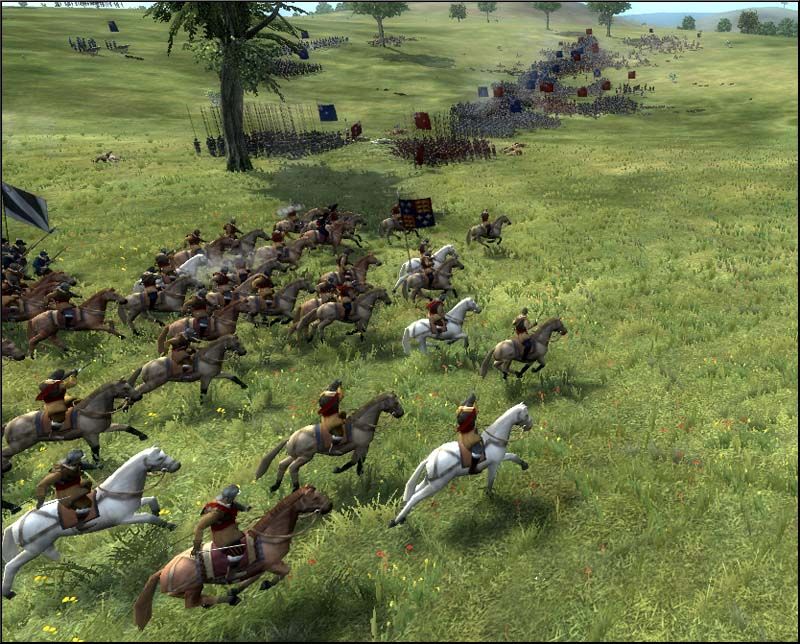
The Scottish infantry in Parliament pay marches on the Royalist lines, filled with anger and hate. The cavalry can be seen moving forward in the background while the musketeers rush onwards to get within shooting range of the Royalist lines.

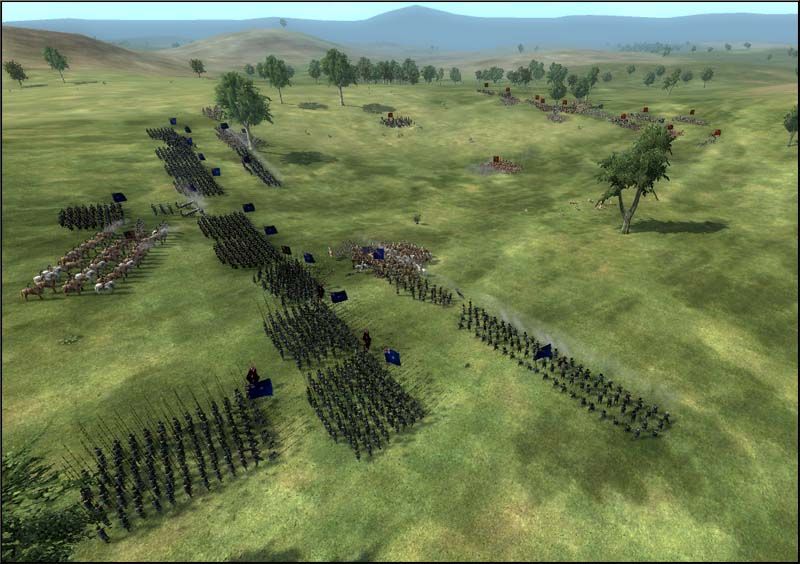
Ironsides reach the King’s men, but are met with a dose of lead from the mounds of the Royal muskets. Still, they press on.
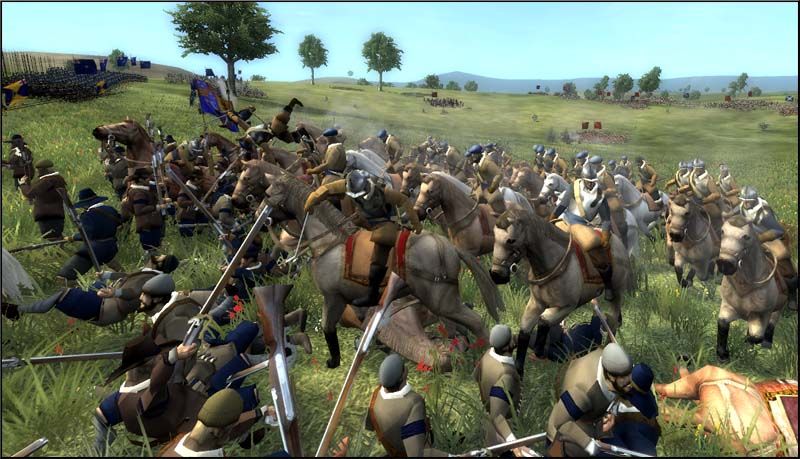
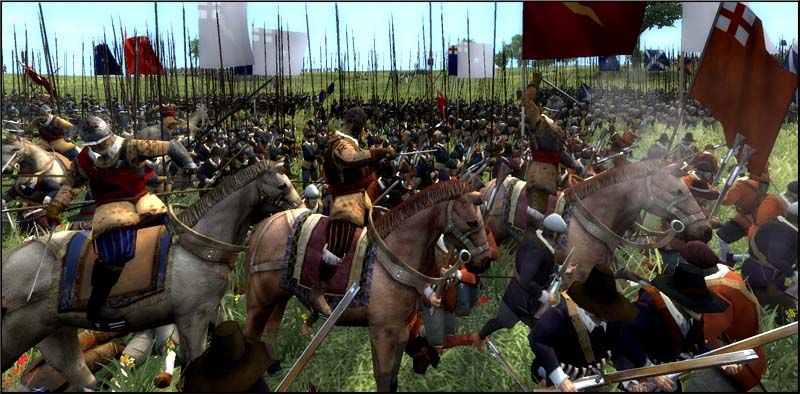
And slam into the vulnerable musketeers just after having fired their pistols. They wreak terrible havoc in the Royalist lines, but withdraw when the Royalist foot move to the rescue. This takes place on both flanks, diminishing the numbers of Royalist musketeers greatly.
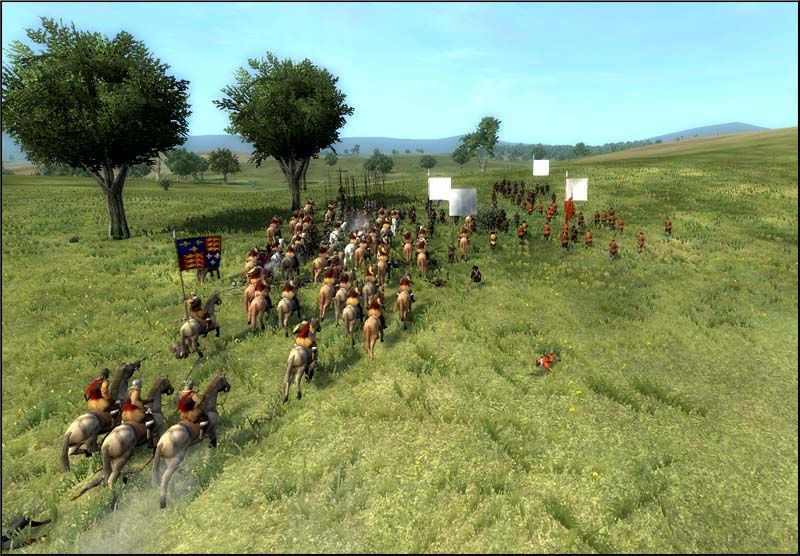
As the Parliamentarians withdraw once again, the rebel infantry continues its advance towards the King’s centre, ignoring the steady bombardment from the opposing artillery.
On the left flank the Parliament cavalry gets overexcited and charges the King’s infantry, stalling them from a while, but receives quite a beating in return. The Ironsides rout past their allied infantry sending a shiver down the spine of every Parliamentarian pikeman.
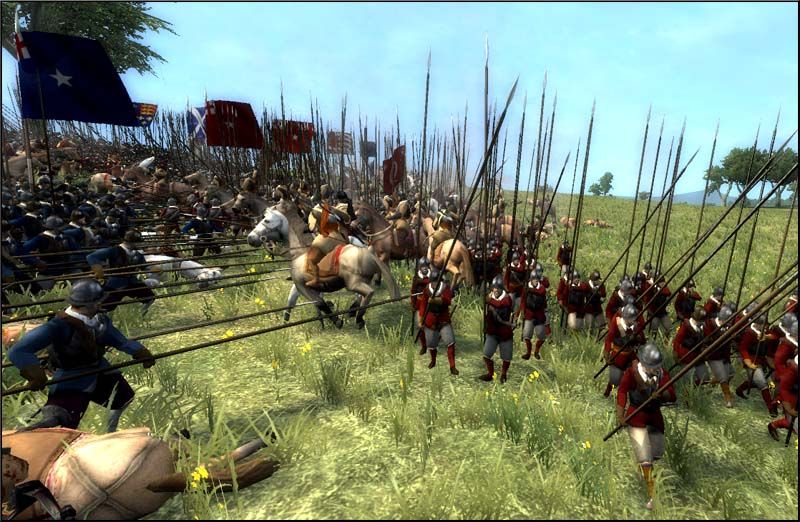
When the two sides lock together in a deadly melee, the Parliamentarian cavalry regains its nerves and swings back to hit their enemy hard. Supported by the newly arrived infantry, they slowly begin to push the Royalists back from their positions.
The situation on the left flank is getting disturbingly serious as several Parliamentarian regiments are breaking through and threatening the very integrity of the army. Almost panicking, the Royalist commander orders in the reserves of infantry to fill the gaps on the left. Sadly, the enemy has now also smashed into the Royalist centre and right flank, pounding severely on it.
Eying their chance, the Life Guards on the right flank dashes forward and outmanoeuvres the enemy infantry, putting them in a position to strike the Parliamentarians in the rear! Although the rebel musketeers try their best to stop them, the Life Guards proceed to rout the nearest unit of Parliament pikes, before continuing into the centre.
However, things are not going as planned on the Royalist right wing. The rebels break through the defending infantry and seem to be able to start rolling up the entire Royalist army. Luckily, the reserves arrive just in time to bring some stability to the wavering frontline.

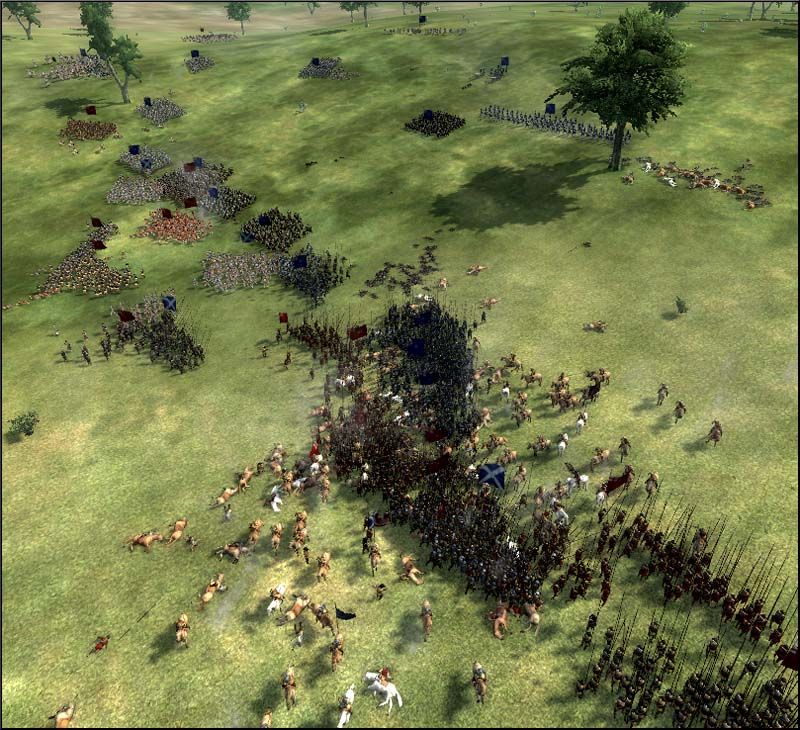
This proves to be the decisive moment in the battle as the Parliamentarian flanks are separated, with one being cut down by the Royalist Life Guards and the other trapped and without any support on the Royalist left wing. Never the less, the rebel pikes try their best to break through the enemy lines in order to save what remains of their comrades. However, the fresh Royalist reserves hold their ground and repulse any attack the rebels produce.
As the last of the rebels on the right flank and in the centre are cut down, the relieved (and exhausted) Royalists push on in order to destroy what remains of the Parliamentarian units. Outnumbered and low on morale many of the Parliamentarian soldiers throw down their weapons and run for their lives. The tired Royalists have not enough strength to pursue their enemies and instead retain the field. The forces of good King James has dealt a harsh blow to the Parliamentarian usurpers! Out of 2,000 men only 400 of the rebels made it off the field alive.
I hope you enjoyed this small intermission. A real update shall be on its way shortly!
[1]Sorry, couldn’t resist.
Last edited:
My God, maybe you can finally answer my question, Miltes!?!?!
One of the Parliamentary flags is a plain black banner with white writing on it.
Please, for the love of God, WHAT DOES IT SAY!?
I've been trying to find out for ages but I have no idea what to search for in Google. o o
*explodes*
One of the Parliamentary flags is a plain black banner with white writing on it.
Please, for the love of God, WHAT DOES IT SAY!?
I've been trying to find out for ages but I have no idea what to search for in Google.
o o *explodes*
Yeh, everyone loves MTW2.
But when it comes to paradox, you can have fights of unlimited size. In MTW2 you have just the Great Lag.
When it goes to over 100k soldiers on each sides, the battles last for months. And there you need imagination.
But when it comes to paradox, you can have fights of unlimited size. In MTW2 you have just the Great Lag.
When it goes to over 100k soldiers on each sides, the battles last for months. And there you need imagination.
@ mandead: Well I can't really find any black flag, but the "faction banner" is a red one with the text "Pro Fide Semel Tradita".
@ Delex: Yes, it's a mod called For King or Country. A one man project which has turned out really nice.
@ CatKnight, Gruby and Qorten: Thanks
@ Enewald: Yeah that is one of the many fields where Paradox excel. Sometimes, however, it's nice to see some real fighting up close and personal.
@ asd21593: Right back at ya
Chapter XXVII – The Charlemagne Plan
***
Striking swift, striking hard
***
By mid 1625 it had become obvious that the Habsburgs sought outright confrontation with the Reformed Allies and nowhere in Europe was it clearer than in Paris. Yet Nicolas and the marshals had no desire to fight a bloody two-front war with the Holy Roman Emperor across the Pyrenees and the Rhine. The decision to avoid this Catholic pincer movement had been the cornerstone throughout the late Valois foreign policy and had found its way through the Bourbon ascension unhindered. Granted, the Habsburg power had been greatly diminished through the wars of Henri with Spain and the internal squabble between the two branches over the imperial crown. Still, the Catholic chain of iron lay firmer than ever around the neck of France. But as Sully observed, every chain had a weak link. As such, the key to defeating the Habsburgs would be to strike at the vulnerable ring in their armoured suit. That would prove to be an old friend of Sully, the duke of Lorraine.
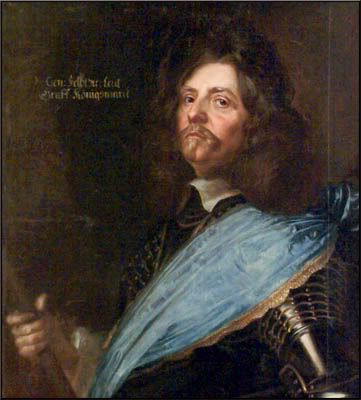
The Duke of Lorraine, Charles IV
In 17th century Europe alliances were fragile and often incredibly woven together. The duchy of Lorraine was allied to Savoy and Spain, two of France’s most bitter enemies, but more importantly to France, they were not protected or guaranteed by Austria, as Philip III of Spain still held the imperial crown. A swift war against the duchies of Savoy and Lorraine would satisfy the marshals’ lust for revenge over the former supporters of the Catholic League and at the same time make it possible for France and her allies to strike a heavy blow against Spain. Then, when Spain had been thoroughly defeated, it would be the Austrian’s turn. By then Spain would lie too much in ruins and be unable to continue a new war and the Austrian Habsburg’s allies would be too far away to do much good. Thus the plan drafted by Nicolas and the marshals was dubbed; the Charlemagne Plan. However, Rohan warned that there could be the possibility of Austria declaring war on France while the Spanish campaign hadn’t been completed. Nicolas and de Bonne (who by now had become an old man) denied that as a threat. If Austria went to war against France without sufficient casus belli, the Protestant princes of Northern Germany would surely intervene, bringing even more allies into the French fold. On the first of August France declared war on Lorraine as a response to the duchy’s plotting against French and Huguenot interests.
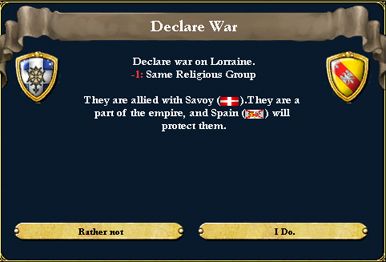
War is declared
***
Wrath of Revenge
***
The French armies on the borders to Savoy and Lorraine were already ready when the declaration of war had been delivered. The French army of Savoy was, however, halted by messengers carrying the news that Savoy had rejected its obligations as an ally to Lorraine in the face of the overwhelming evidence produced against their former comrade in arms. This made many chuckle in Paris. Although Savoy had betrayed its former allies to avoid French retribution the Spanish emperor rallied his armies and intended to stand and fight against France and its upstart king. War spread through Europe once again as the Protestants rose to fight one more war against their former oppressors. Surprisingly enough the Republic of Flanders and the United Provinces assembled huge armies and deployed them for the Spanish front. England-Scotland (or the United Kingdom as it was begun to be known as) sent its fleets towards the Spanish Main and even tiny Alsace mustered her arms.
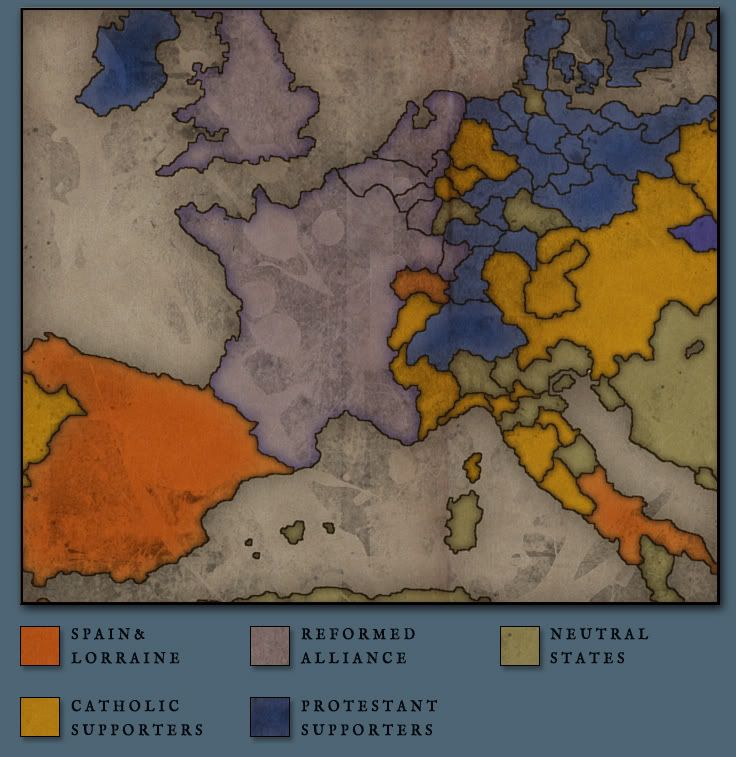
Sides are chosen
The French forces reached Nancy almost immediately after war had been declared and proceeded to surround the city. The duke’s forces had retreated into France itself hoping to capture some cities to bargain peace with. But while the duke’s men were starving in French Lorraine a corps from Alsace numbering 3,000 men arrived outside Nancy while Flanders sent 12,000 infantry and 3,000 artillerists with 300 pieces. On the 15th of August the city fell after a quick assault from the allied lines. Charles surrendered all of his lands to the French crown and went into exile in Austria. He was lavishly accepted in Vienna and continued to style himself as “the most Christian duke of Lorraine” for the rest of his life. Lorraine had been absorbed, Savoy had run away – only Spain remained and the bells of Madrid rang with sorrow as the men of France marched for the Pyrenees.
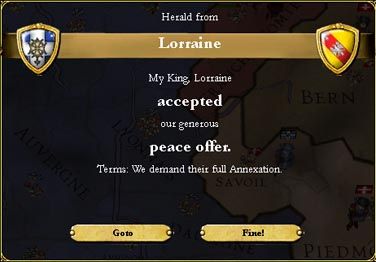
Bye, bye.. bloody Leaguer
DUNDUNDUNDUU!

That's the flag I mean. PLEASE! Seek it out & put my heretical fears to rest.
o EDIT: Also, these bloody fancy maps of your are far too good:

Here's one I made earlier; it looks less rushed than yours.
Last edited:
