When the 1.2 patch came out I briefly took a break from my Munster - Ireland game. I wanted to play as another country for a while until I got used to the changes (didn't want to lose a vital war because I underestimated the number of casualties etc). I chose to play as Byzantium, who (from what I'd heard on the forum) where a much more interesting challenge post-patch. I decided to take some screenshots as I went along with the intention of posting as AAR if I got an interesting result and... well, here we are.
I won't be posting to this AAR as regularly as I am to the High King one, as I only play it when I'm taking a break from the Ireland game to catch up on posting here. I've got enough material now to make posting worthwhile, so here's the first chapter. It's an ironman game, so regular difficulty etc.
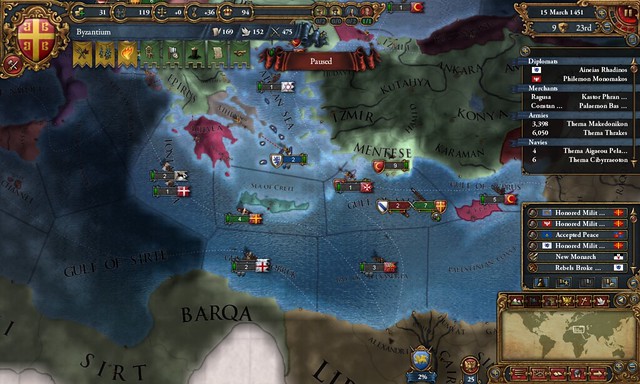
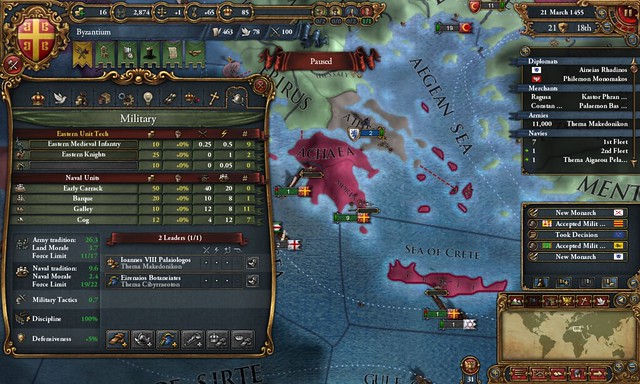
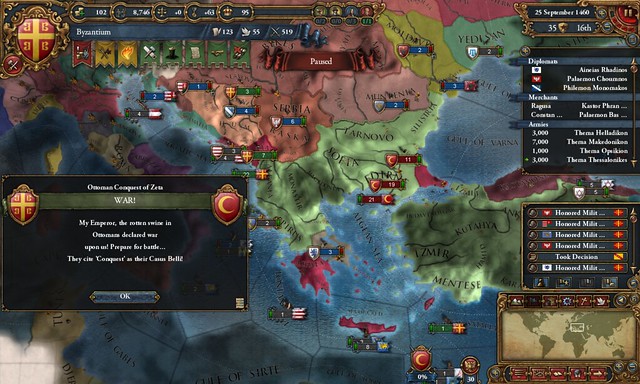
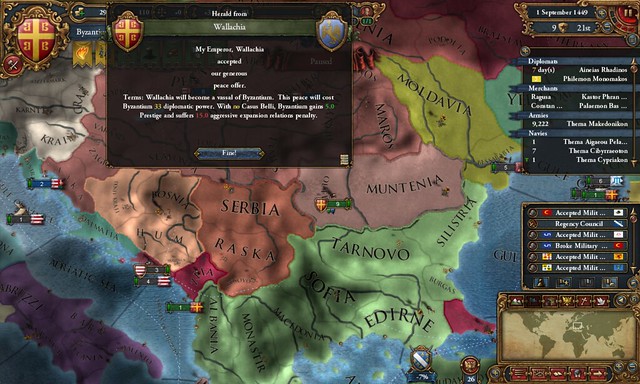
Chapter 1: Opening Gambit
Chapter 2: Pound of Flesh
Chapter 3: New Blood
Chapter 4: Roma Invicta!
Chapter 5: An Italian Holiday
Chapter 6: Stalemate
Chapter 7: A Council of Old Men
Chapter 8: Phoenix Rising
Chapter 9: Imperial March
Chapter 10: Liberation
Chapter 11: Terms and Conditions
Chapter 12: Manuel the Reformer
Chapter 13: Progress
Chapter 14: Snatching Defeat from the Jaws of Victory!
Chapter 15: The Greek War of Independence
Chapter 16: Filiki Eteria
Chapter 17: Freedom or Death
Chapter 18: A Whole New World
Chapter 19: The Angelos Crusade
Chapter 20: Phoenix Rising
Chapter 21: Betrayal!
Chapter 22: Display of Strength
Chapter 23: Demetrios the Builder
Chapter 24: The Emperors of Rome
Chapter 25: Diplomatic Considerations
Chapter 26: The Guyenne War
Chapter 27: Pride and Ambition
Chapter 28: The Glorious Revolution
Chapter 29: Vassals and Victims
Chapter 30: The Second Guyenne War
Chapter 31: North and South
Chapter 32: Take the Good with the Bad
Chapter 33: Back on my feet...
Chapter 34: Nemesis
Chapter 35: Feint Right, Punch Left
Chapter 36: The enemy of my enemy...
Chapter 37: Interesting Times
Chapter 38: The Crimean War
Chapter 39: Imperial Dominion
Chapter 40: History of the Greco-Roman Empire 1444-1806
I won't be posting to this AAR as regularly as I am to the High King one, as I only play it when I'm taking a break from the Ireland game to catch up on posting here. I've got enough material now to make posting worthwhile, so here's the first chapter. It's an ironman game, so regular difficulty etc.
Chapter 1: Opening Gambit
Chapter 2: Pound of Flesh
Chapter 3: New Blood
Chapter 4: Roma Invicta!
Chapter 5: An Italian Holiday
Chapter 6: Stalemate
Chapter 7: A Council of Old Men
Chapter 8: Phoenix Rising
Chapter 9: Imperial March
Chapter 10: Liberation
Chapter 11: Terms and Conditions
Chapter 12: Manuel the Reformer
Chapter 13: Progress
Chapter 14: Snatching Defeat from the Jaws of Victory!
Chapter 15: The Greek War of Independence
Chapter 16: Filiki Eteria
Chapter 17: Freedom or Death
Chapter 18: A Whole New World
Chapter 19: The Angelos Crusade
Chapter 20: Phoenix Rising
Chapter 21: Betrayal!
Chapter 22: Display of Strength
Chapter 23: Demetrios the Builder
Chapter 24: The Emperors of Rome
Chapter 25: Diplomatic Considerations
Chapter 26: The Guyenne War
Chapter 27: Pride and Ambition
Chapter 28: The Glorious Revolution
Chapter 29: Vassals and Victims
Chapter 30: The Second Guyenne War
Chapter 31: North and South
Chapter 32: Take the Good with the Bad
Chapter 33: Back on my feet...
Chapter 34: Nemesis
Chapter 35: Feint Right, Punch Left
Chapter 36: The enemy of my enemy...
Chapter 37: Interesting Times
Chapter 38: The Crimean War
Chapter 39: Imperial Dominion
Chapter 40: History of the Greco-Roman Empire 1444-1806
Last edited:


")