Hallo zusammen,
Welcome to my dev-diary of ‘Map Pack 2’, a Content Creator Pack made in collaboration with Paradox Interactive. In this post I’ll be talking about the process of planning and production of this pack and also a bit of background info of the maps themselves.
But before we start with that, please let me introduce myself: I am Sidai, a German content creator and I've been active on the Steam Workshop for about 6 years. While I published some Highway Intersections and also created some props, my focus is clearly on modded and Vanilla Maps.
Usually the creation process of a single Map for the Steam Workshop takes approx. 3 to 6 months for me, so it is quite a time consuming hobby.
That said, Paradox Interactive's proposal to produce a map pack attracted a lot of interest, and during the six-month development period, it was an awesome experience and a challenge to create good looking and at the same time fun to play maps.

My first Map “Mountain River Delta” published in 2016

My latest release on Steam Workshop Map “Morro Bay” published in 2022
Content Pack Roster:
The pack consists of 10 maps; 2 for the boreal biome, 2 for the temperate biome, 2 for the tropical biome, 2 for the european biome and 2 additional Desert style maps.
Making of: Map Pack 2
My proposal of maps for the pack included a diverse and interesting collection of areas in the whole world. It also had to be distinct from the first Map Pack created by SanctumGamer, so the player can experience something new and fresh. And last but not least it had to fit my style of inspiration and creation.
Research
First step for a Map is (at least for me) to extensively browse Google Earth for exciting areas with interesting terrain. Ideally it includes flat land but also some nice hills.


When I think that I found a good spot I look at photos from that area to get an idea how it looks from a real perspective of a person. When I'm satisfied with that particular spot, the next step is to import a rough sketch of the terrain into the Map Editor to see if it still looks good and playable in the game itself. For the height map generation I use a Website called Cities: Skylines Map Generator (https://heightmap.skydark.pl/).

Height Map Generator with settings panel
With the height map settled i need to classify the map in its biome, should it be a boreal themed map or does it fit a tropical theme? There is no real rule of thumb for that, it all depends on what you want to achieve and also what feature areas you are planning to include.
Speaking of feature areas. This is also an important part of the map creation process. A map by itself is usually a bit dull and not very exciting. To spice things up a bit I tend to include multiple feature areas spread over the map to draw the attention of the players to those parts of the map. Feature areas can include:
- bridges and intersections
- castles or ruins
- dry rivers or lakes
- unusual terrain
- construction sites of infrastructure


Left: Table Mountain “Lilienstein”, Right: Diavik diamond mine
Planning
As I had 6 months or 24 weeks for the completion of the entire map pack I had to streamline the production. I sliced the available time into 2 week slots in which one map has to be finished. The remaining 4 weeks were planned as a testing period and also as a buffer, in case I need more time to complete a map.
A set of parameters were also set during the planning phase, such that: :
- no Mod dependencies at all after the map is finished
- place only stuff the player can also achieve within vanilla game rules
- no fancy detailing that may break the game
- no use of anarchy settings or mods in any way
It was settled from the beginning to create two maps for each biome with an additional two maps with a desert feel. As there is no real desert map theme available in the base game, the only option I had was to use the sand texture of the european map theme to achieve the right look.
Production
To keep track of my progress, I created a sheet at the very beginning of the development progress. Initially I added a preview image of the map, noted some general information, like the types of trees used or some potential feature areas.
I also added categorized production steps for each map to better estimate the progress I made for each map.
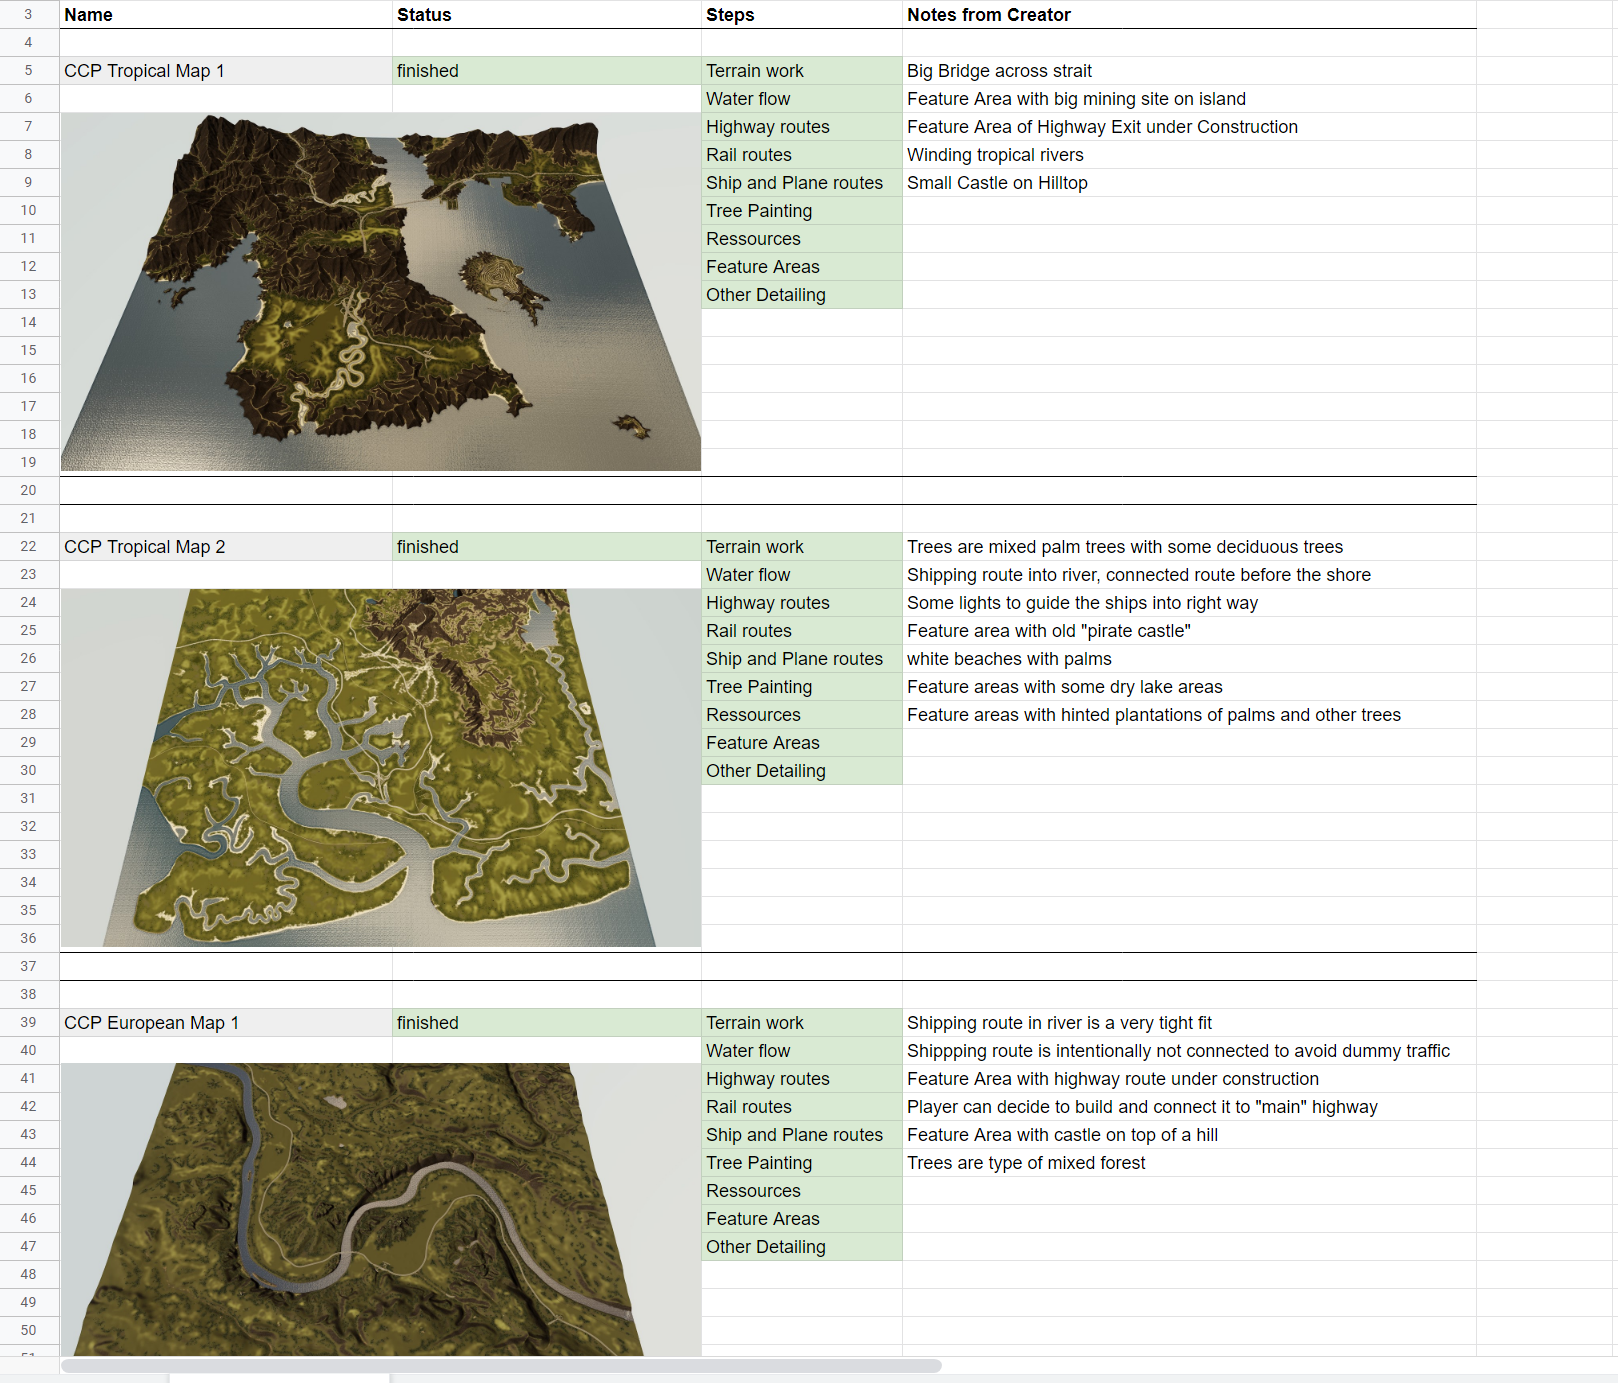
Throughout the creation process I updated the sheet to keep track of my progress. The production steps turned from grey (not started) to yellow (in work) and finally to green (work done). As visible in this finished state, I added final overview screens for the finished maps and also complete information about terrain features and special info for each map.
Production Process
Let me explain all the steps of the creation process in general with a concrete example. As you can see in the above sheet I used nine steps to finish a map.
Production Process: Terrain Work
The base of the map is a good and playable terrain. As I had only limited time for a single map (2 weeks) I searched within Google Maps for a good spot and then used the terrain generator to export and import a heightmap as a starting point. After that I altered the terrain within the map editor to fix import artifacts, flattened the terrain for better playability and added some terrain features that are not present in the imported heightmap.


Left: First Idea for Boreal Map “Mountain Plain”, Right: Used heightmap
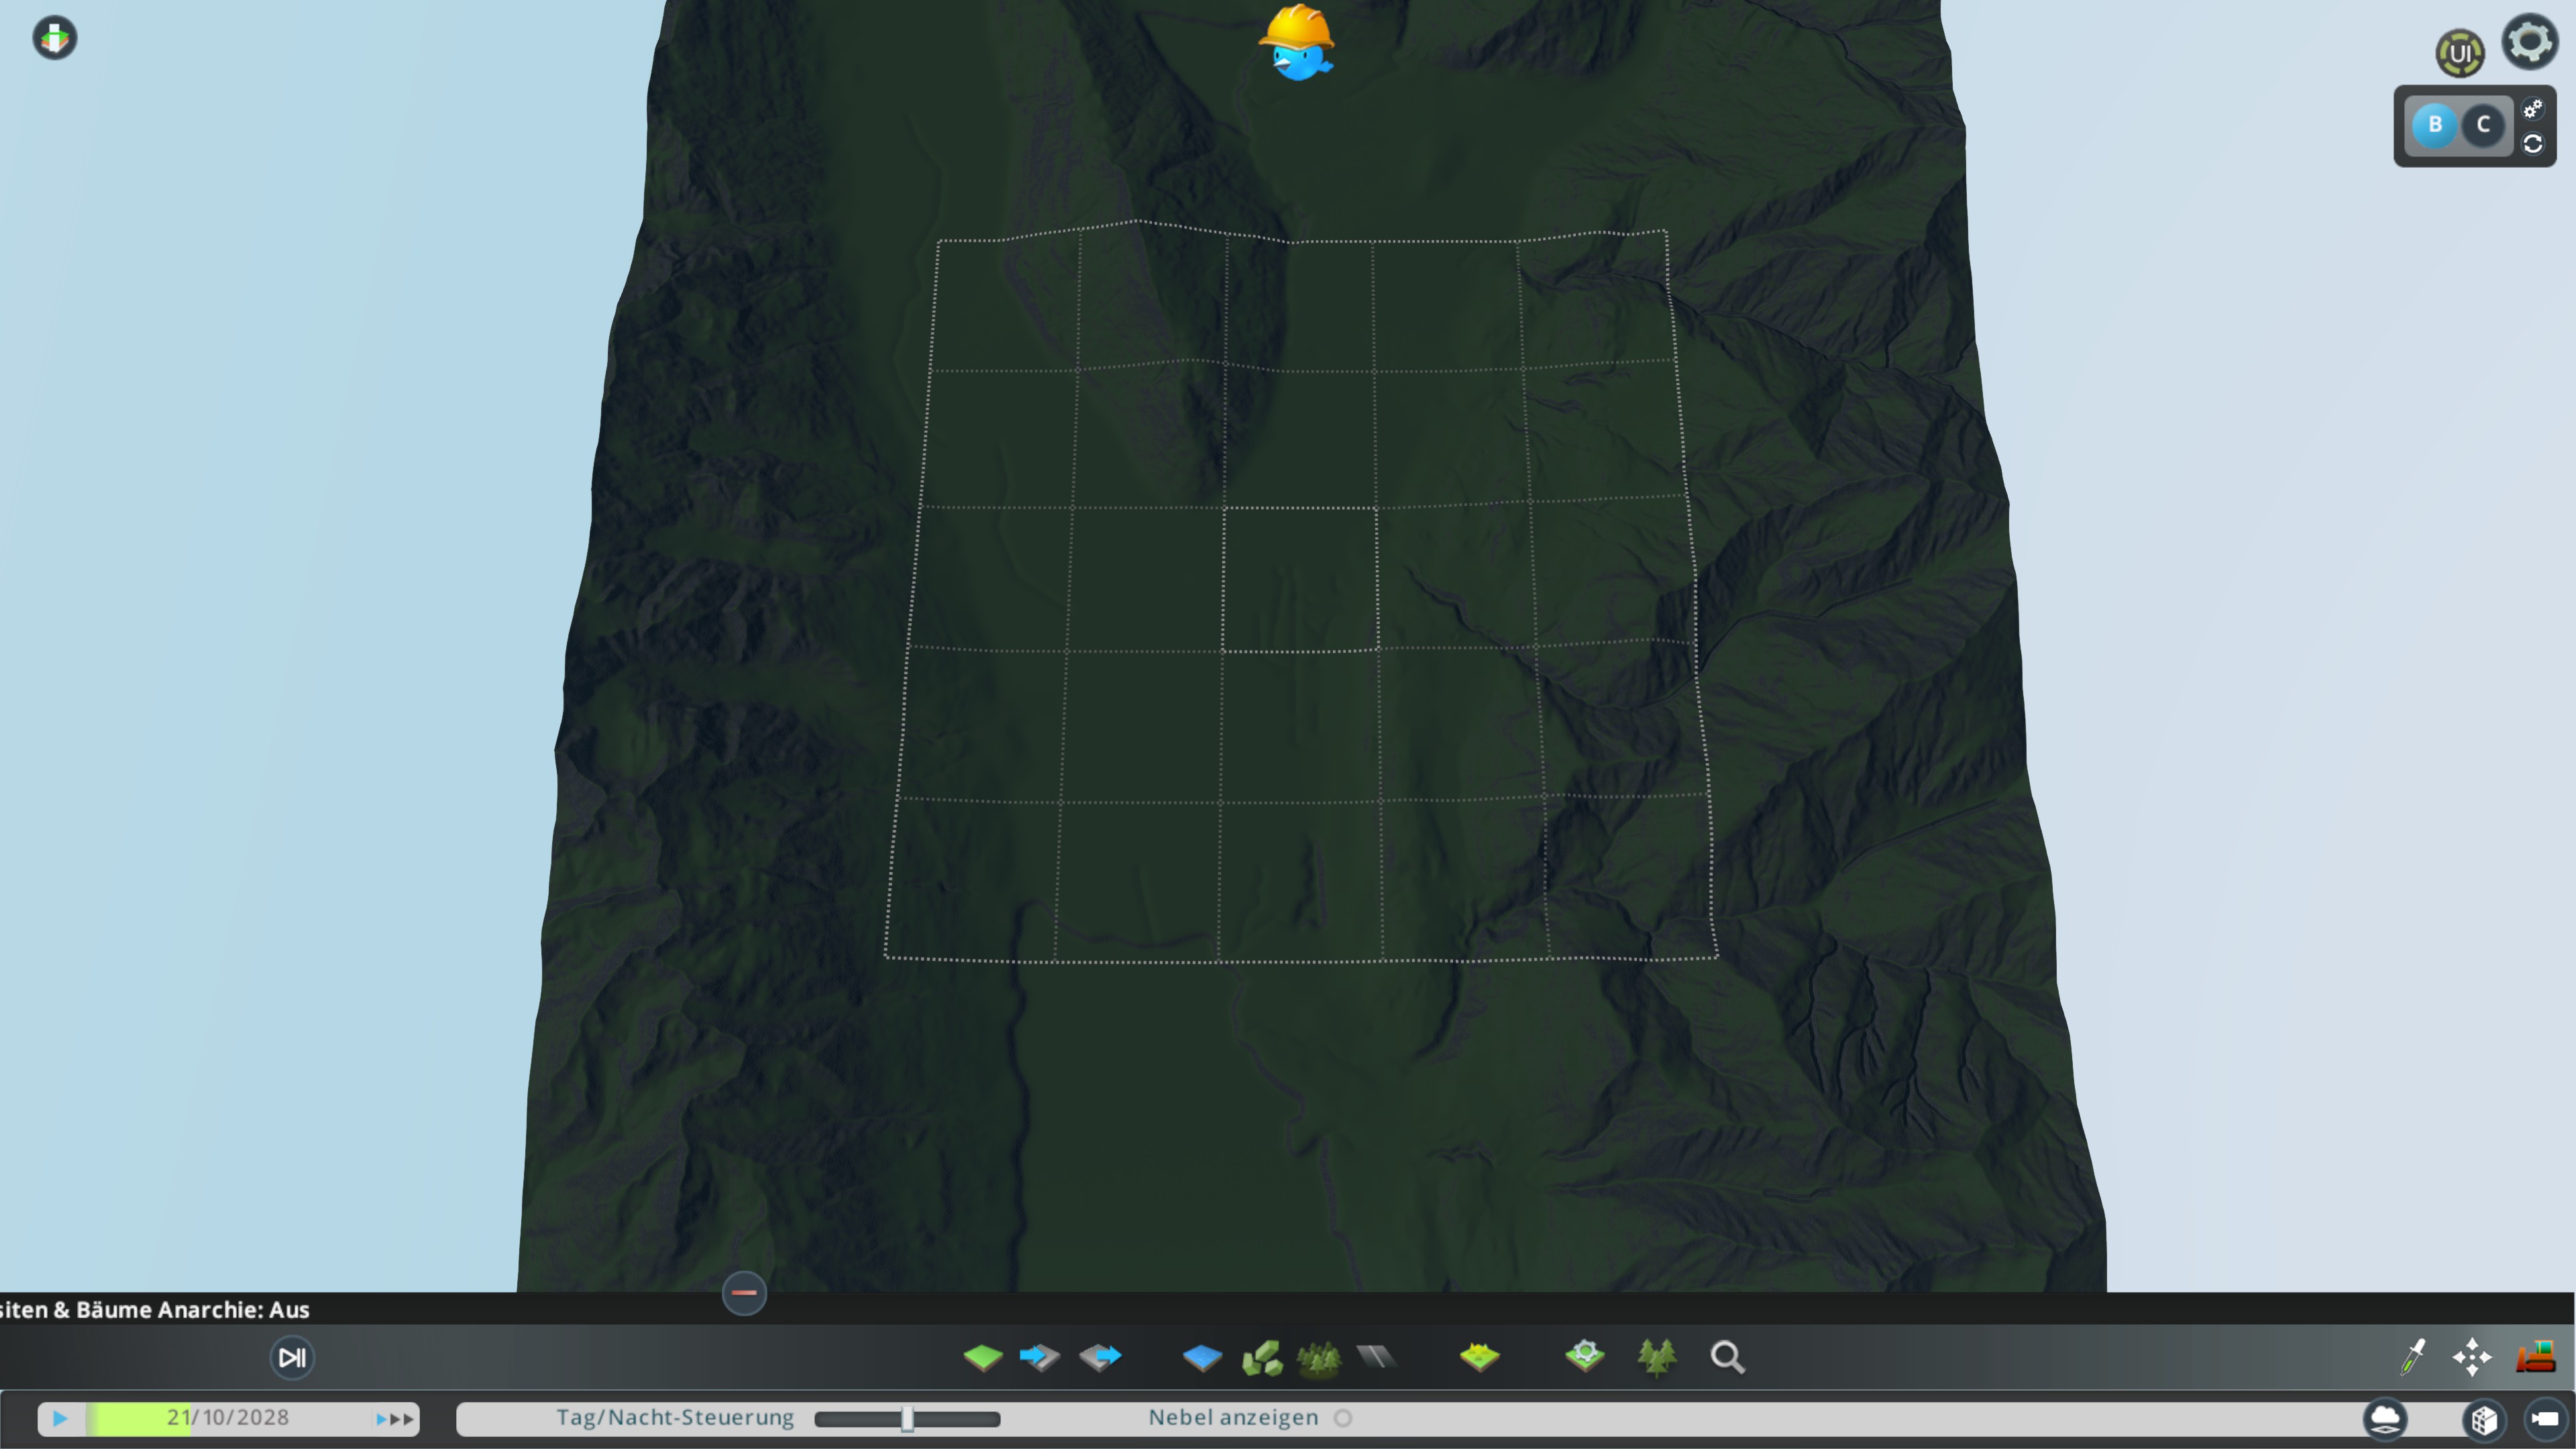
Terrain after importing in Map Editor

After finishing the terrain work
Production Process: Water Flow
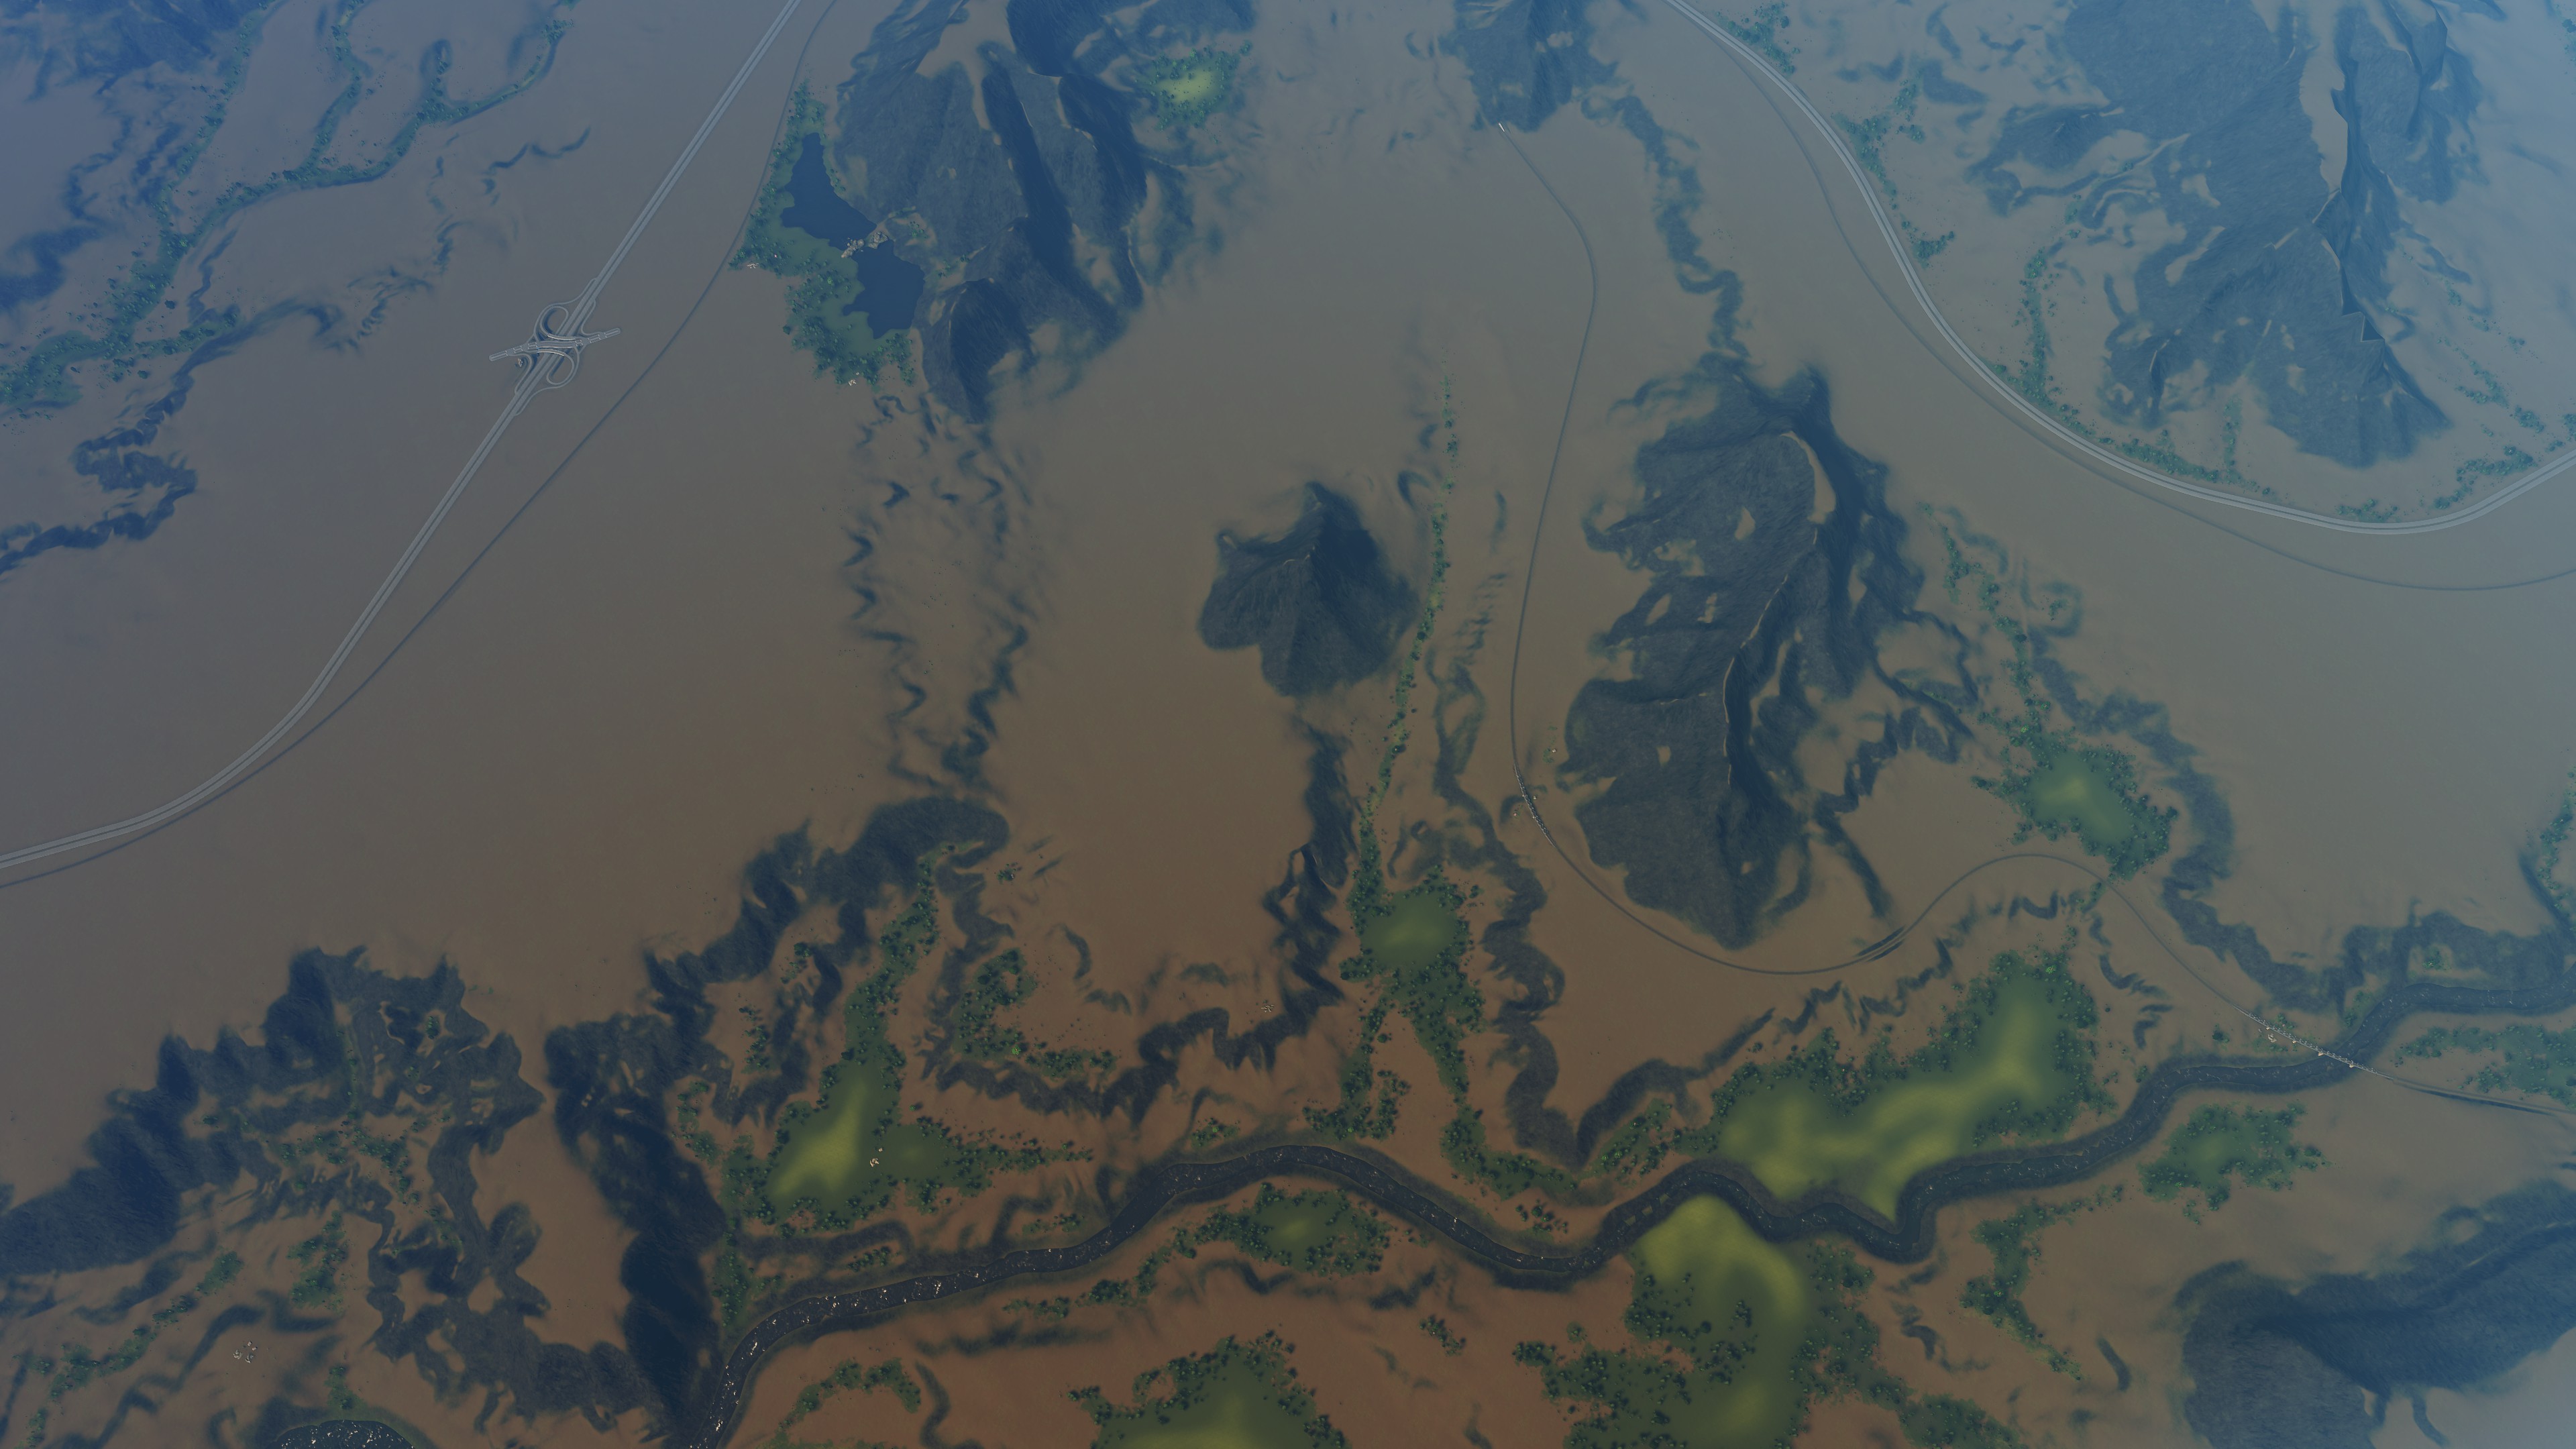
After the terrain is done the next task is to set the sea level and also the water spawn points for the rivers and lakes. Forcing water to do what you want and flow it in the right direction can be a very tedious task. Especially what I call the “wave of death” is sometimes hard to overcome. They usually happen when the water is flowing downhill with a very high speed and the water spawn point can’t keep up generating new water. But also with very flat river beds they can occur.

Multiple waves on fast flowing stream

Single big wave on flat river
To fix this issue you have to avoid very steep declines in the river bed and also smooth the river banks, so the water does not “bounce” off sharp edges or bumps.

Multiple Water spawn points to smooth the water flow and also for consistent water replenishment.
Production Process: Highway and Rail Routes
The most fun and entertaining part of the map making process for me is to add the highways and rail routes. With the use of Mods like Parallel Road Tool or Network Multitool which greatly support the process it is even more convenient and satisfying. There are some important things you have to pay attention to:
- Don't place nodes too close together, otherwise traffic will start-stop on that spot
- Take care that the lane arrows point in the correct way on intersections
- No anarchy mode on, you always should be able to upgrade (or invert direction) of the placed segment.
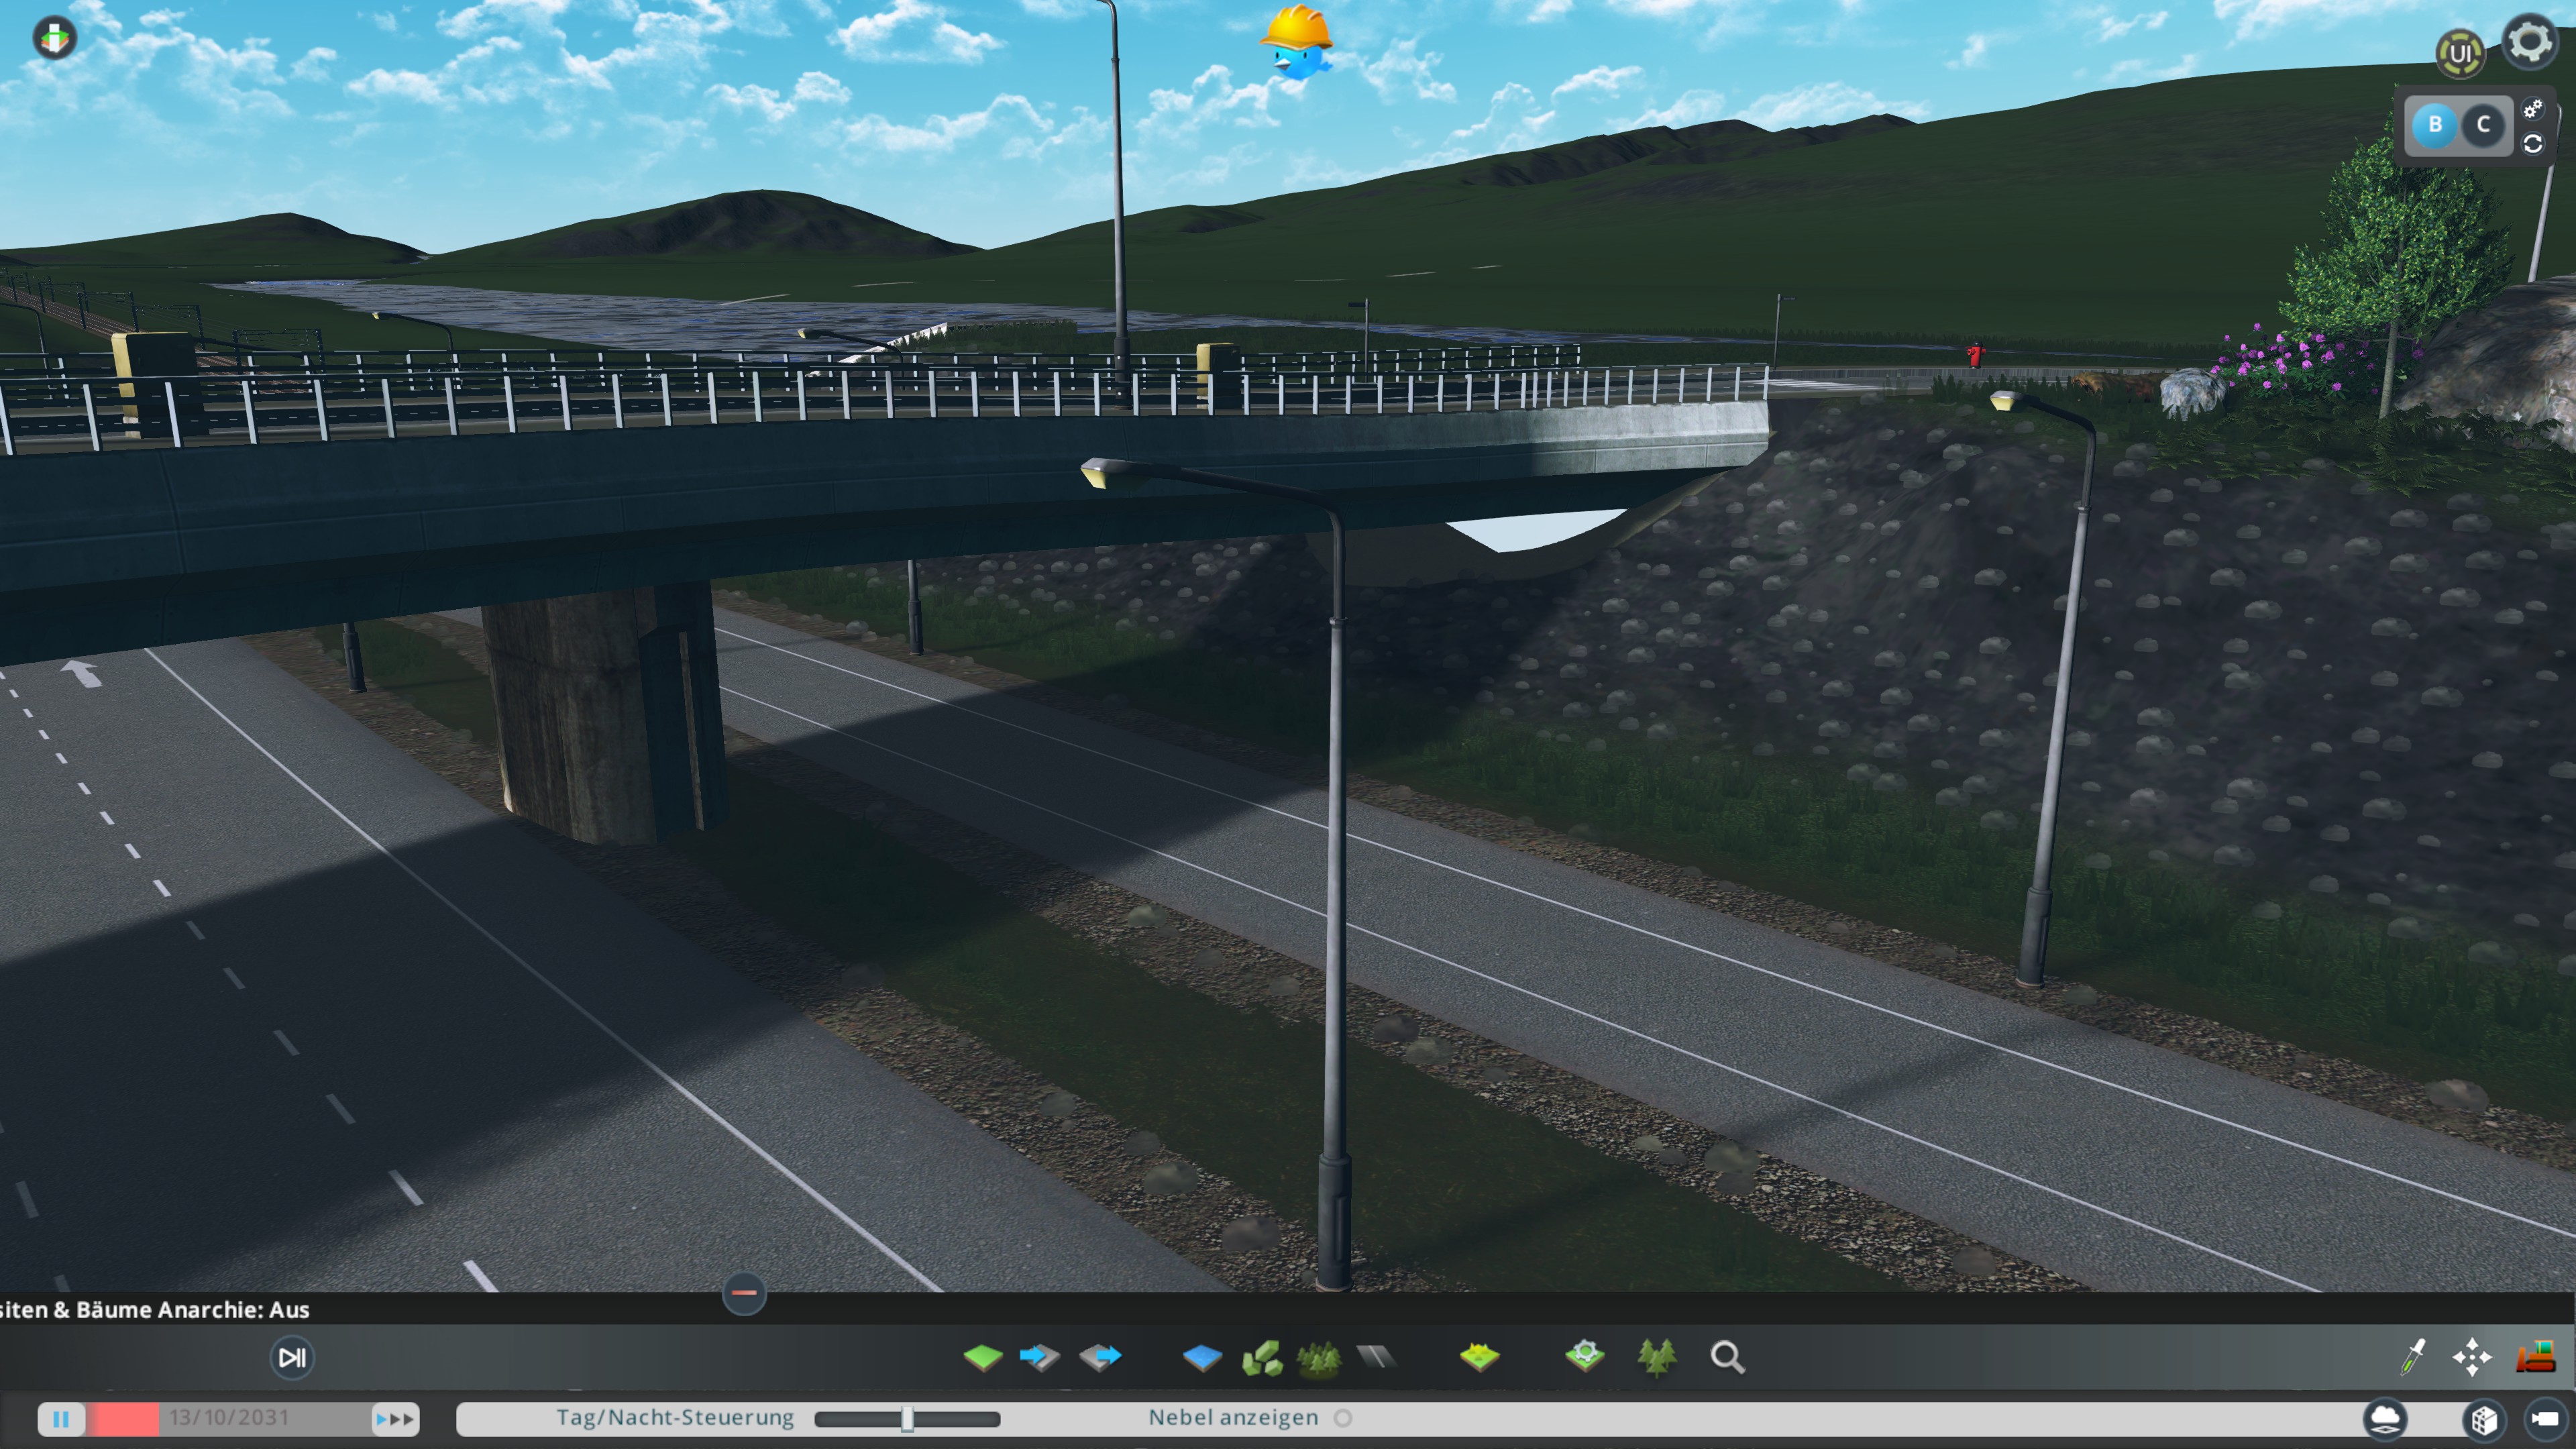
- Avoid blue mantle at steep over-/underpasses and bridges.
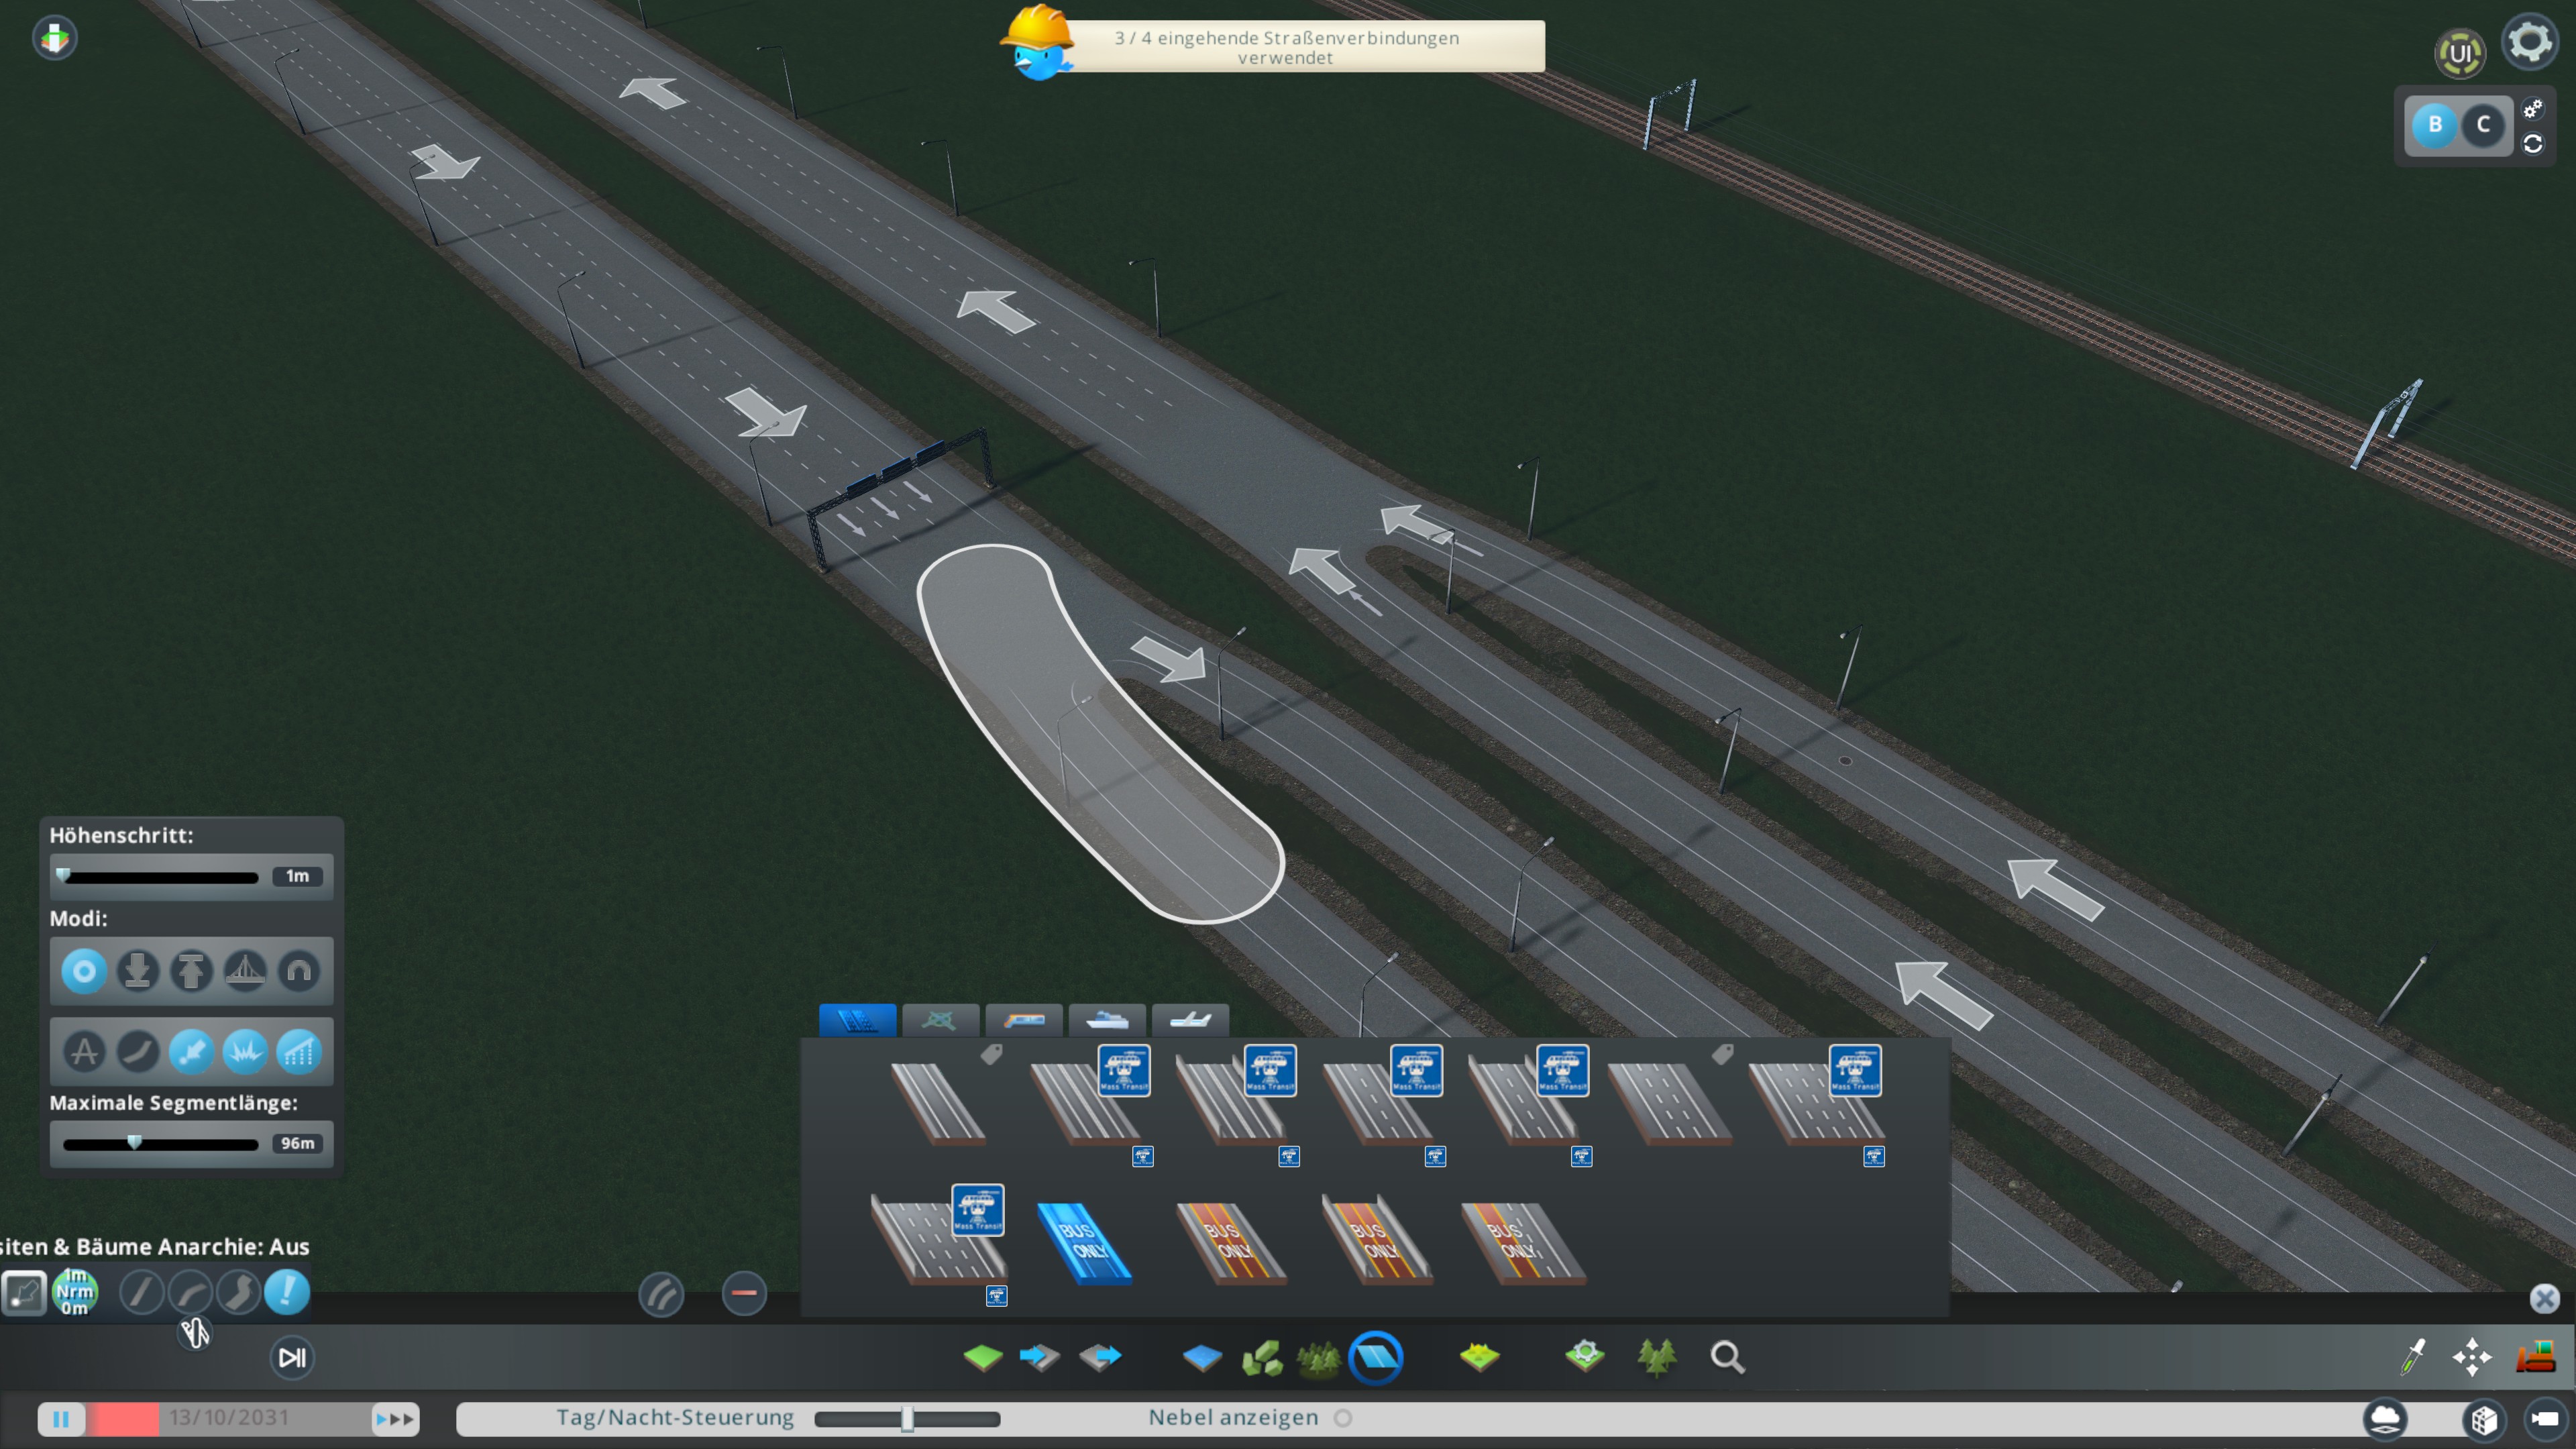
Left: Check if segment is upgradable and arrows correctly aligned
Right: Blue mantle under bridge, either smooth terrain or move bridge node a bit outwards

Finished highway and rail network, I always place an exit in the starting tile. I also add at least one big interchange on the maps.
Production Process: Ship and Plane routes
The routes for planes and ships are the most easy to place but very important for a functioning city. Some things I consider when placing them onto the map: don’t connect the ship paths to avoid dummy traffic where I think it is inappropriate. Don’t create very sharp turns or ships will “wiggle” too much. Place the air routes outside of the playable 25 tiles so the planes can descend and ascend more smoothly from the route to possible landing strips.
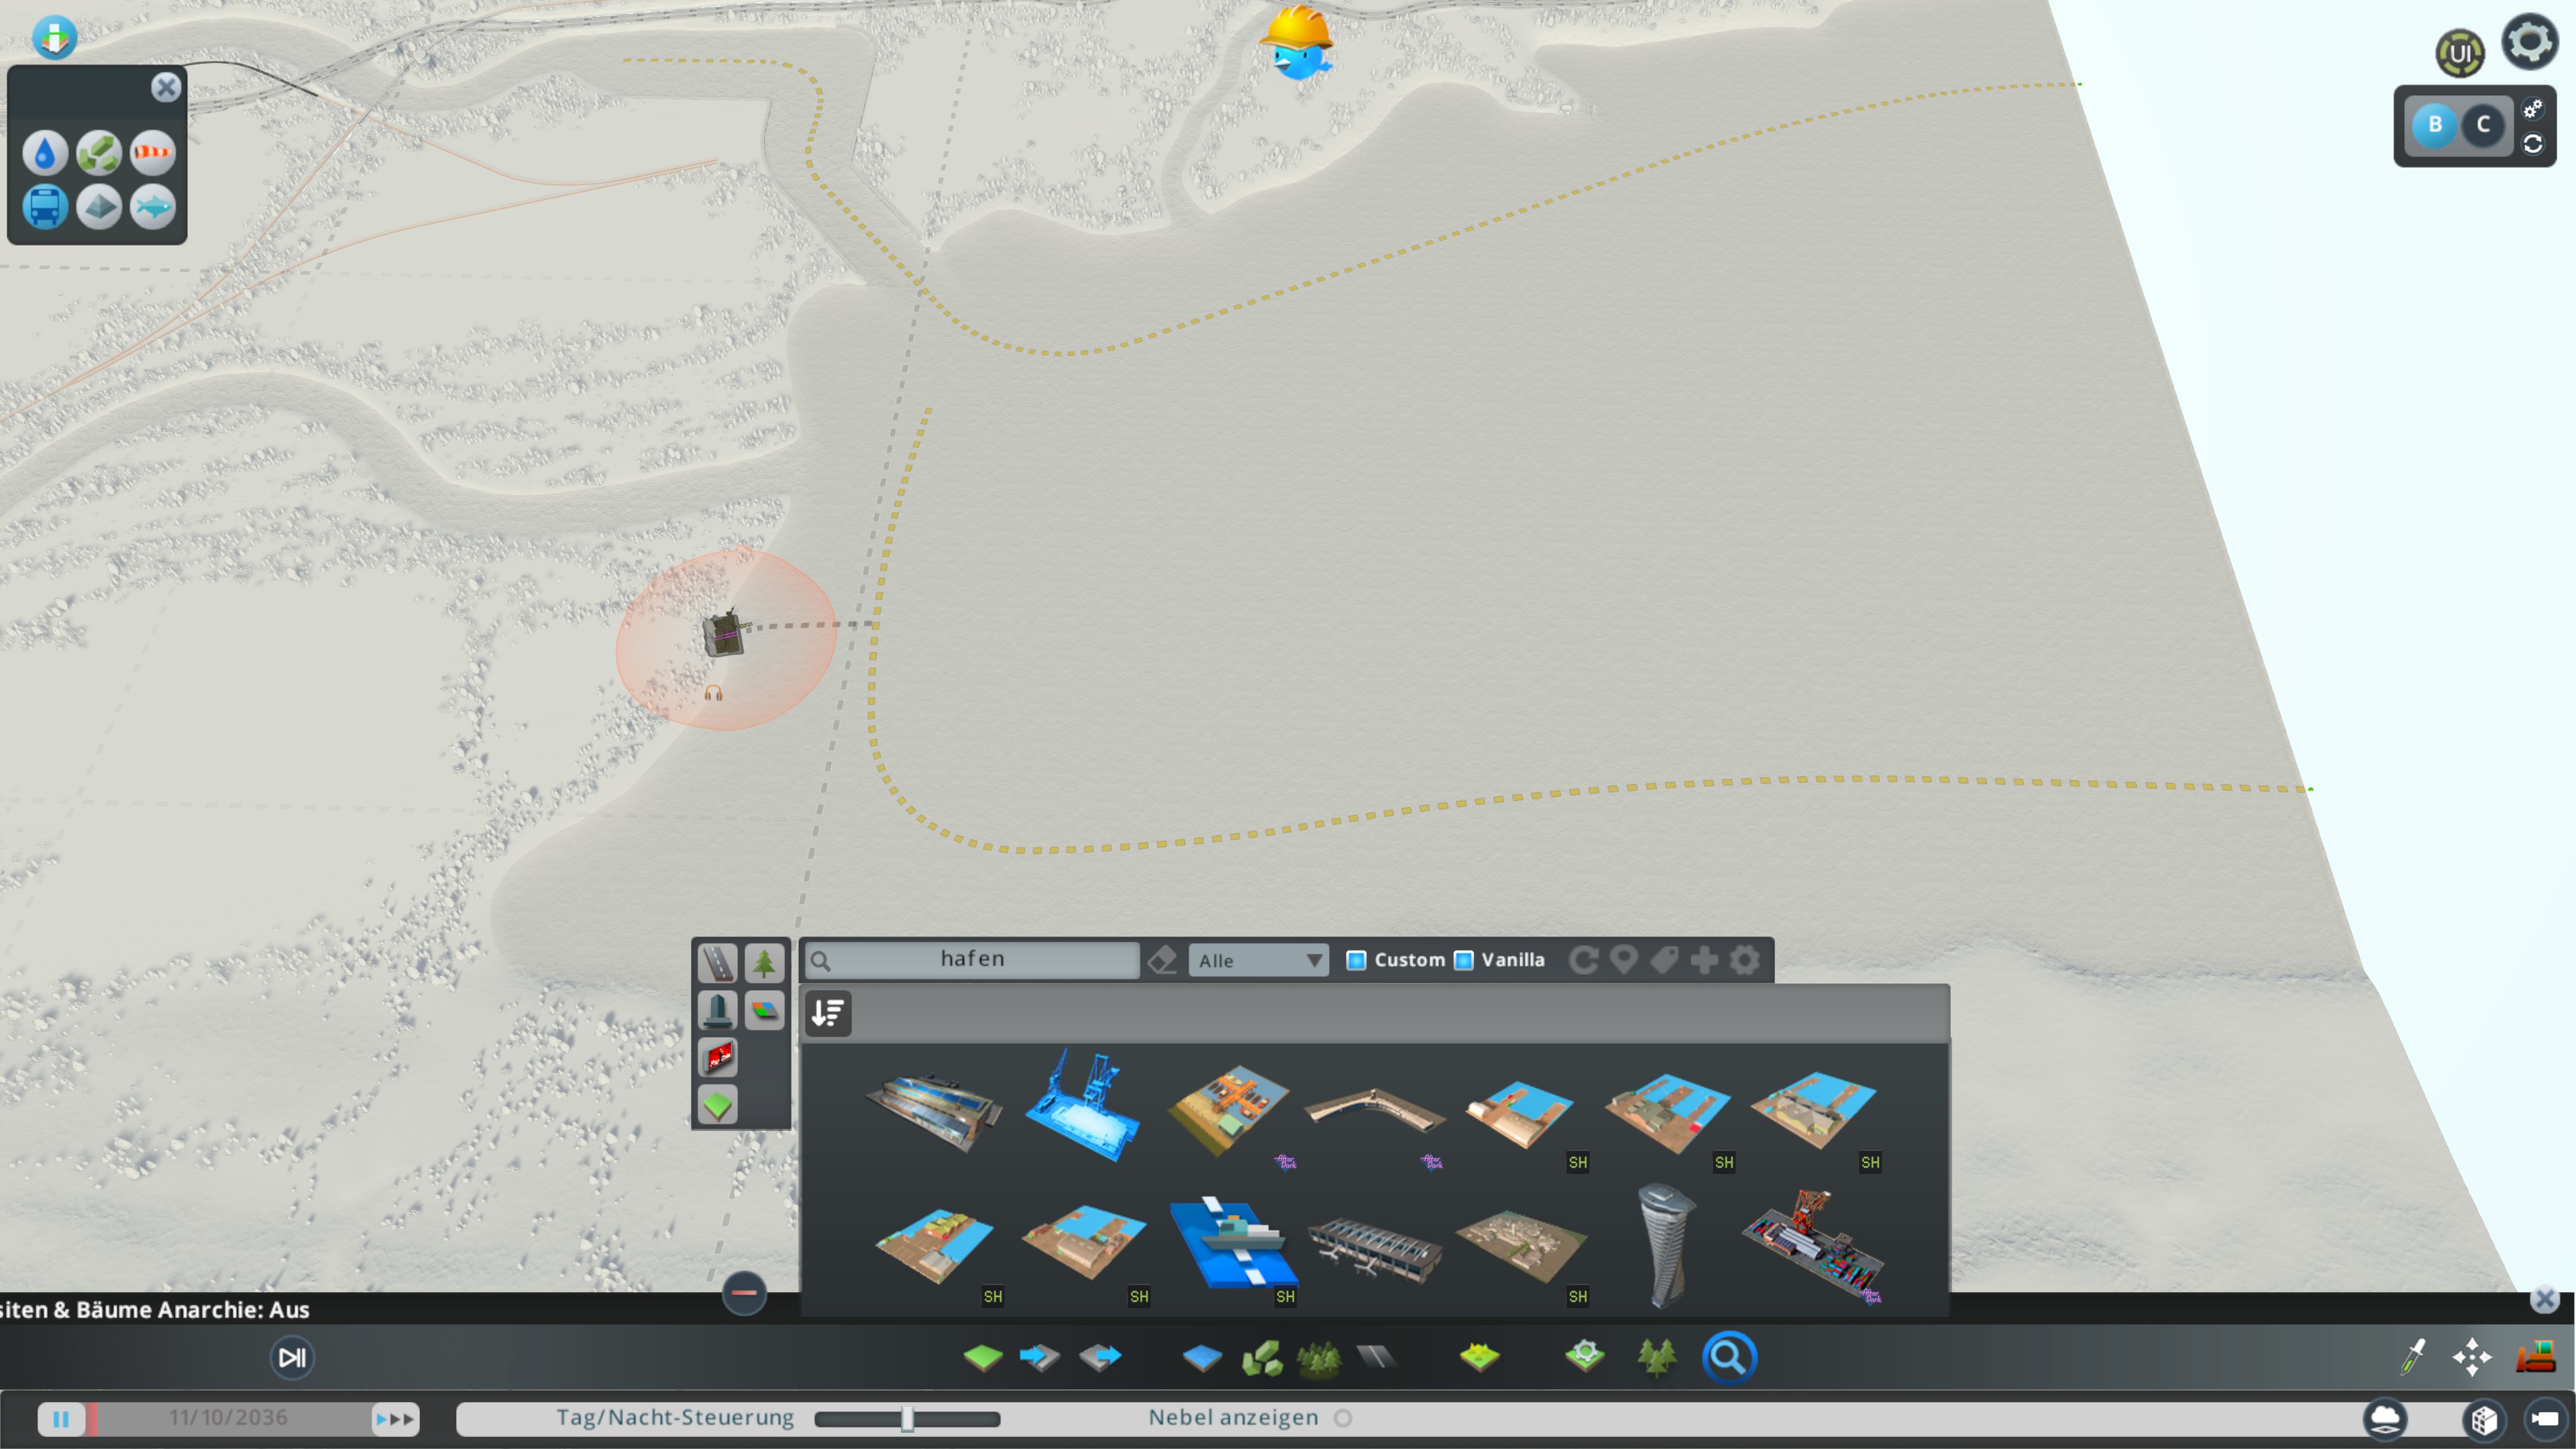
Ship route is not connected to each other to prevent dummy traffic yet it’s functioning as expected when connected to a harbor.
Production Process: Tree Painting
Without the mod Forest Brush it would be much more difficult and time consuming to create natural looking forests. For streamlined production I created reusable forest brushes to use them on multiple maps. Usually I need a brush for general forest painting, one for adding “depth” to the forest and one or two for detailing the edges of the forest or feature areas.

Four different Forest Brushes used on Map “Mountain Plain”: Top left - general brush, Top right - general brush 2, Bottom left- add depth brush, Bottom right - detailing brush.

Using different Forest Brushes to create the Tree Line where big trees stop growing.

Using different forest brushes to soften the forest edges and also add some detailing.
Production Process: Resources
The available resources on a map are contributing to the playability, so it is very important to place them in an accessible way for the player. If you wonder why some oil fields are under water, those are usable with the Oil Rig from the Industries DLC.
The other important purpose of the resources, more specifically the texture they create when painted, is for adding more visual variety on otherwise very plain and very green areas. When combined with sand, trees and props they can contribute to the appearance of the map.
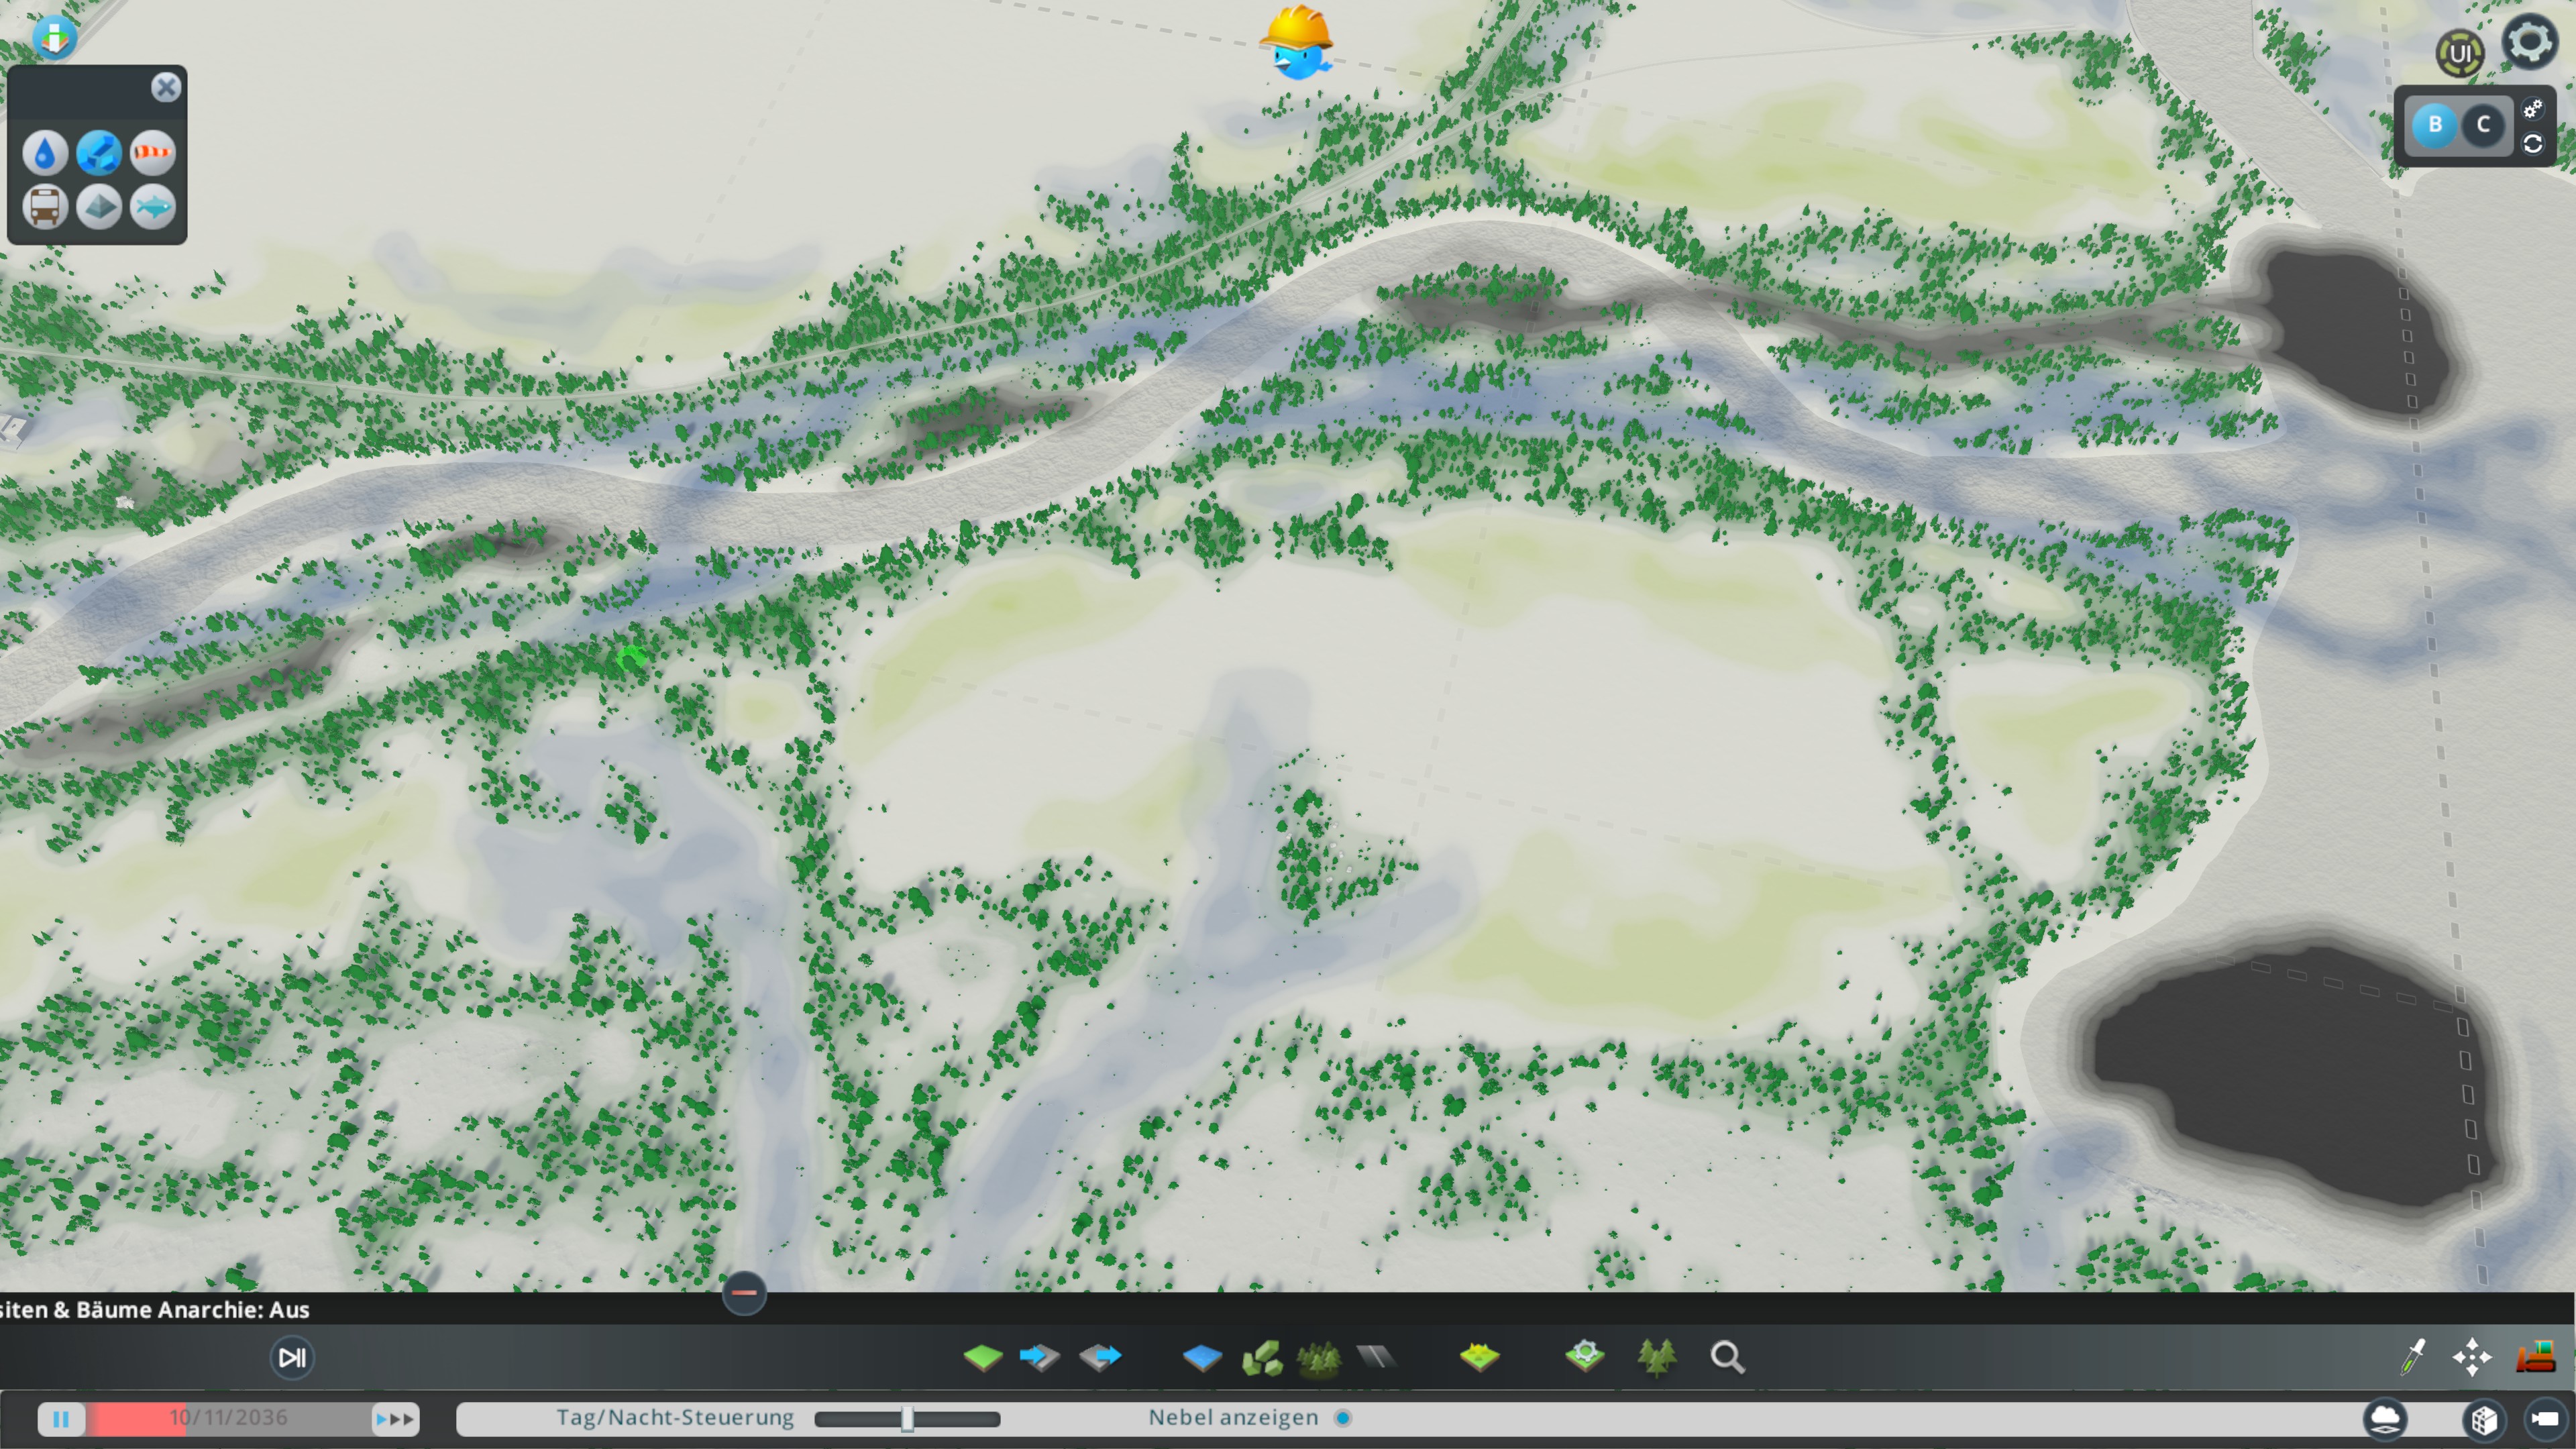
Example of strategic placed resources, spots in the right are placed to encourage the players to use the Oil Rigs from Industries DLC.
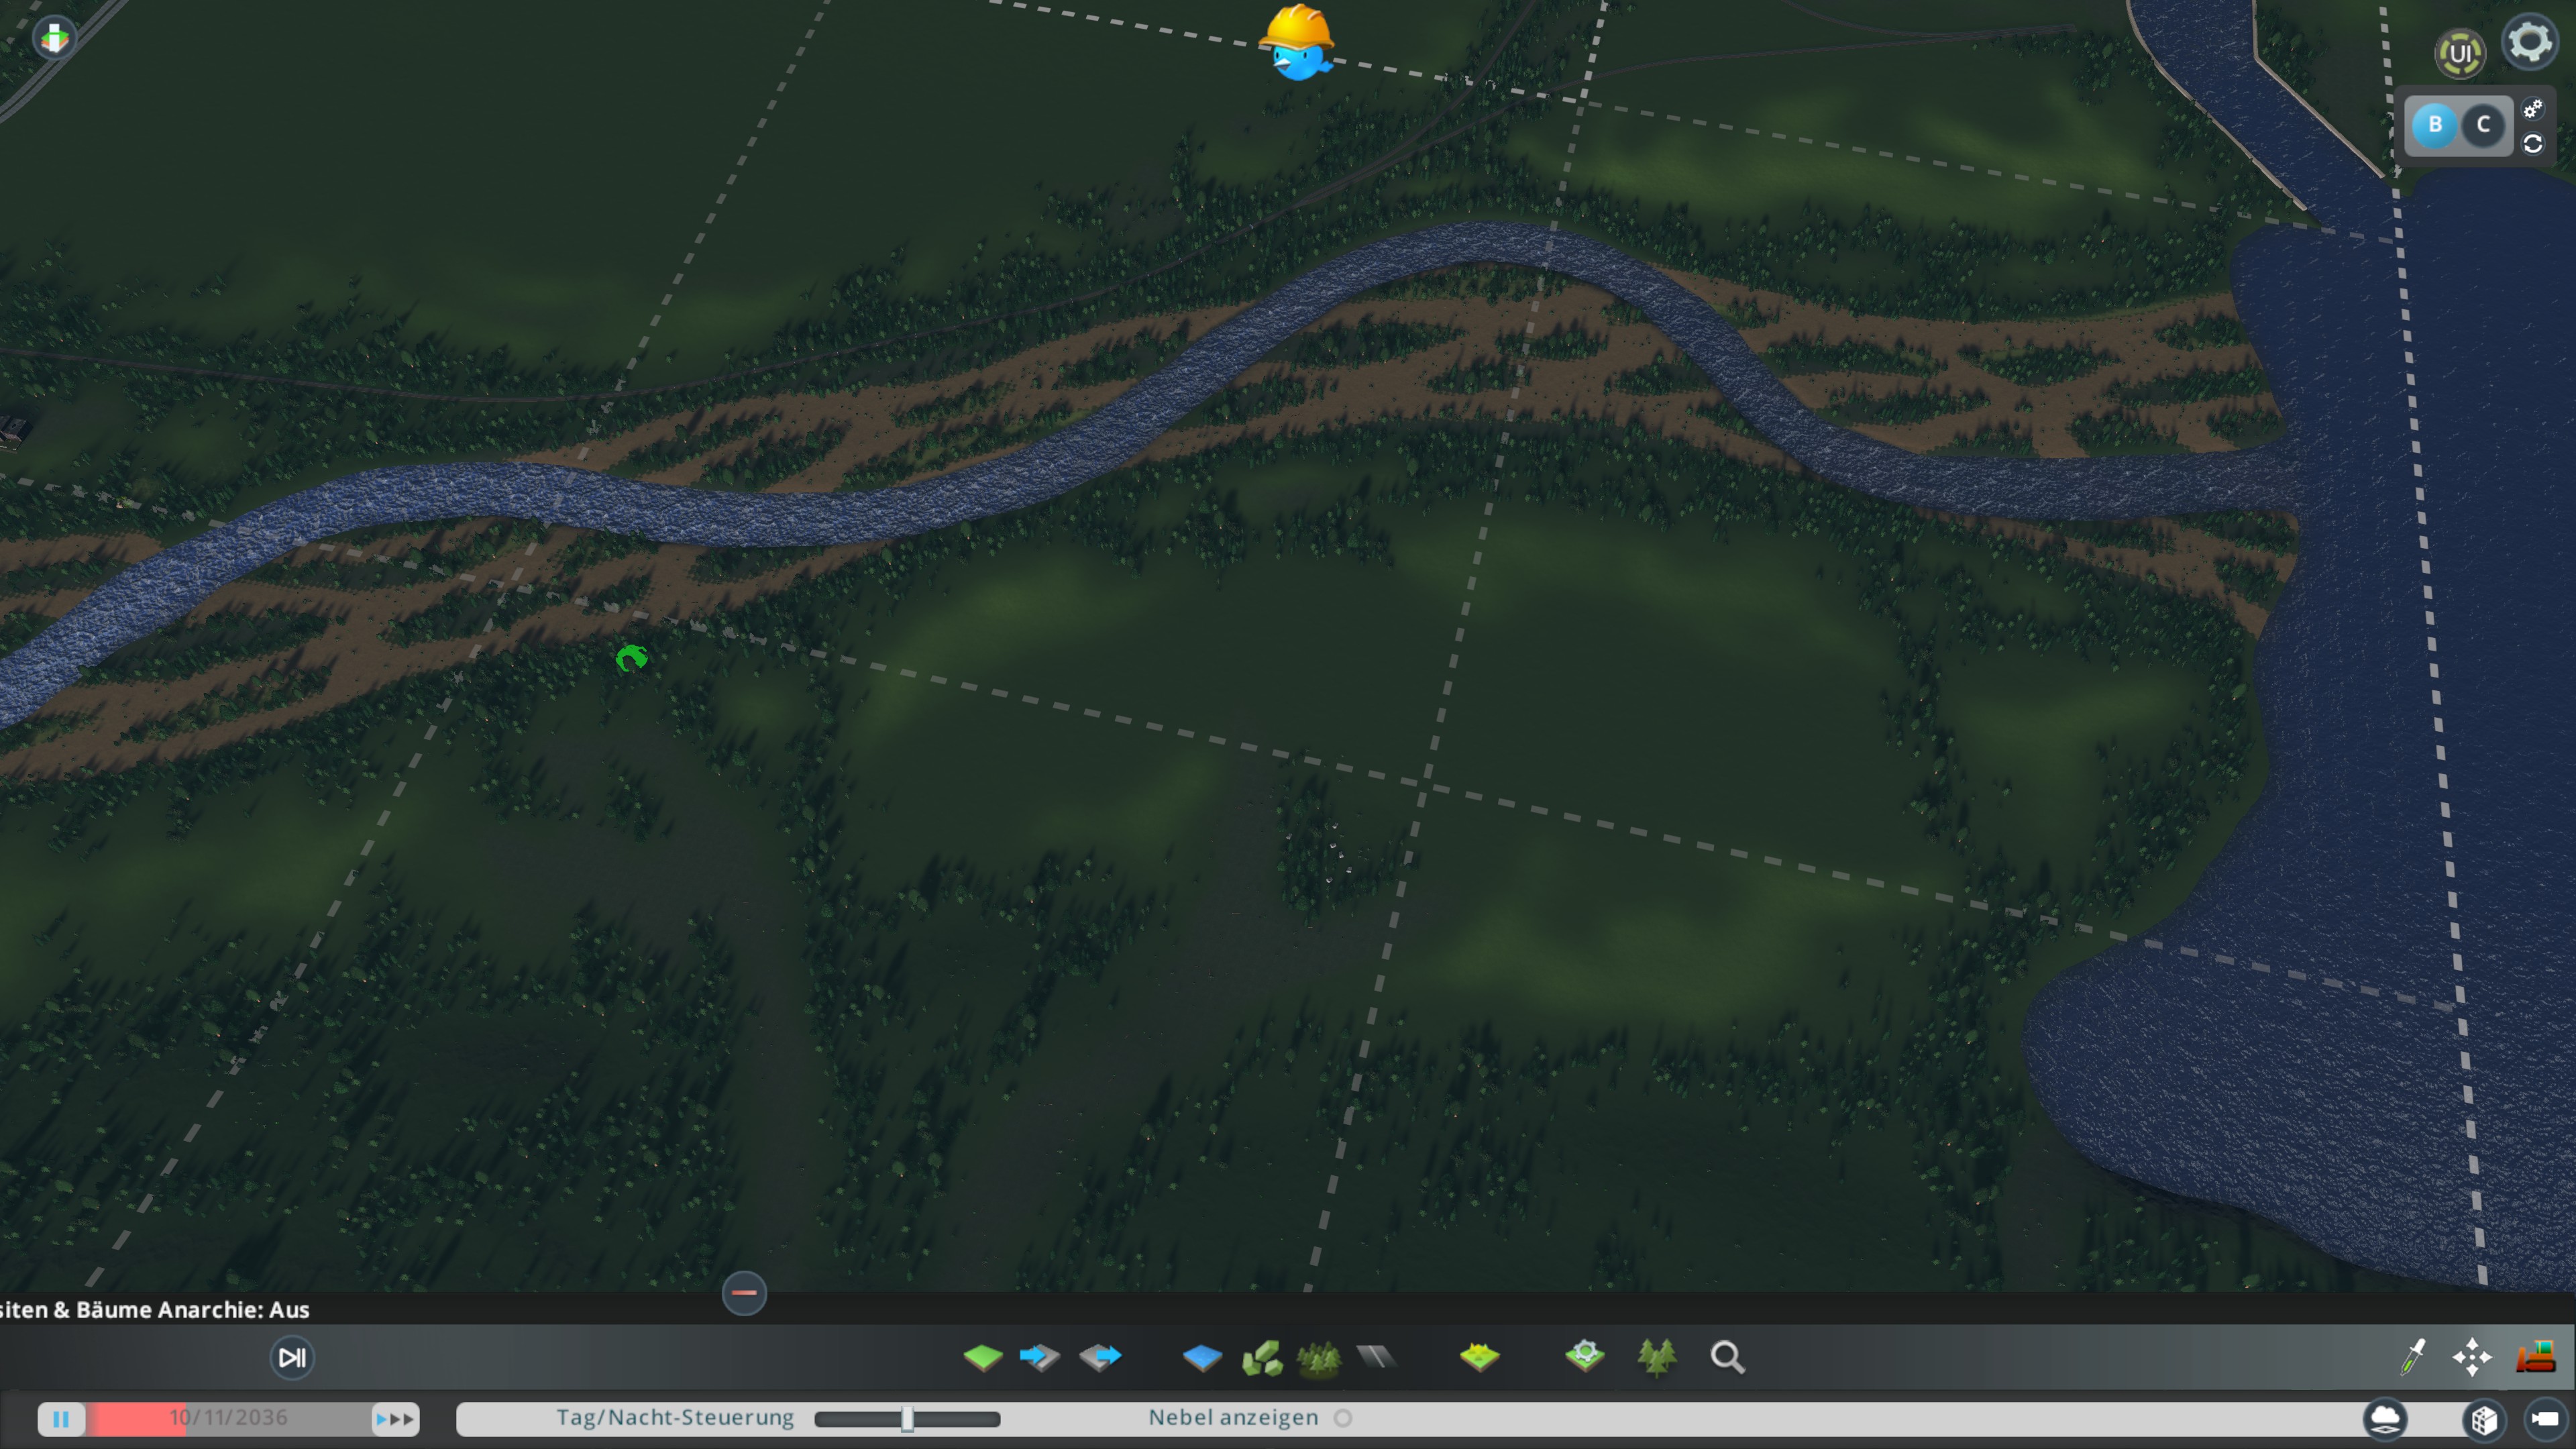
The same area in “normal” view where you can see the use of the resource texture to add to the detailing of the spot.
Production Process: Feature Areas
Feature Areas are icing on the cake. They spice up boring areas and contribute to making a map visually interesting. You can also use them for a good looking backdrop of the map, for that they don’t even have to be very detailed.
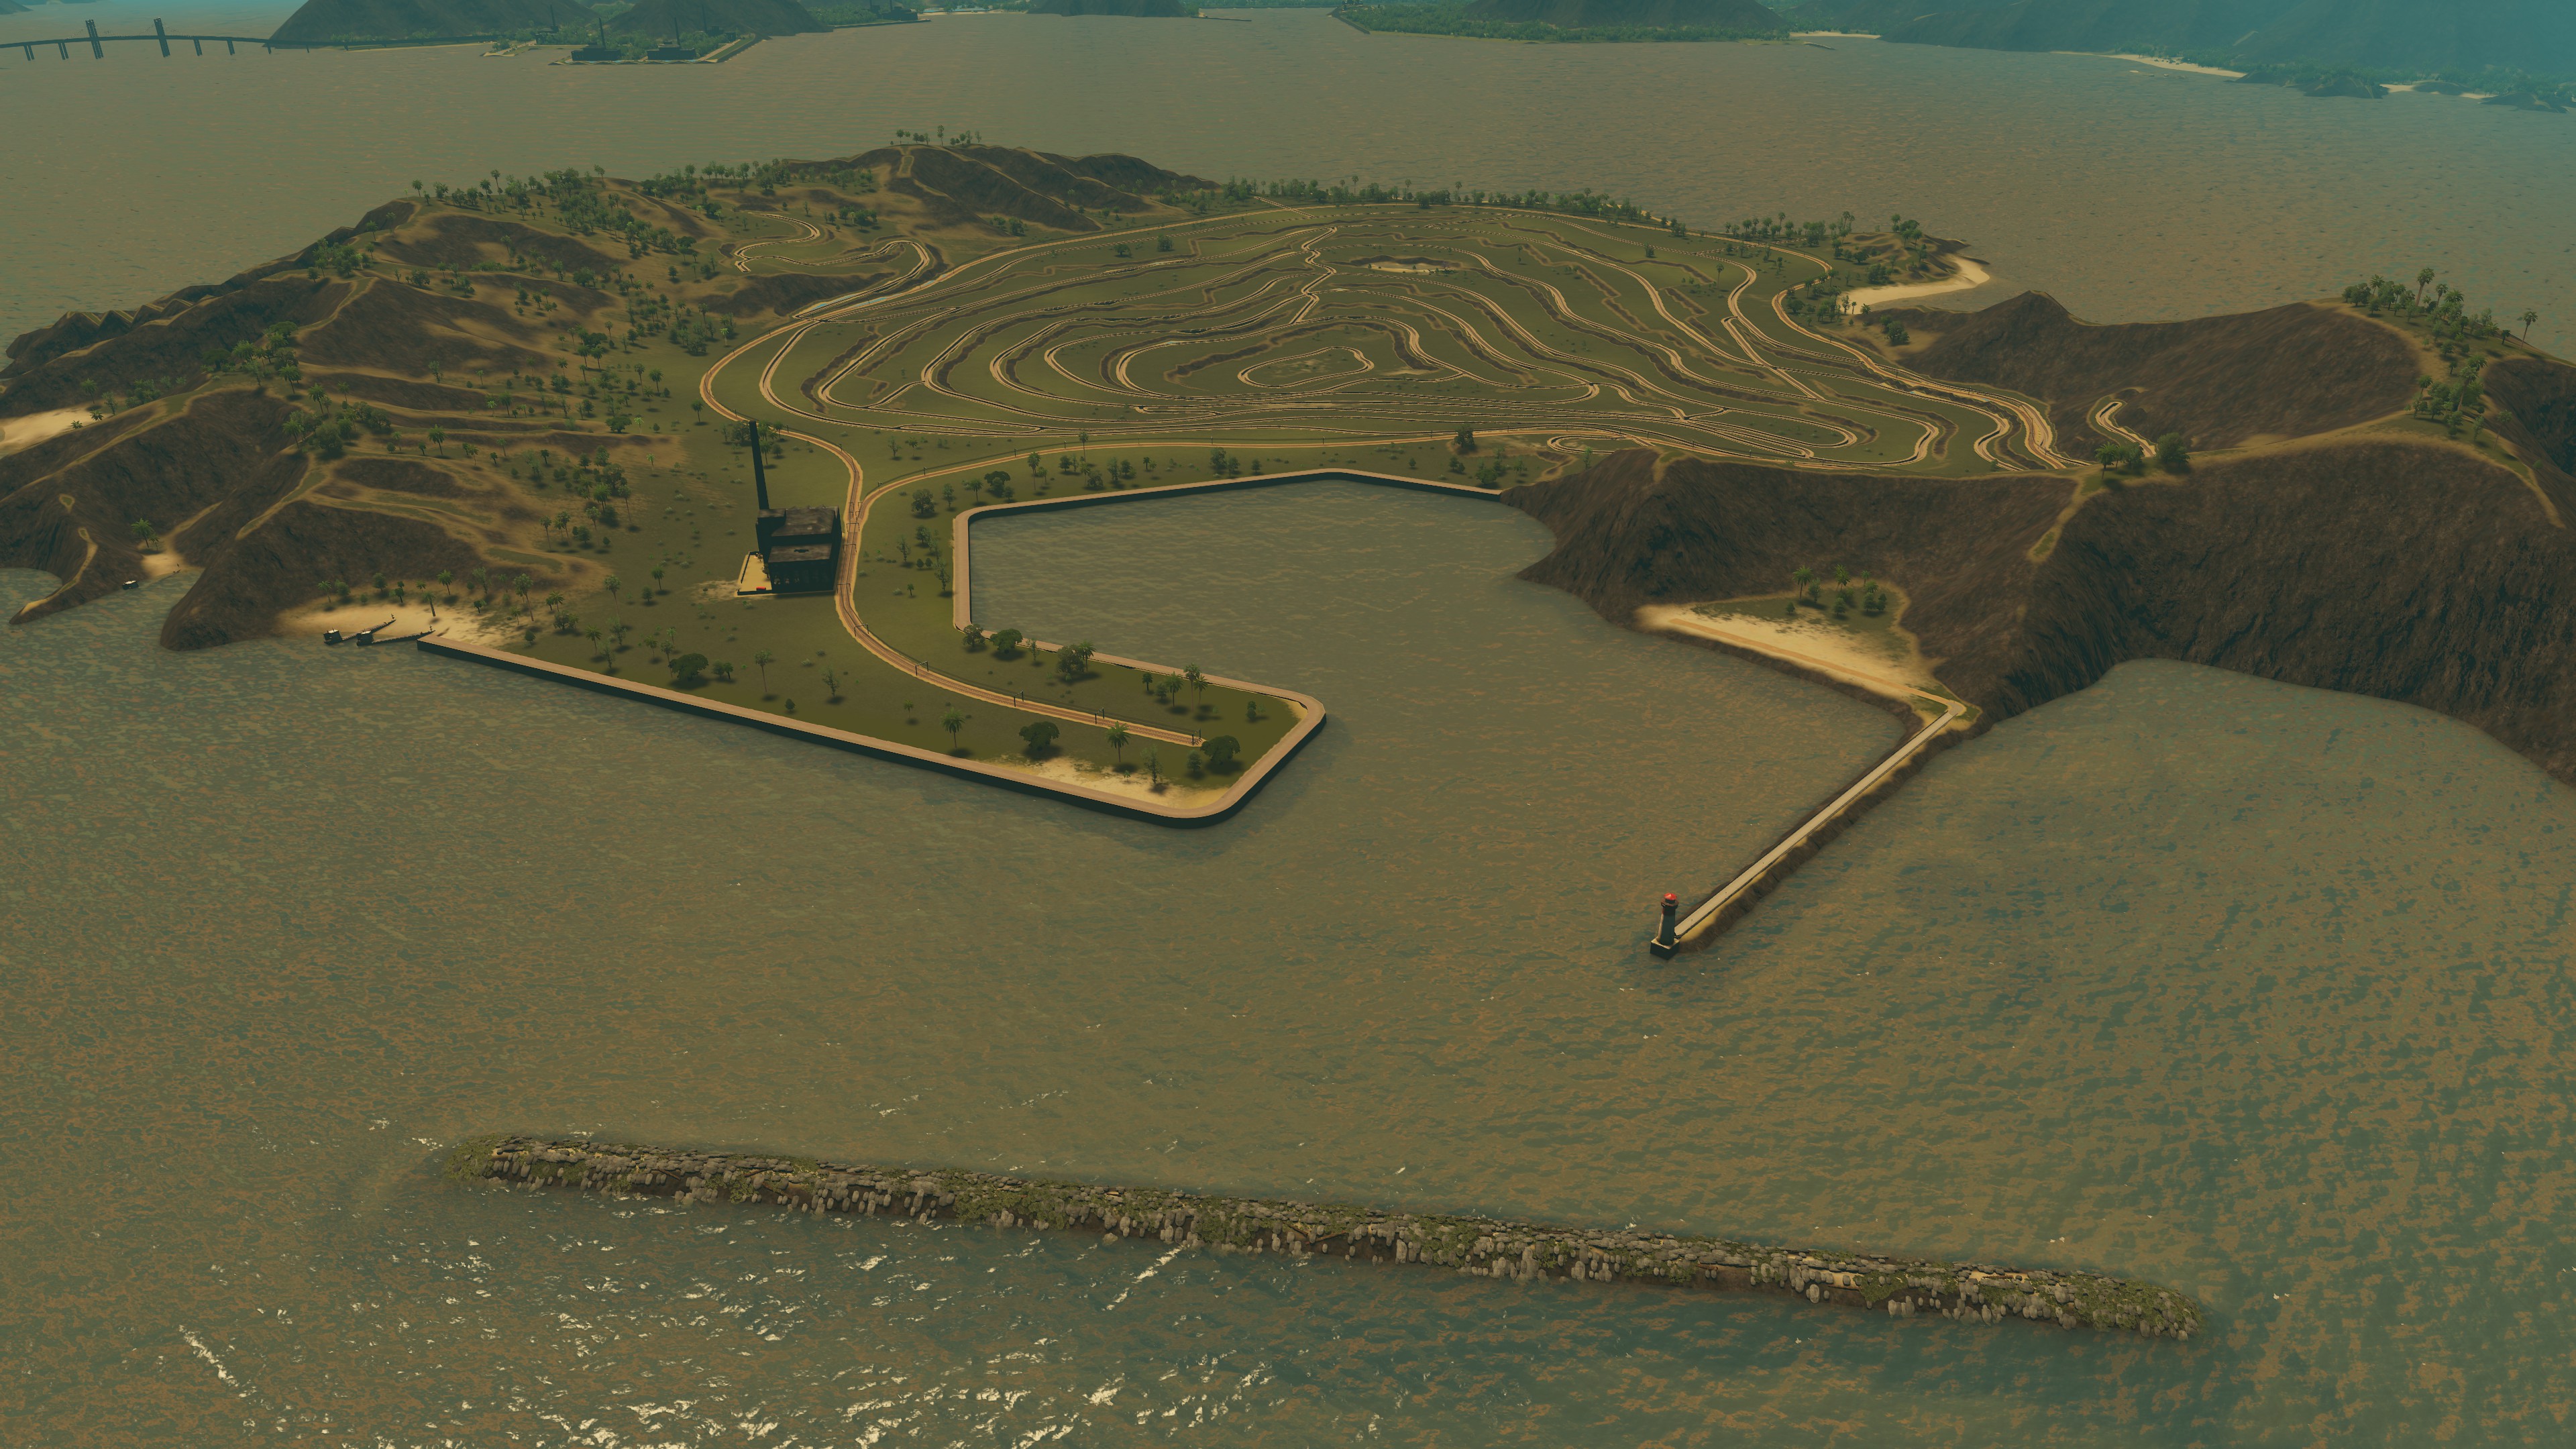
I use real life locations to inspire me or just make up stuff out of my mind that I think looks cool and fits to the map. Some examples for the Map “Mountain Plain”:
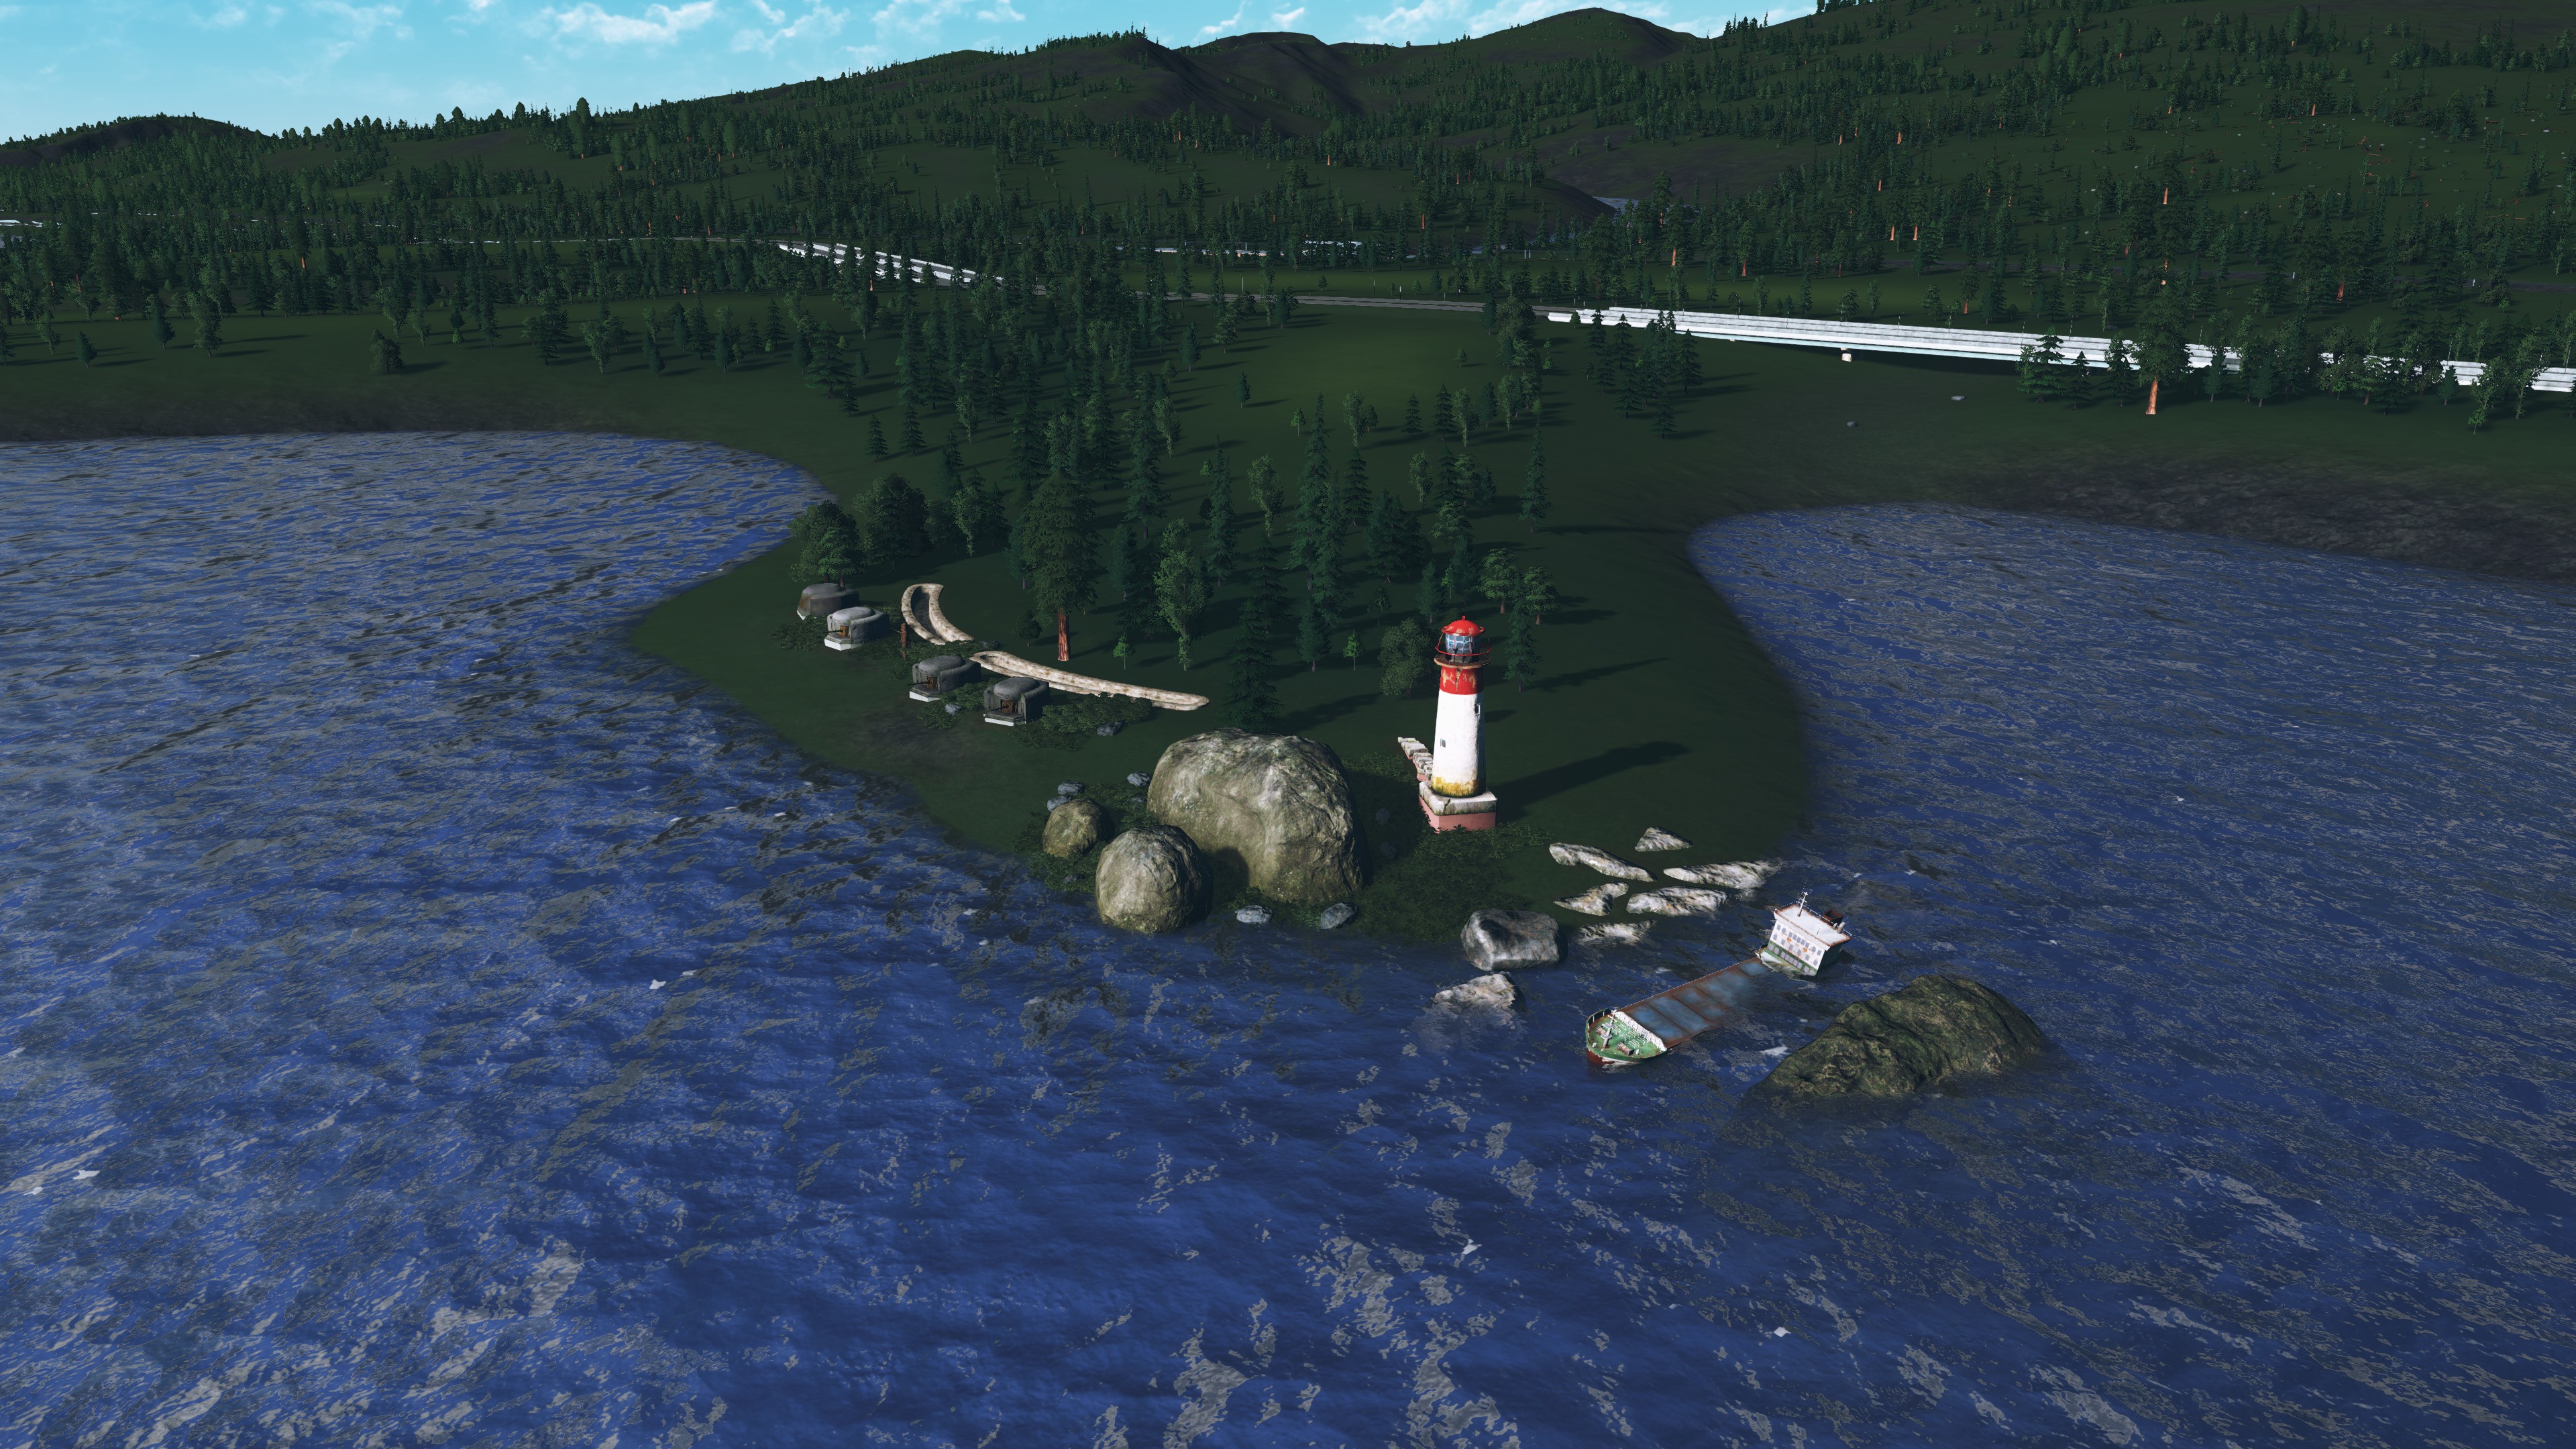
Old fortifications at the entry of the harbor area.

The Old Factories are used to suggest wood harvesting and processing area

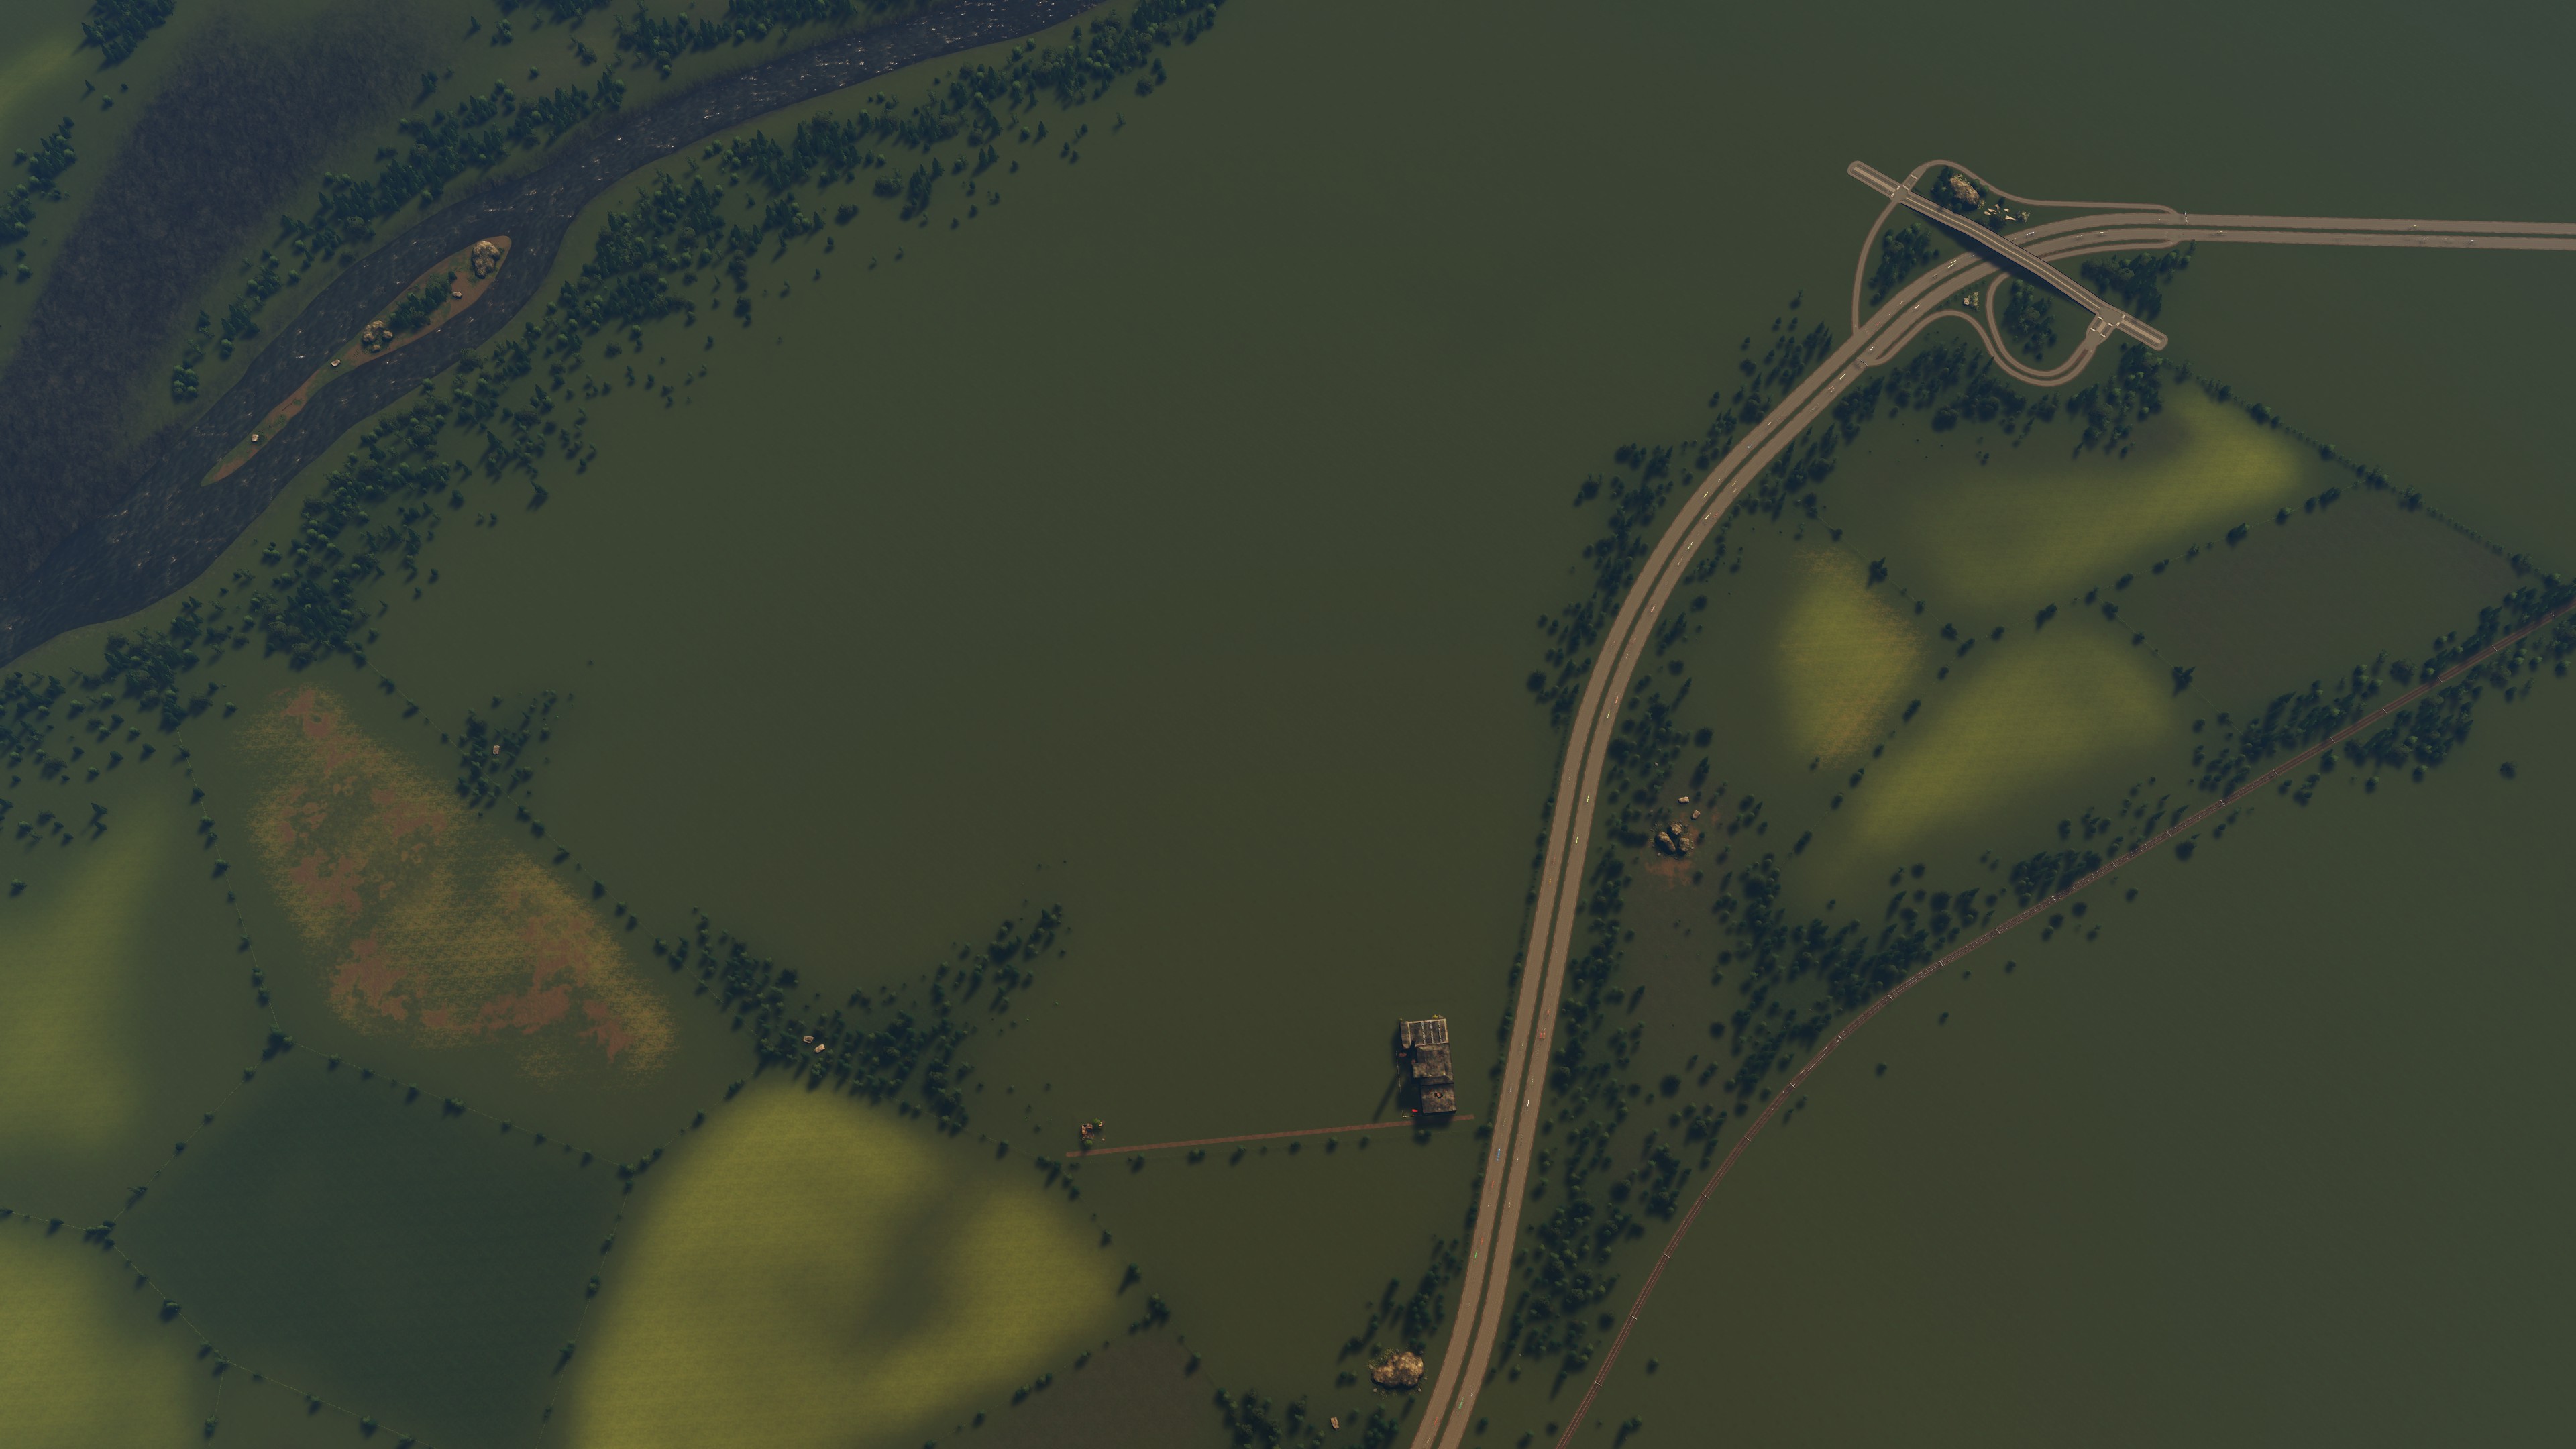
All the possible detailing tools used to hint alluvial land for annual floodings of the river.
At the end of this dev-diary I want to include some additional screenshots from the maps. I hope that the new map pack will fuel your creativity and their landscapes will help you build wonderful cityscapes.
Thank you for reading and Auf Wiedersehen,
Sidai.


- 9
- 1


