This rather long update pretty much covers February 1940.
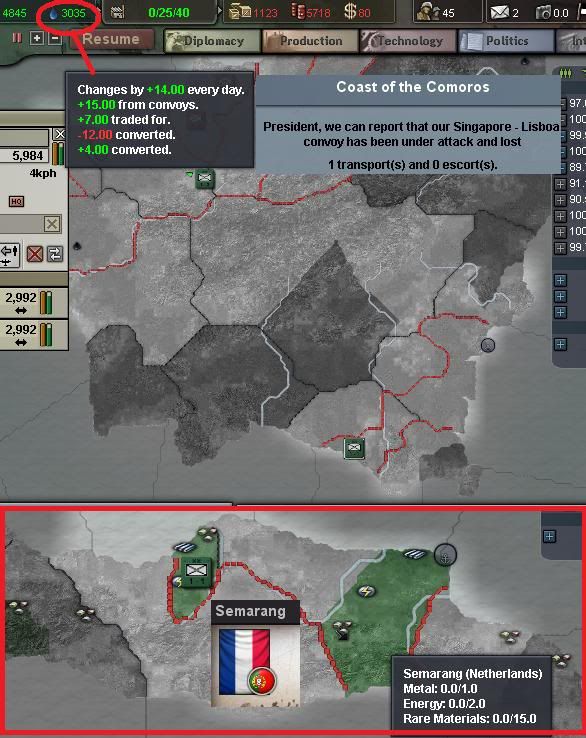
Portugal's conquests, and her convoys, were providing enormous stocks of every vital resource by February of 1940 -- Energy, Metal, Rares, and even Crude Oil. But our Money supply was dropping precipitously.
Fortunately, trading abundance for shortage, we were able to arrange with Germany to provide them with 21 critical Rare Ores for every $3 they provided back to us. This didn't stop our bleeding out money, but it slowed it to a trickle.
And the new strategic situation allowed us to, for the first time, take the initiative against the South Africans in Angola...
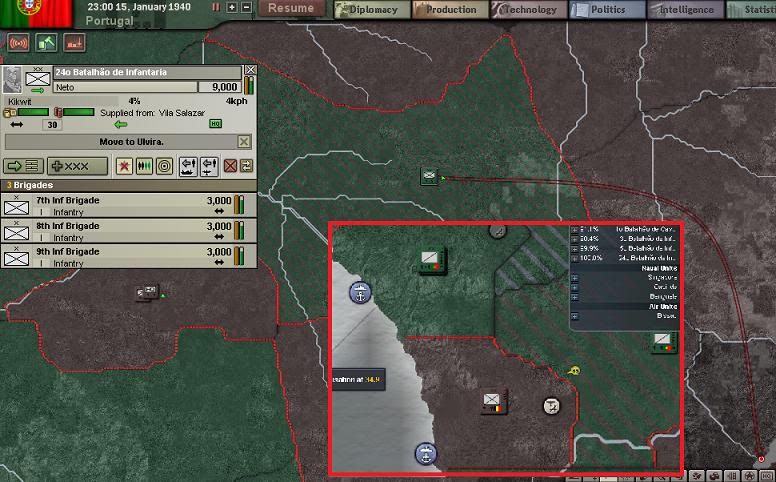
By sea, again, we landed the 1st Infantry Division, and an HQ detachment, behind the South African line of advance at Porto Alexandre -- the southernmost city of conquered Portuguese Angola. They immediately came under attack from a South African division that was moving forward to help with the fight. This was not ideal, but was not a huge surprise to us.
Wheels within wheels, you'll see several moves and countermoves over the next few slides.
But first, I want to show you how our recent conquests have provided an ability to increase our production totals (at the end of this update you'll see a breakdown of exactly what's been captured).
In mid-December, at 40 IC, we'd been able to manage 28 IC for Production, but shortly after we had to reduce this to rush reinforcements and upgrades urgently shown as needed in light of combat in South Africa and the naval squabble at Gibraltar.
Now, with 45 total IC, we are able to restore the 28 IC and still keep upgrades and reinforcements moving, and without sacrificing other priorities like Supplies. Our construction continues to meet our need for new Merchant shipping, but we're also building two new army divisions (cavalry and garrison), continuing construction of our light cruiser, and even working again on our Bf-109 licensed fighters.
Back to the continuing counteroffensive in Angola...
The South Africans, finding their rear threatened, turned about and began to attack south in response. But our infantry held strong, and could stand for a while.
We backed our relatively useless HQ unit out of combat and back onto our transport. Then it was landed just south of the 1st Infantry's location to offer a possible avenue of retreat, and also to widen our bridgehead against South Africa. Unfortunately, it also came under a moderately strong attack, and this was untenable for an HQ brigade.
Slightly to the north, along the coast, our units defeated the defenders at Boma, the Belgian port city, and moved in to secure their capture.
This victory was just barely in time, alas, as Belgium surrendered on the day after, and Germany annexed the remaining territory. It's certainly possible that the conquest of Boma, Belgium's last port (and with 1 Victory Point besides), tipped their hand toward surrender. Portugal was fortunate to have captured Boma, Leopoldville and Kikwit (each with some strategic value) before the fall.
In the 1st week of February, the South African 21st Infantry, with Portuguese infantry at their head and Portuguese cavalry nipping at their heels, decided to go into defensive positions and wait for their brothers to extract them from their difficult situation. It was not an admission of defeat -- simply a tactical consideration that they wouldn't be able to progress on the offensive under the circumstances. It was also reasonable to think that the South African Army -- numerous and victorious everywhere else -- would be able to rescue them.
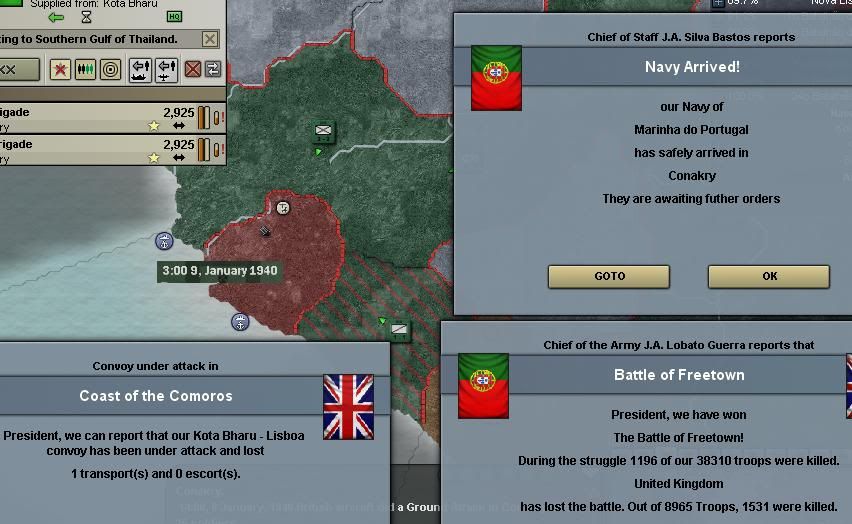
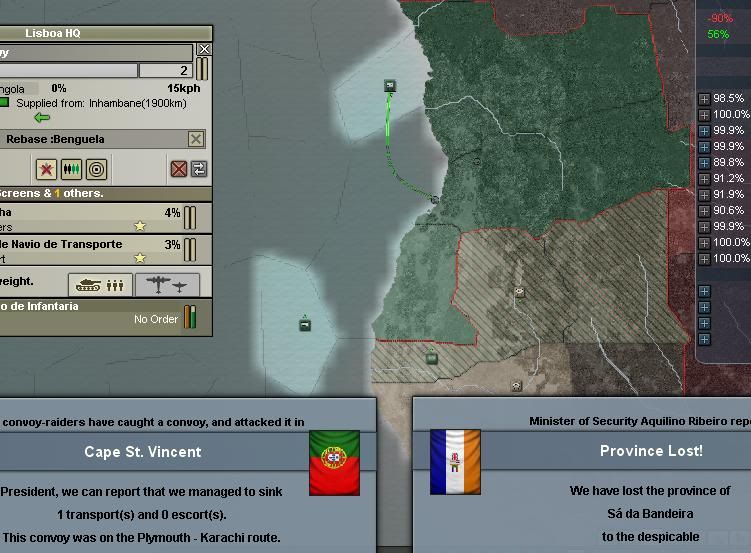
By this time, two more garrison divisions, freed from settled conflicts in West Africa, had been landed further south along the South African coast, working the pocket of Portuguese-controlled territory downward. These units rescued the HQ detachment, which again took to sea to be landed upon a target of opportunity.
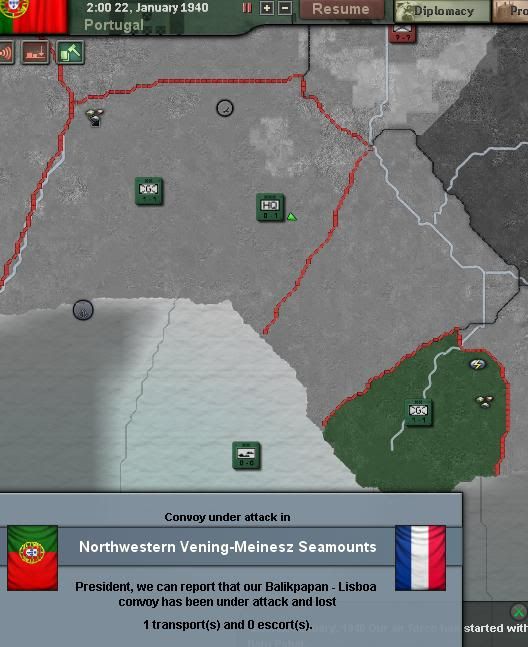
On the 8th of February, the chances Portugal had been taking -- practically broadcasting their presence to enemy naval units, due to their intense concentration on victory along the South African coast -- were called in. The transports, off the Skeleton Coast, came under attack by a South African cruiser squadron...
A Portuguese destroyer flotilla sacrificed themselves to cover the escape of one transport convoy, while another set of transports fell to the enemy guns. Fortunately, the transports that were lost carried mostly supplies, and most of the troops survived to be landed successfully at Swakupmond a few days later (I'm not going to apologize for the fact that cruisers and battleships can't easily kill anything dead in this game -- it's a fault of game mechanics that has allowed me twice to escape with my troops when the chances of that in real life would be slim).
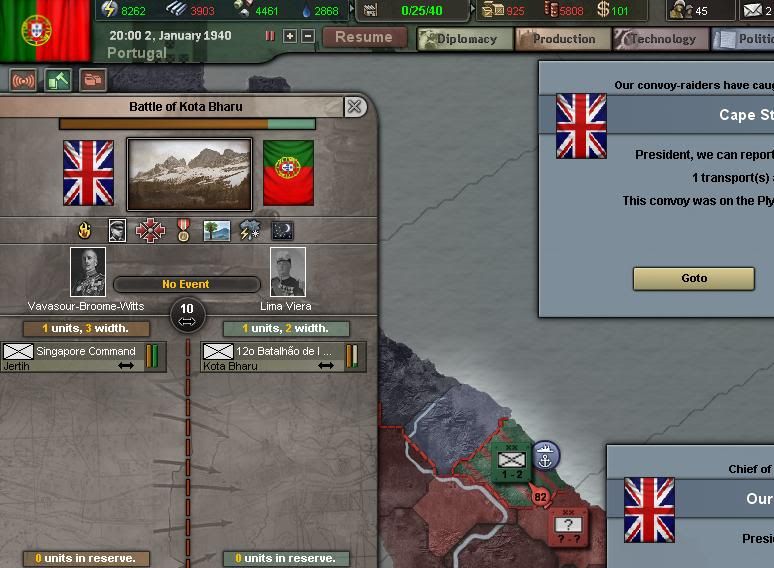
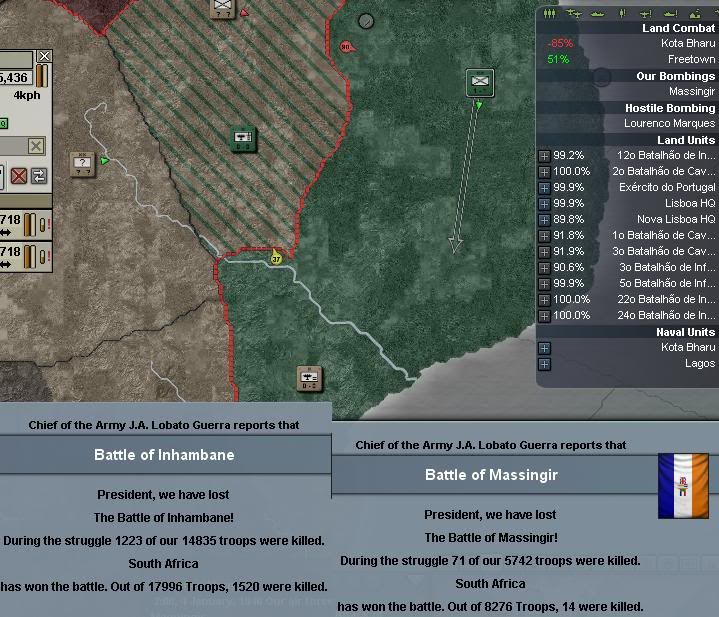
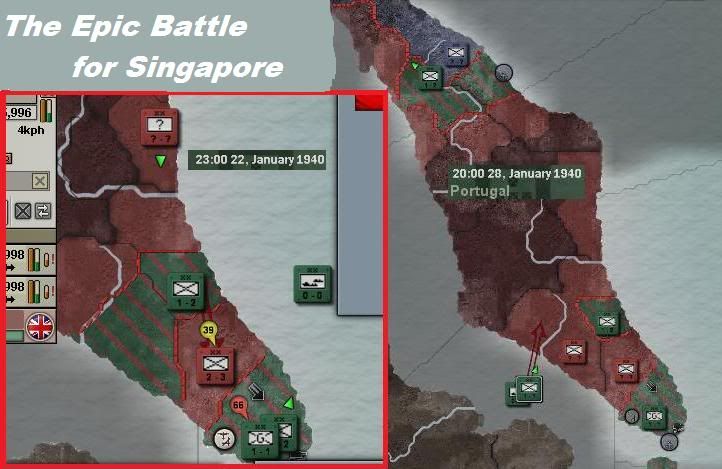
Back in Singapore, you'll remember how the beginning of February saw several Portuguese units attempting to entrap some stronger British divisions and keep them out of supply.
The main issue with this is that the units keeping the British from their supply lines were, themselves, out of contact with friendly supply lines, either to the north or south (the British were screwed, since by the end of January we held all of their ports!).
While two mid-strength (two brigade) divisions tried to hold off the British full divisions, another division pushed north to make contact with Kota Bharu, and draw supply through that port. Our margins, like almost everywhere else in this war, were slim.
By the time the British had pushed the Portuguese back, more territory had been captured by other units and supply lines had been established to Kota Bharu. The British offensive eventually ground down due to lack of supply and the two British units were forced to limit attacks to conserve dwindling resources.
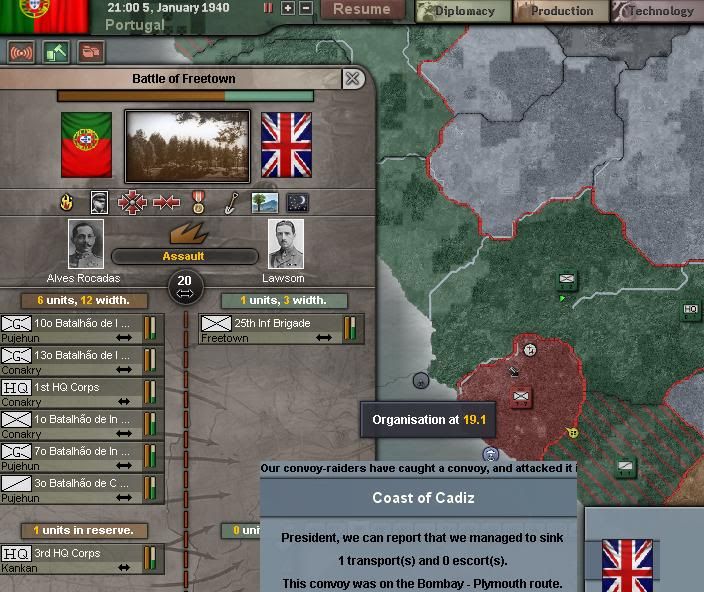
Air assets (our two bomber wings) during this period of time were split between the fighting in Angola and Singapore. As it had been elsewhere, air power was often the margin which tipped victory to the Portuguese when all might have been lost.
During this period, we continued to "cherry pick" valuable targets of opportunity as we could. In late January we spared a day or two to capture the Free French capital of Libreville, in Gabon, before steaming south to participate in the counter-offensive in Angola.
In the East Indies, we captured Makassar, first (victory points), in Celebes, and then moved to the north end of that island and captured a stretch of land to cut off any other Dutch defenders.
This action drew isolated Dutch defenders (they had been cut off from real intelligence for a while, information being spotty without naval or air assets) out of Menada in the far north, which our seaborne troops then swept in to capture. The Dutch were cut off for good.
I also landed in New Guinea to capture the Dutch city of Hollandia, which was undefended, but valuable, nonetheless.
In a previous feedback comment, a reader had asked how much real value was held by all these provinces the Portuguese had taken. I answered, in brief, but to be honest I "undersold" somewhat, missing some key captures and resources. I've made a spreadsheet, showing all the provinces captured which hold any value (victory points, industrial capacity, or resource mines):
So, ultimately, Portugal has captured 31 victory points and 10 IC, as well as many resources. We control an amazing amount of the world's supply of Rare Ores! As far as victory point totals go, Germany controls 229 VP, Italy controls 67, and Portugal 43. It almost makes us look like a major player in the Axis!
I did look, by the way, to see how all this was affecting the British Empire in March of 1940. Unfortunately, they still had maximum stockpiles and a positive flow of each resource (though some of those margins were small, and they might fall into deficit in the future).
Another commenter had asked for a screenshot of Europe at this time. I decided it's hard to get a good screenshot of all that and still see the important details, so here are a couple of important fronts.
In the north, the Germans are beginning to push increasingly into Norway from their bases in annexed Sweden.
The Greeks have successfully pushed into Albania, capturing most of it. This is surely what prompted the German invasion.
The Germans and Italians are both just getting started on their invasion, jockeying for frontage space as they push south.
Everything else is as you might expect. Vichy France is as it was, and German divisions are already lining up on the Soviet border. Italy didn't get any benefit from her massive push into southern France, all the way to Bordeaux, etc.


") Good for you that France finally fell. A lot of Africa has turned Portuguese green. I do have to ask one blunt question: in all those expansive territories, is there actually anything worth getting?
Good for you that France finally fell. A lot of Africa has turned Portuguese green. I do have to ask one blunt question: in all those expansive territories, is there actually anything worth getting?