• We have updated our Community Code of Conduct. Please read through the new rules for the forum that are an integral part of Paradox Interactive’s User Agreement.
Boy, the Brits really did fight like Churchill said they would, *Turns head and whispers* in london. Dad's Army went down kicking and screaming.
An Anglophile's, sorrowful, congratulations on taking the English section of the most awesome isles on Earth!
 
@Koppar: Thanks. I try to write a chapter shortly after I think I have enough screenshots, so I don't forget what happened. I don't want to clutter up the posts too much with pictures, although until I clear out Britain and Ireland, nothing exciting will happen, unless I managed to catch a RN fleet stuck in port, in which case the KM will be waiting for it to flee :)

@Cybvep: The plan was really my normal Sea Lion strategy, with the exception that France was still around to harass my convoy routes with submarines. The trick (exploit?) is to perform that landing in Scotland and wait a little bit until the AI's defenders in the south leave the big ports undefended. Hull and Lowestoft are typically left undefended, while Dover, Plymouth, and Portsmouth will normally have some defenders still. Landing the tanks in Lowestoft will let you encircle London quickly, although this time my MOT was delayed by Dover's defender performing a pinning action. I have to applaud the UK AI for doing that, as it allowed the two garrisons to reach Aldershot and keep the supply lines open until the next tank group arrived.

What helped the most though was using the subs to find the screens patrolling the eastern coast, and me sending my main fleet out to sink the patrols. I know from experience that if my battlefleet had met the big one at the end of chapter 18, I would've lost a lot of ships to the UK's carriers. In fact, I'm pretty sure the key to my success so far is that my CAGs are normally left alone during battle.

@BigBadBob: It really was a tough fight, and I knew I couldn't hold Scotland and had to abandon it. London would've been much harder had I not taken out the air bases in Birmingham and Sheffield, which then gave my bombers free reign to attack the city. They alone weakened the defenders to the point I could finally take them out, otherwise the siege would've been much worse for me. Even now I'm getting pushed south on the northern front, although the pockets in the south and west are almost done. I have to blame the AI for moving everything north to attack my diversion. A human opponent wouldn't have done that and wouldn't have allowed my transports to get that close. This tactic is really only useful against the AI.
 
Last edited:
@Cybvep: The AI isn't the brightest, that's true. France should've started ferrying troops to Plymouth to help out instead of trying to take my captured ports. The UK should've moved its patrols out of the Atlantic and focused on hunting down my navy. Instead, it didn't replace the patrols I sunk earlier, and had no surface ships along the eastern coast. My transport ships had free reign the entire time, while my battle fleet was resting and repairing.

@Enewald: It was too easy, due to the reasons I already cited. I won't be attacking the US anytime soon; that war will wait until I'm done with the Soviets and the fleet is ready.

@All: There's a typo in Japan's AI for the HPP version I'm using (it's been fixed in the latest one), which caused it to never declare war on China. Should I edit the save to start the war over there, or just leave the situation alone?
 
Last edited:
Typo? Where?
 
You fixed it already, but I'm going to stick with this version of the mod plus the BP work I'm doing.

You mean the '#' I accidentally left in the Chinese OOB? :rolleyes: You got me confused with "in the Japanese AI"...
 
Chapter 21: Weeks 17-27 - Fall of Wales and England, Scottish Resistance

On October 21, the Heer had fought over 250 battles. At this point, the combined battle experience meant that the Heer's officers and leaders were vastly superior to those of any other nation, and as a result future officers would receive better training faster, allowing their units to fight longer and recover from battle faster.


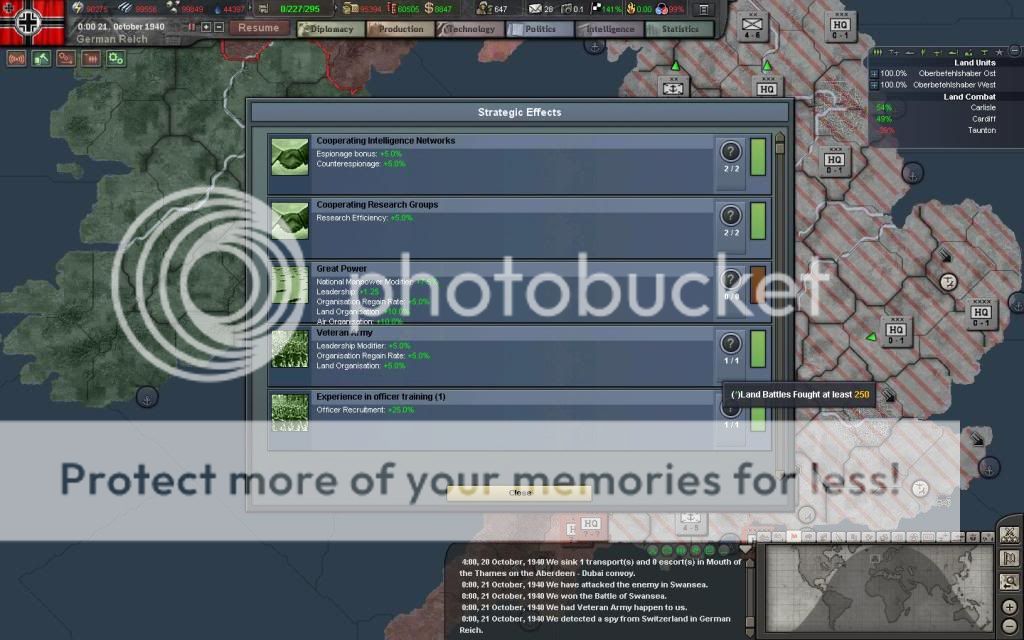
The Reich's army has proven itself to be a cut above the Allies

A few days later, on October 24, the RN fleet led by Admiral Mountbatten, stationed at the besieged port of Cardiff, attempted to flee to France. When the Siege of Cardiff began two days earlier, Admiral Raeder positioned his fleet in the Bristol Channel, waiting for Mountbatten's attempt to escape. Mounbatten was desperate and lacked the munitions to fully fight. However, the RN's battleships were still powerful opponents, and managed to secure hits on the KMS Karlsruhe, KMS Königsberg, and a destroyer. Mountbatten returned to Cardiff after losing two destroyer flotillas, and Raeder immediately resumed the blockade.


The First Battle of Bristol

One day later the fleet, led by Admiral Pound now, attempted another escape, and managed to break through after 30 French submarines joined the battle. Mountbatten fled south, losing another destroyer flotilla in the process. Raeder immediately pursued.


The Second Battle of Bristol

Raeder's faster, more modern fleet quickly caught up to Pound, who was joined by 30 RN submarines and 25 French destroyers. CAG's from the KMS Jade quickly sunk the HMS Hermes, eliminating the Allied air support. After the Herme's sinking, the Allied vessels scattered in a route, allowing aircraft from the KMS Jade and KMS Seydlitz to sink 20 submarines and 5 more destroyers. With the battle resulting in a sound victory, Raeder headed back to Amsterdam to repair the 2 damaged light cruisers and the KMS Deutschland, who suffered damage from the HMS Royal Oak.


Admiral Raeder scores another victory

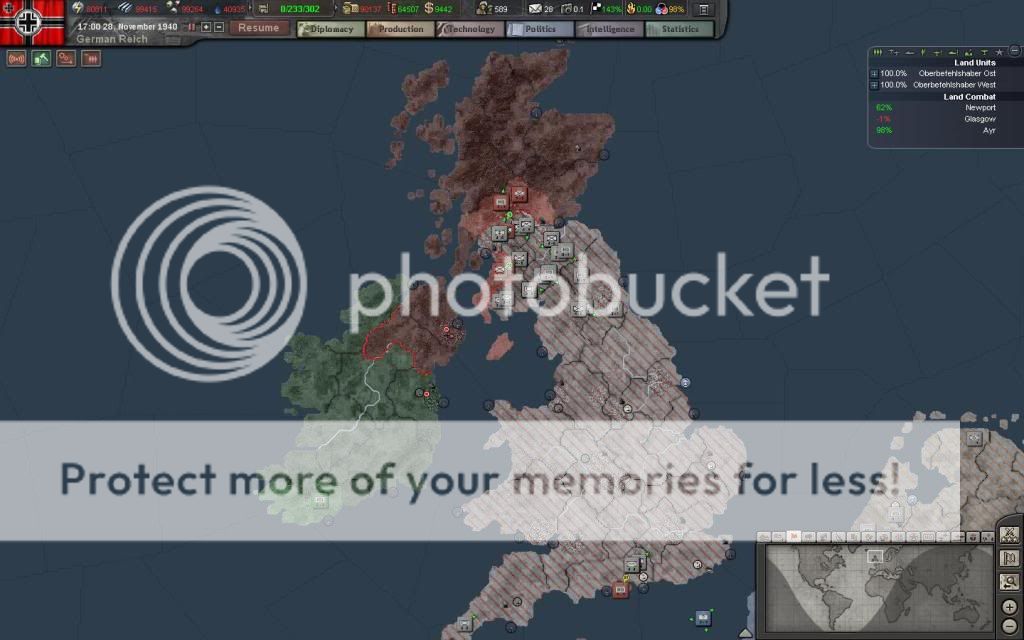
By November 2, Wales and England, with the exception of some holdouts in Newport, were under full German occupation. Panzerarmee 1, which had pacified both areas, were ordered to help Armee 1 break through the Scottish defenses. The mountainous terrain, coupled with cold weather and frozen ground, stalled the Heer's advance. Glasgow was taken on November 9 by the marines, but the front stalled due to poor weather.


The status of the invasion on week 10


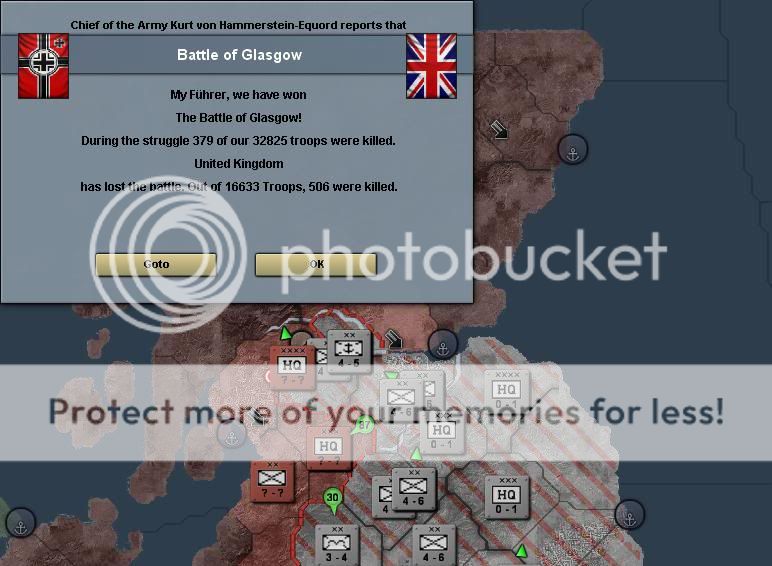
Glasgow is taken by the Reich's marines

On November 28, due to the large concentration of Allied naval vessels docked in ports along the French side of the English Channel, and the poor progress in Scotland, Panzerarmee 1 was recalled to Holland, and the planned invasion of France would begin without initial support from landings based in England. Three paratrooper divisions had finally completed pacifying the 3 garrison and 2 motorized holdout divisions in Newport, and were recovering and preparing for their role in the coming invasion.


The status of the invasion on week 14

On December 4, Raeder once again set out, but this time to attempt to clear the English Channel of Allied patrols. The Allies had learned from their previous engagements, and all of their patrols had at least one carrier and at least 2 battleships. The Kriegsmarine's submarines were taking heavy damage from the constant air patrols, and were recalled to Wilhelmshaven for repairs. It was during this situation that Raeder came into contact with two Allied fleets, surprising them both due to the late hour. The RN's Admiral Cunningham took the lead on the Allied side, and Admiral Raeder once again led Flotte 1. The fighting was intense, and due to the stand-off nature as a result of the carriers, fighting lasted for 6 hours. The KMS Seydlitz was hit by a bomb from a plane based from the HMS Argus, while the KMS Admiral Scheer (replacing the damaged KMS Graf Spee), the KMS Leipzig and KMS Nürnberg (replacing the damaged KMS Karlsruhe and KMS Königsberg), and a destroyer received hits from the Allied destroyers and aircraft.


The Battle of the Eastern English Channel

With no German losses and 10 Allied destroyers sunk, Hitler finally realized that the naval aspect of the war would be won through attrition, and not the decisive battles he hoped for. However, despite Raeder's pleas to the contrary, Hitler still advocated building the remaining battleships. His reasoning, was that the nature of naval battle had changed from decisive engagements between capital ships to stand-off engagements between carriers. Because battles now began at much longer distances, each fleet's surface ships had to race to their opponents before being sunk by the aircraft. To Hitler, this explained why the KMS Bismarck and KMS Tirpitz accounted for 55% of all sunk ships, the vast majority of ships sunk by the pair being destroyers and light cruisers. To Hitler, this made sense. The faster screens would close into the battleship's range first, and were more likely to be sunk by the battleships than the CAGs and Kriegsmarine screens. The CAGs would focus on enemy carriers and capital ships first, which explained why the only three Allied capital ships sunk by the Kriegsmarine were sunk by planes based off of the KMS Jade and KMS Seydlitz.

To further reinforce this fact, the surface raiders sunk 76 convoys during this time period, 15 of them by the combined KMS Scharnhorst/KMS Admiral Hipper fleet operating near the Azores. That averaged to about 8 convoys sunk a week, down from the average of 11 from earlier in the war. There were several reasons for the decline in sunk convoys. The primary reason was the UK's loss of most of its ports, causing the trade routes to change. The raiders were slow to compensate, and as a result were hunting in areas now devoid of merchant shipping. Another reason was that France, Canada, and South Africa could not replace convoys faster than they were being sunk, as the vast majority of sunk merchant ships were flying the Union Jack.

However, due to not having naval superiority, the Kriegsmarine could not conduct anti-submarine patrols. As a result, 15 German convoys heading to Britain were sunk by French submarines operating in the North Sea.


The status of the invasion on week 17
 
Last edited:
Given enough time, you will wear down the enemy screens to a point where they lack sufficient small ships to protect their fleets. That is where you will be able to sink their capital units. On the other hand, the Allies do manage to damage your ships and it'll take some time before these units are fully operational again.

Good progress so far, but I'm not certain if it wouldn't be better to complete the occupation of the British Isles before launching the invasion of France.
 
How is the surrender progress of the UK now? Will they surrender before you go after France or will they relocate to... Ohm... Malta? Gibraltar? Maybe Singapore? :D

Anyway, you will probably be unable to take Paris before '41 now, so say goodbye to the special NU reduction for taking them with a blitzkrieg... You will most likely have to take most if not all of France in order to get the Armistice. I suggest calling Italy in when the time is right, but please, don't exploit the French rushing all their Alpine defences to fight you :rolleyes:


Historically, the Vichy Armistice was signed in the same train car that saw the end of the Great War. Now I guess you will land on the same beaches that saw the start of the liberation of France historically :p Ah, the irony...
 
It took you longer than one could expect. Is it because of movement speed?

Still, you can now attack France from all sides. The will likely get so confused that it won't be able to response properly to such an attack ;) Even the player would have grave problems with it.

I'm surprised that the French didn't "invade" your rear, though. You left the whole southern England ungarrisoned. Even with one corps the French could easily take all ports in southern England and take the London back.
 
Just hold the line in Scotland for the moment.
Take out france first. If your lucky alot of allied divisions will flok to Scotland and you'll be able to take them out once France is done for.

Nice naval battles. Keep it up.
What ships are you building atm?
 
I'm surprised that the French didn't "invade" your rear, though. You left the whole southern England ungarrisoned. Even with one corps the French could easily take all ports in southern England and take the London back.

If they had the necessary transports to pull it off, which they don't...
 
BTW I've been wondering... Shouldn't there be a distinction between the slow transport ships which are used to ferry troops between ports and naval vessels which are used in amphibious assaults? The first class of TPs should have extremely low range (maybe even 0; rebasing still works AFAIK), high transport capacity and be rather cheap. Colonial nations could have quite a lot of those ships at the start. The second class would have ever increasing range (tech-based), lower transport capacity (but still affected by techs) and would cost much more. Therefore, performing invasions on D-Day scale would be much more expensive and difficult.

I think CORE had sth similar.
 
@Baltasar: Because I took London, the RN has mostly been out of supplies, as any supplies the UK does make goes to the mountain divisions in Scotland. France's navy is a joke really, as everything they have, except for the Algerie CA I sank, are vintage WW1 ships. I just can't seem to sink their big ships though. It must be because I almost always end up fighting at night or in bad weather.

@Slan: I'll need to grab 4 more VP after taking Belfast, so just occupying the islands won't be enough. I will call Italy in to join the fun, and they will most likely finish the Brits off for me. I'll probably call them in once I break through Belgium.

@Cybvep: Yeah, the frozen terrain *really* slows things down, and it doesn't help any that all of the UK's mountain divisions are up in Scotland. As far as a French invasion goes, I sunk all of their transports earlier, and they aren't building more. Instead, France is building new destroyers and convoys.

@Middlekerke: That's the plan. I don't really need those three infantry corps to invade France, and I can't really perform amphibious landings in France because all of the French ports are full of damaged ships. I only have those four transports, and don't want to lose them after the fleets leave the port to drive me back. Aside from 3 CLs that finished, I'm building the same ships from my last production screen. I've been neglecting to show some of the land battles, mostly because a big naval battle was taking place that I wanted to watch.

@Enewald: The convoys are there to bring supplies to Britain. The stupid supply AI shipped everything out of London back to Berlin, and I didn't catch the problem in time to stop all of the convoys. Removing the tanks will help, and reduce the number of convoy routes I need to use to keep Armee 1 supplied.

@All: Well, I guess using Photobucket wasn't such a good idea, as I've already used over half my bandwidth allowance for the month. While I'm glad that people like the AAR, I'll need a new image-hosting site if I want to keep posting chapters at my current rate. Any suggestions? Photobucket has a 10 GB allowance per month, and my chapters have about 1MB worth of pictures each. I don't want to run into the problem some other writaars have had in which their pictures don't show.
 
Last edited:
A novel approach (taking the UK first) and a great story!

What really comes across is the many varied and interesting things that happen with HPP and breathe life into the game! :)

Excellent progress so far, although I think the British AI should have challenged Raeder with its fleet carriers - that would have been an interesting contest!
 
I use Imageshack, and it works pretty well. The important thing is to use the direct link and a good resolution/picture size. (Although I'm basically killing Imageshack by doing this, as they are living from the advertisement I'm circumventing this way, but hopefully they won't get bankrupt too soon :D)